Planning an event LED screen involves more than choosing a cabinet and a pixel pitch. The screen must be readable from the audience, safe for the venue, supported by the right rigging system, and supplied with stable power. This guide gives event producers a practical way to size, specify and check an LED display before show day.
Quick answer: Start with audience distance and content type, then confirm screen dimensions, cabinet weight, rigging points, electrical load, weather exposure and backup paths with qualified venue and production professionals. A typical rental LED wall is modular, so the final size should match the venue sightlines and the available power and support structure.
1. Choose the Right Event LED Screen Size
Screen size should be based on the farthest important viewer, the camera frame and the information you need to show. A narrow screen may work for a speech backdrop, while a wide 16:9 canvas is usually better for video, IMAG and sponsor graphics.
1.1 Start with audience distance
Measure the nearest and farthest audience zones, not just the room length. A useful first estimate is that the minimum comfortable viewing distance in metres is close to the pixel pitch in millimetres. For example, a P3.91 screen generally suits viewers from about 4 metres away, while a P2.6 screen supports closer viewing. Treat this as a planning estimate; content, brightness and camera use still matter.
1.2 Use a planning table
| Event situation | Common starting size | Planning priority |
|---|---|---|
| Small meeting or speech | 3–5 m wide | Readable text and quiet operation |
| Corporate stage | 5–8 m wide | 16:9 content and camera framing |
| Concert or festival stage | 8–14 m wide | Brightness, weather protection and redundancy |
| Outdoor viewing zone | Site-specific | Sightlines, wind and ground stability |
These are starting points rather than fixed specifications. Calculate the visible width from the number of rental cabinets, then check the resulting aspect ratio against the content canvas.
2. Match Pixel Pitch to Viewing Distance
Pixel pitch is the distance between LED pixels. Smaller pitch gives greater detail at close range, but it can increase cost and processing requirements. For many event applications, P2.6, P2.97 and P3.91 are practical choices.
2.1 Choose for the audience and cameras
Choose a finer pitch when guests will stand close to the wall, presenters need fine text, or broadcast cameras will capture the screen. Choose a larger pitch when the audience is farther away and the priority is a cost-effective, bright image. Ask for a camera test when the display will appear in livestreams or IMAG.
2.2 Confirm brightness and refresh rate
Indoor displays need controlled brightness to avoid glare. Outdoor displays need enough brightness for daylight, plus automatic adjustment when conditions change. A high refresh rate and correct camera settings reduce scan lines and flicker. Review brightness, refresh rate, grayscale and calibration in the actual production workflow.
3. Plan Rigging and Ground Support
Rigging is a structural and safety decision. The LED screen, frame, motors, ballast and accessories create a combined load that must be checked against the venue and support system.
3.1 Suspended screens
For a flown screen, confirm the total suspended weight, pick-point locations, trim height, motor capacity, rated hardware and allowable venue loads. A qualified rigger or structural engineer should approve the arrangement. Keep service access, cable paths and emergency clearances in the design.
3.2 Ground-supported screens
Ground support can simplify smaller stages, but it still needs a level base, correct ballast and protection from crowd contact. Outdoor installations require a wind plan and a decision about when the screen must be lowered or evacuated. Never infer wind safety from cabinet weight alone.
3.3 Cabinet format and transport
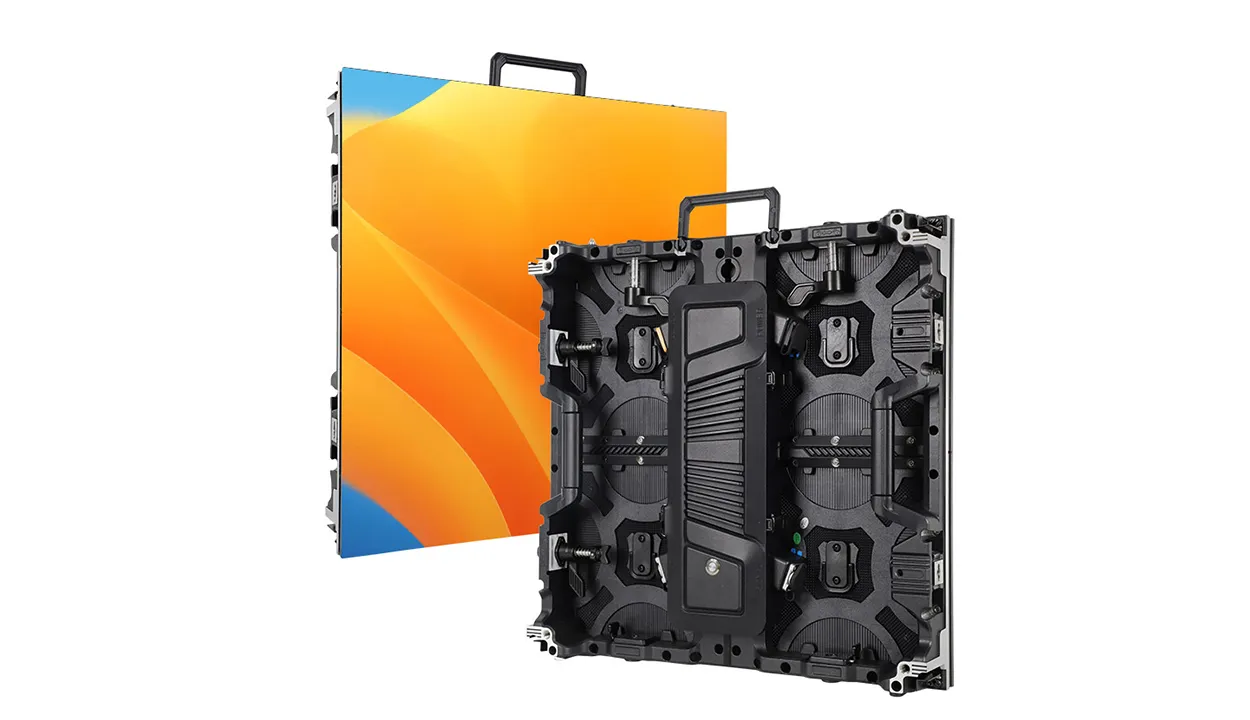
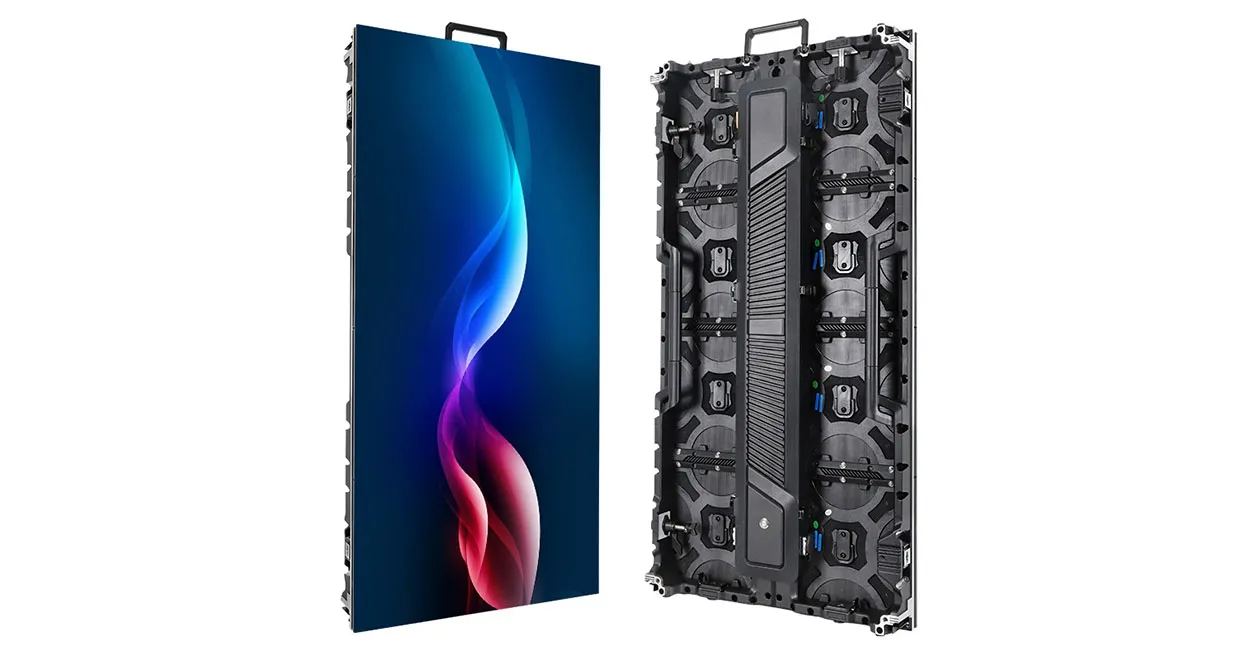
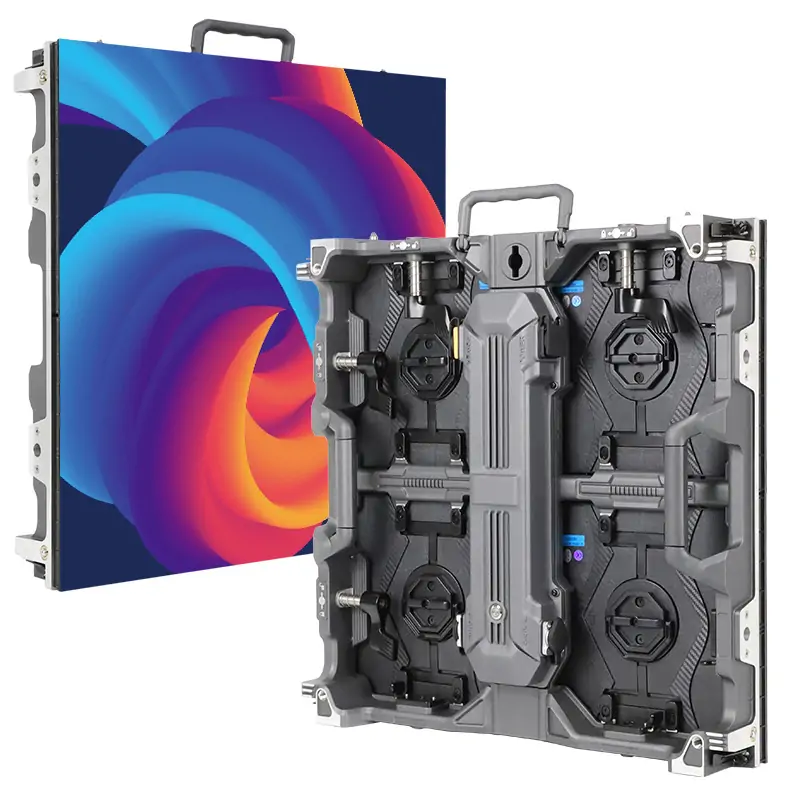
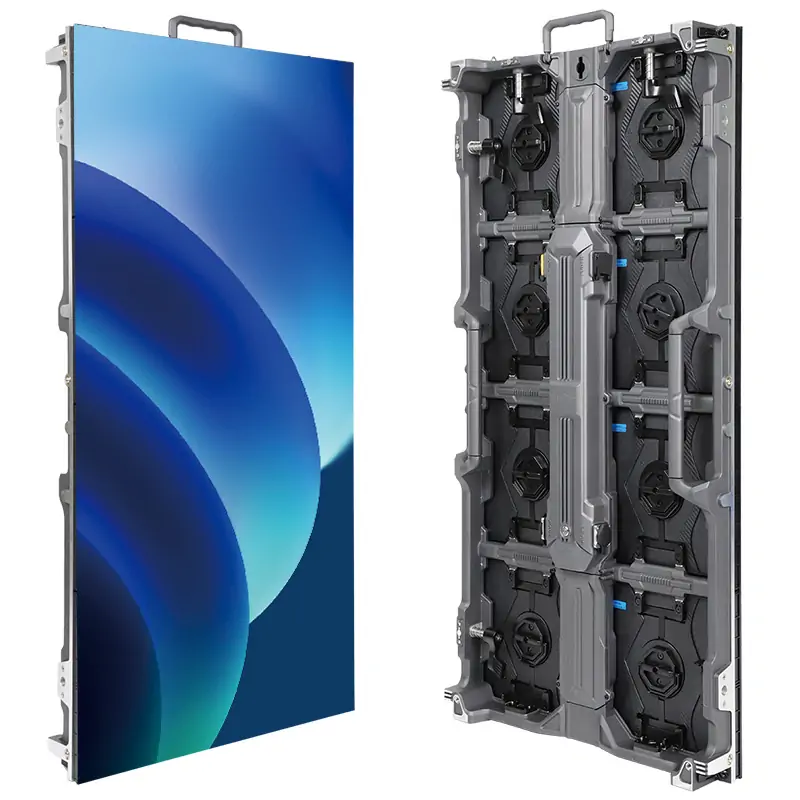
Confirm whether the rental cabinets are 500×500 mm, 500×1000 mm or another format. Cabinet dimensions affect the exact wall size, flight cases, crew time and spare inventory. Build the design around the available stock so the wall remains symmetrical and serviceable.
4. Calculate Power and Signal Requirements
Power planning should include the LED cabinets, processors, media servers, monitoring and peripheral equipment. Use the manufacturer’s maximum and typical figures; maximum load is used for circuit planning, while typical load helps estimate operating consumption.
4.1 A simple power formula
Start with: total load = screen area × specified load per square metre. Then add control and auxiliary equipment, divide across suitable circuits, and leave practical headroom. A 30 m² wall specified at 800 W/m² would have a theoretical maximum of 24 kW before control equipment and distribution. The final electrical design must be checked by the production electrician and venue.
4.2 Build signal and power redundancy
Use correctly rated distribution, separate signal and power paths where appropriate, labelled cables and tested spares. Consider backup media playback, a spare processor or receiving card, and a plan for safe content output if one signal path fails. Document who can approve a reset during the show.
5. Prepare for Weather and Backup
For outdoor events, confirm the cabinet’s protection rating, seals, drainage, temperature limits and cable protection. Weather planning also covers rain during load-in, direct sun, dust, condensation and wind. The screen’s rating does not replace a site-specific weather plan.
Protect connections from standing water, keep control equipment sheltered, and schedule a pre-show inspection after any weather change. For important events, keep a backup playback source and a fallback visual plan such as a branded holding image or confidence monitor.
6. Day-of Event LED Screen Checklist
- Confirm wall dimensions, pixel pitch, aspect ratio and viewing zones.
- Verify cabinet count, spare modules, receiving cards and processor settings.
- Check approved rigging or ground-support documentation and crowd barriers.
- Test every power circuit, earth connection, signal path and backup source.
- Load final content and test logos, subtitles, skin tones and camera shots.
- Set brightness for the venue and recheck after daylight or lighting changes.
- Record the show caller, technician, electrician and emergency contacts.
- Run a final cable, access and weather inspection before doors open.
EagerLED can help match a rental or custom LED solution to the venue, content and production plan. Review the company’s LED display screen solutions and contact the team with your event date, location, wall size and viewing distance.
7. Frequently Asked Questions
Planning note: load, rigging and electrical values must be verified for the actual equipment and venue by qualified professionals.
 3D Billboard Cost: Hardware, Content and Installation
 COB vs GOB LED: Which Packaging Method Fits?
Related Posts

Fill In Your Needs In Detail
Fill in the screen usage scene and size you need in “Content”.You will get a quote.