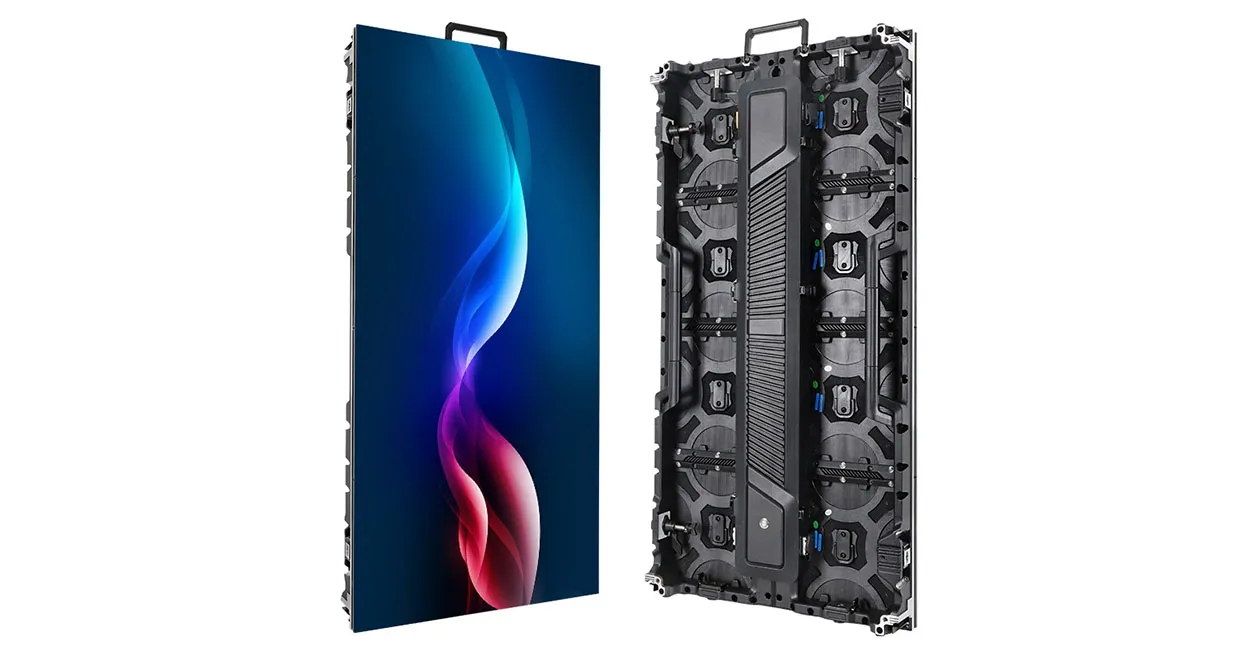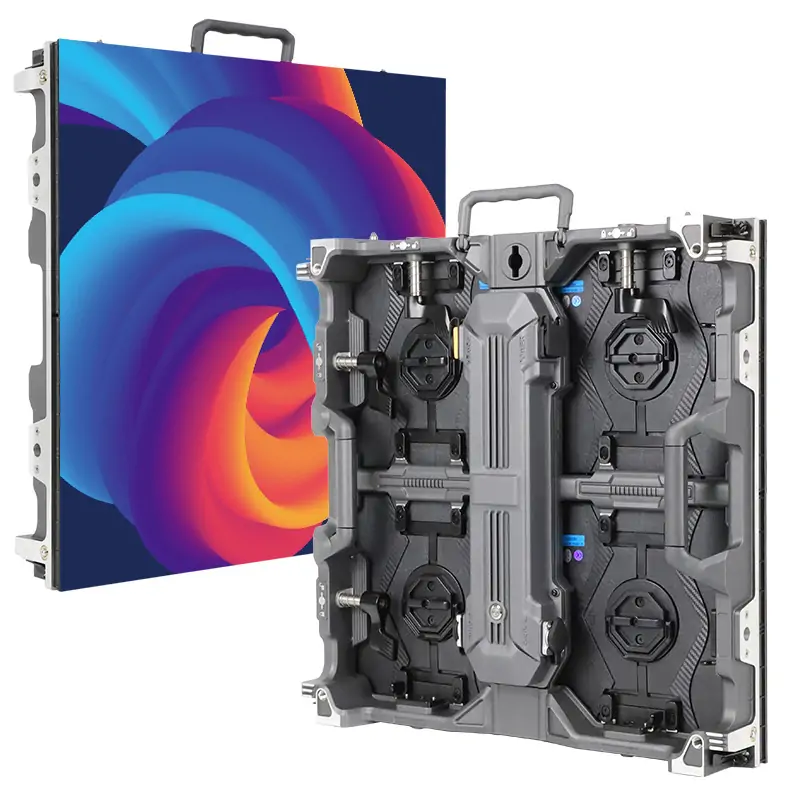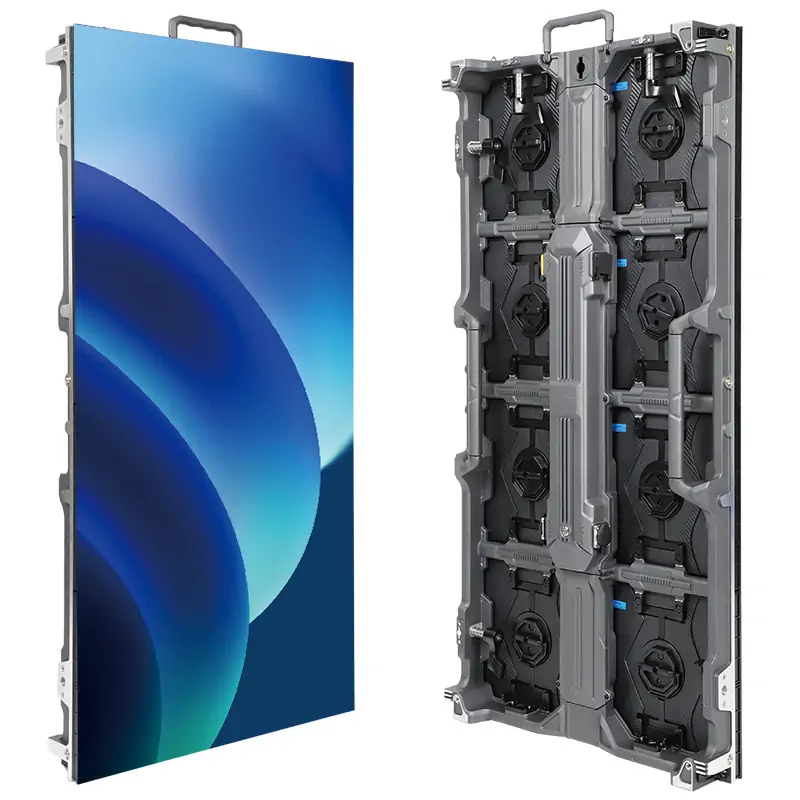
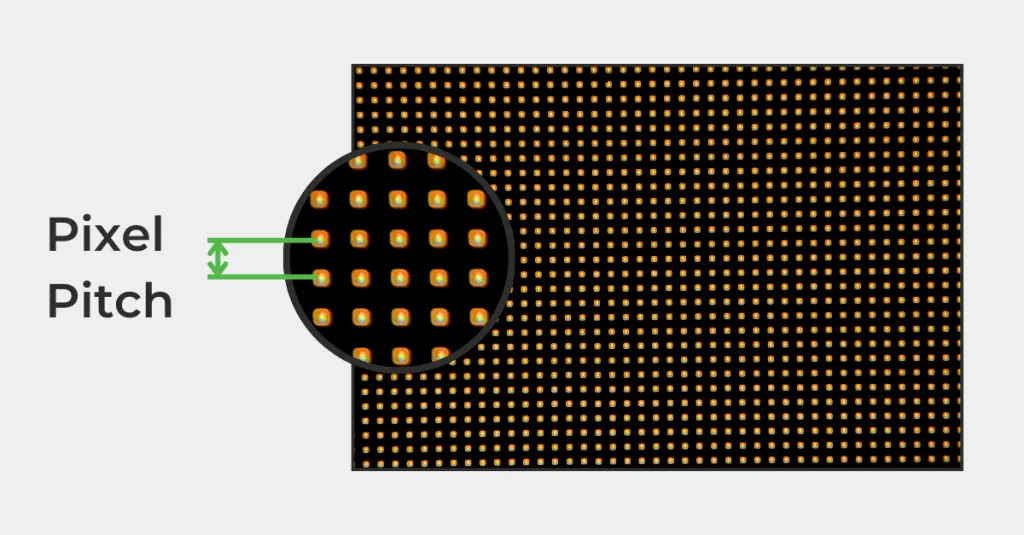
A P6 outdoor LED display is a direct-view screen with pixels spaced 6.0 mm apart, center to center. That spacing can suit a fixed billboard, a building facade, or a venue sign that shows large graphics and short messages. If people must read fine print from the sidewalk, start by testing the actual artwork at the closest important viewing point.
For an AV integrator, pitch is only the first decision. Two quotes for a P6 outdoor LED display can describe very different cabinet dimensions, rear weather protection, service access, and control hardware. Compare the native canvas and what each quote includes before comparing the prices per square meter.
This guide works through a cabinet layout, compares nearby pitches, and shows how to turn a P6 outdoor LED display quote into an acceptance plan. The focus is fixed outdoor installations. Calculated examples are labeled, and published specifications apply only to the named configuration.
- 1. What Is a P6 Outdoor LED Display?
- 2. How to Size a P6 Outdoor LED Display
- 3. Viewing Distance and Text Legibility
- 4. Brightness, IP Ratings, Refresh Rate, and Power
- 5. P6 vs. P4, P5, P6.25, P6.67, P8, and P10
- 6. Outdoor Applications and Service Access
- 7. P6 Outdoor LED Display Price and Quote Checklist
- 8. FAQ
- 9. Conclusion
1. What Is a P6 Outdoor LED Display?
A P6 outdoor LED display has a nominal density of about 27,778 pixels per square meter on a square grid: (1,000 ÷ 6)², rounded. Pixel density describes the grid across a given area; resolution describes the exact number of pixel columns and rows in the screen you install. Two walls with the same pitch can have very different resolutions if their physical dimensions differ.
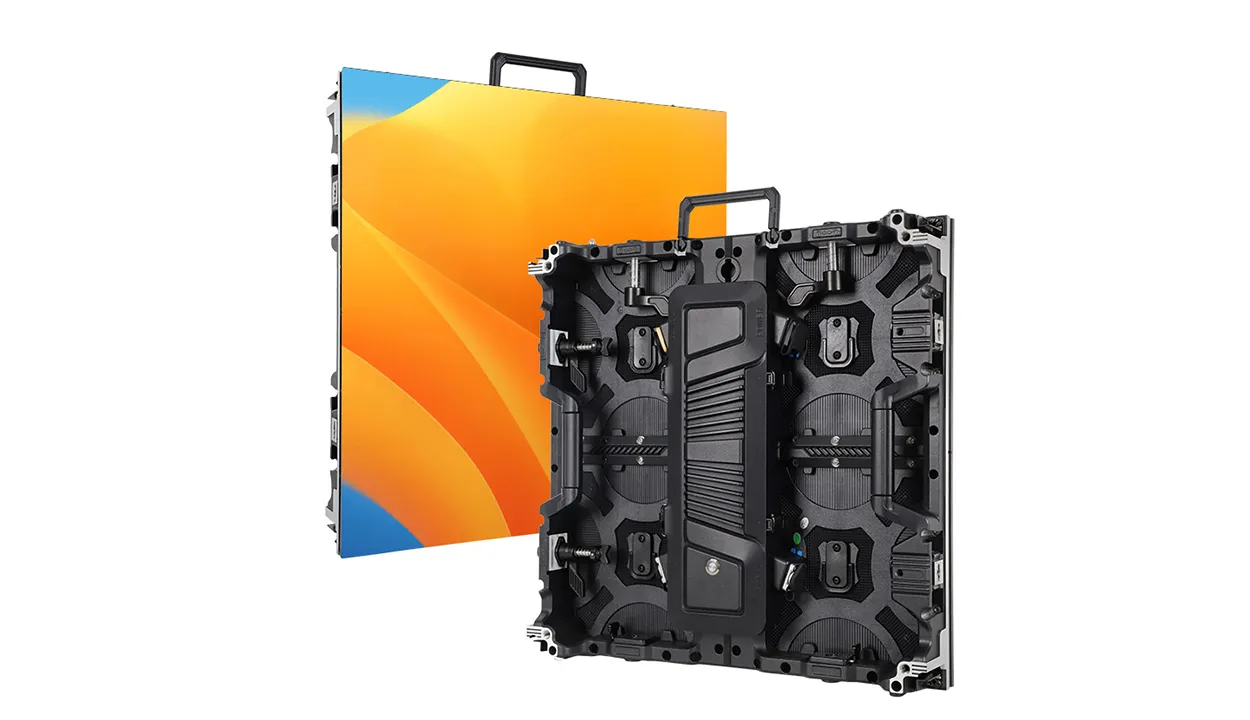
A module carries the LEDs and driver electronics. Cabinets hold modules in a repeatable grid and house or support power and signal hardware. A controller maps the picture to that physical layout. When a listing says “P6 outdoor LED display module,” the price may cover just the replaceable tile. A working display also needs the rest of the signal, power, mechanical, and playback system.
Get the exact pitch in millimeters on the quote. Sellers may list 6.0, 6.25, and 6.67 mm products together, but they create different pixel grids. Check the proposal against the pitch, active module dimensions, and module resolution. A 192 mm module with 32 pixels across implies 6.0 mm spacing. A 320 mm active width with 48 pixels gives about 6.67 mm. A similar appearance or matching cabinet brand does not make parts interchangeable.
Finally, ask whether the item is an assembled, tested cabinet or a kit for local assembly. The latter can shift fit, wiring, sealing, and acceptance responsibilities to the installer. Establish who is responsible for the completed enclosure and signal chain before using the module price to estimate the wall.

2. How to Size a P6 Outdoor LED Display
Size a P6 outdoor LED display by finding the clear opening, then selecting a whole cabinet grid. Confirm both active dimensions and overall dimensions, including trim, structure, and clearance. If the nearest grid is too large or leaves an awkward gap, show that on a drawing before ordering. A change in cabinet count can alter the opening, the content canvas, and controller routing at the same time.
01. Calculate the native canvas
The EA-OFixed configuration table lists a 768 × 768 mm P6 option with 192 × 192 mm modules and 32 × 32 pixels per module. Four modules per side give a 128 × 128 pixel cabinet. The worked example below uses eight of those cabinets across and four high. It illustrates the calculation; the dimensions are not a recommendation for every site.
| Design input | Calculated result | How to use it |
|---|---|---|
| Modules per cabinet | 4 × 4 | Check the mechanical layout and spare module count. |
| Cabinets | 32 | Reconcile the bill of materials, delivery, and wiring plan. |
| Active screen | 6.144 m × 3.072 m | Confirm the surrounding structure clears the finished assembly. |
| Active area | 18.874 m², rounded | Ask whether this matches the billable area. |
| Native canvas | 1,024 × 512 pixels | Give the content team a 2:1 layout. |
| Total pixels | 524,288 | Check signal mapping and capacity per controller output. |

02. Match artwork and processing to the cabinet grid
A P6 outdoor LED display can accept a high-resolution source through compatible processing, but the input does not add physical pixels. A 16:9 feed on the example’s 2:1 wall must be fitted, cropped, or redesigned. Decide how to handle captions and logos near the edges. A brand film that looked good on a laptop may become unreadable if a source is simply shrunk and surrounded by unused pixels.
Ask the supplier for a port map for the P6 outdoor LED display. Total pixels are only one part of the check: per-output width and height, frame rate, bit depth, cable runs, and redundancy options can affect the final design. Retain the approved mapping and the matching receiving-card configuration, and include both in the handover. If the processor fails later, the person replacing it needs usable files as well as a drawing.

3. Viewing Distance and Text Legibility
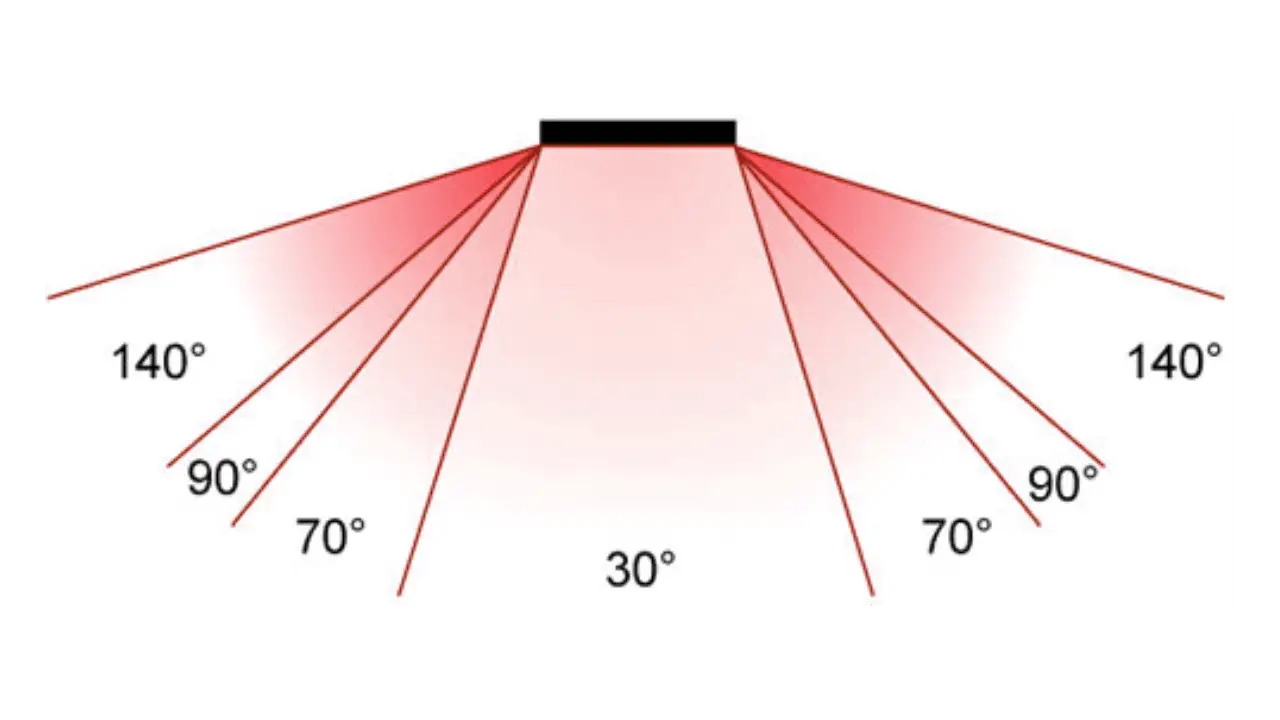
The usable viewing distance of a P6 outdoor LED display depends on the content, the angle, and how long a viewer has to read it. The EA-OFixed P6 specification gives 6 m or more as a viewing guideline. Use that figure as a starting point for a demonstration. It does not establish a minimum reading distance for small text or an acceptable maximum for a particular message.
Walk the site and mark three places: the closest important viewer, the main audience area, and the farthest point that still needs to receive the information. Record the elevation and side angle as well as the horizontal distance. A high-mounted P6 outdoor LED display above a street can be harder to read from the near sidewalk than a lower panel at the same plan distance. An awning or tree can remove otherwise useful sightlines.
Build a test card at the wall’s native resolution. Include the smallest required type, real brand colors, and a representative motion sequence. At 6.0 mm pitch, 20 pixel rows span about 120 mm. That gives the artwork team a physical size to try; it is not a typography standard. Thin strokes, low contrast, distracting backgrounds, and a short viewing window can make similarly sized text perform very differently.
Ask someone who has not seen the artwork to read it from those marked positions. Run the trial in the most difficult expected daylight and from a realistic side angle. If the P6 outdoor LED display misses the brief, try a simpler layout, a finer pitch, or a different location. A photograph taken near the centerline can document the setup, but it cannot replace the observer’s result from the actual viewing point.
4. Brightness, IP Ratings, Refresh Rate, and Power
Pitch does not set brightness, weather protection, or power demand. For a P6 outdoor LED display, write each requirement against the exact configuration and the intended operating conditions. In particular, confirm whether the numbers describe a module, a sealed cabinet, or a completed installed system. A datasheet for a different pitch or enclosure is insufficient evidence.
| Parameter | Ask for | Verify before acceptance |
|---|---|---|
| Luminance | Calibrated cd/m², measurement conditions, and dimming controls | Observe the actual content in representative light; measure using the agreed method. |
| Ingress protection | Front and rear ratings, connector sealing, and installation conditions | Inspect the installed entries, gaskets, covers, and unused ports. |
| Refresh and grayscale | Settings available at the target dimming level | Use slow fades and dark gradients; check actual cameras if filming matters. |
| Peak and typical power | W/m² and the operating assumptions behind each figure | Review the feeder design separately from the energy budget. |
| Temperature and airflow | Operating limits, required clearances, and any exposure restrictions | Check that cladding, framing, and conduit do not obstruct the specified air path. |
01. Check the exposed face and the rear enclosure
An IEC 60529 IP designation describes tested ingress protection for an enclosure. The 768 mm EA-OFixed P6 specification, for example, lists IP65 at the front and IP54 at the rear. A P6 outdoor LED display at the edge of an open structure may expose both faces to wind-driven rain. Check whether the proposed rear enclosure, cable entries, and mounting details are suitable for that exposure. Account for salt air, UV, and condensation separately; the IP digits do not characterize those conditions.
02. Agree on daytime and nighttime settings
Ask how far the display can dim while keeping dark tones useful. If the P6 outdoor LED display uses a light sensor, decide where it goes, how it is maintained, and what happens if it gives an implausible value. If crews will film the display, check actual shutters, angles, and dimming levels using the intended cameras. A high refresh rate alone does not guarantee a band-free image.
Give the electrical design team the cabinet’s specified maximum demand and configuration. Use typical power for budgeting only after asking what brightness and content produced that figure. Bright content at noon need not draw the same power as a dark playlist at night. Record the intended operating hours and brightness profile so the owner can revisit the estimate after commissioning.

5. P6 vs. P4, P5, P6.25, P6.67, P8, and P10
Compare each candidate pitch at the same active screen width and with the same artwork. Smaller pixel spacing provides more samples across the image. It does not tell you how well the cabinet handles sunlight, how quickly it can be serviced, or how much the supporting structure will cost. A P6 outdoor LED display makes sense when a coarser grid loses important detail and a finer one gives the client little visible benefit.
| Pitch | Approximate pixels across | When to test it |
|---|---|---|
| P4 | 1,500 | For short sightlines and required fine detail. |
| P5 | 1,200 | When a P6 test loses a narrow stroke or label. |
| P6.0 | 1,000 | Where large graphics and short text share the screen. |
| P6.25 | 960 | When the offered cabinet format fits the opening better. |
| P6.67 | 900 | When the larger pitch still meets the artwork and viewing brief. |
| P8 | 750 | For long sightlines and primarily graphic content. |
| P10 | 600 | For large, simple messages intended for viewers farther away. |
These figures are width comparisons, rounded where necessary. They do not imply that every supplier can build an exact 6 m active width. P6.67 is also commonly a rounded label. Use the real cabinet matrix when sizing processing or making media. A true P6 outdoor LED display proposal and a P6.67 proposal should identify their own native canvases and mechanical dimensions.
For a storefront, bring one file to the P5 and P6 demonstrations and check the small type from a real walking route. For a billboard, compare a P6 outdoor LED display and a P8 option within the available glance time. Where the coarser pitch is adequate, compare the complete quotes. A finer pitch may add detail, but it will not fix an obstructed sightline, illegible artwork, or a weak service plan.
6. Outdoor Applications and Service Access
A P6 outdoor LED display can serve a commercial frontage, a venue approach, or a freestanding advertising structure. Match the design to the job. A plaza may need clear side views and a quiet night setting. A roadside screen has a short reading window. A venue might rotate schedules and sponsor messages, which makes ownership of the playlist as important as the input connection. The EagerLED advertising display range shows the variety of cabinet formats available for fixed applications.
01. Choose a service side from the site drawing
On a P6 outdoor LED display with rear access, leave room for the door to swing and for a technician to extract components safely. For a shallow facade, ask what “front service” actually covers. A cabinet may allow modules to come out from the front while its power or signal components need a different route. Compare a dual-service cabinet example when access is tight, and confirm the pitch offered for that cabinet separately.
Have the qualified project team confirm loads, mounting, wiring routes, grounding, and local requirements before ordering support steel. Request the cabinet weight and mounting points on a dimensioned drawing. Keep the service clearance on the approved drawing; a later cladding or conduit change can block a full row even while the display still fits the opening.
02. Plan for a failed component before opening day
Ask how the operator will identify a failed cabinet, how the integrator will reach it, and where the matching spare will be stored. An outdoor module may have a connector, driver configuration, or mounting design that another 6 mm module does not share. See the EagerLED LED module range for the variety of assembly types. Use exact part and revision numbers in the schedule rather than leaving “P6 module” as the only identifier.
For a P6 outdoor LED display installed above a public entrance, agree how a technician can isolate the relevant equipment and set up safe access during business hours. The space needed for a lift or temporary exclusion area can affect the operating plan. If the site cannot support the proposed repair procedure, solve for access while the cabinet and structure can still be changed.

7. P6 Outdoor LED Display Price and Quote Checklist
There is no single installed price for a P6 outdoor LED display. Cabinet configuration, display area, logistics, structure, site access, and commissioning change what the owner pays. A square-meter price becomes useful once bidders name the active area, billable area, cabinet count, shipping terms, and exclusions. A replacement module and a turnkey installation should never appear in the same price comparison without clarifying their scope.
| Line item | Ask for | Why it matters |
|---|---|---|
| Display hardware | Cabinet model, precise pitch, revisions, quantities, and spares | Prevents silent changes to pixel grid or cabinet design. |
| Control and playback | Processor and player models, backups, subscriptions, and redundancy | Distinguishes the one-time equipment bill from ongoing operations. |
| Site works | Ownership of structure, power, installation, access, and approvals | Shows what the client or integrator must arrange separately. |
| Delivery | Named delivery point, delivery terms, packaging, and freight responsibilities | Makes the equipment and delivered cost comparable. |
| Warranty and support | Written terms, spare availability, and any labor or travel exclusions | Clarifies what happens when a repair requires an onsite visit. |
Send all bidders the same dimensioned elevation, sightlines, intended media, operating hours, site exposure, and delivery location. For a P6 outdoor LED display substitution, ask for a revised cabinet drawing, power figures, and controller layout. Track the changes in one sheet next to the original requirements. A revision that keeps the price steady can still change the display’s native canvas or safe service route.
01. Separate factory acceptance from site acceptance
For a P6 outdoor LED display, agree on how to check pixel defects, flatness, uniformity, and reliable restart. At the factory, run the proposed controller and sample content through a representative assembly, check the supplied spares and configurations, and document the results. For a site test, verify the installed sightlines, real light conditions, actual network and power arrangements, and the physical clearance for service. One test cannot answer all the questions that the other can.
Agree in advance on what counts as an acceptable result, who records it, and who owns corrections. Plain red, green, blue, white, and dark patterns can reveal defects that a moving video hides. Then show normal media to catch layout and scaling problems that test colors cannot reveal. Record the settings used so a contractor and a buyer can reproduce a disputed result.
02. Hand over a system the operator can recover
For a P6 outdoor LED display, ask for an as-built cabinet map, serial numbers, electrical and signal drawings, approved processor files, and a documented operator recovery procedure. Check that someone other than the commissioning engineer can load the default playlist and trace an identified fault to the right cabinet. Include the spare parts storage location and the support contact in the handover record.
8. FAQ
9. Conclusion
Approve a P6 outdoor LED display when its native canvas fits the artwork, its cabinet grid fits the site, and the installer can show how the owner will run and service it. If the image passes the viewing trial but the design fails the rear exposure or access check, revise the installation detail before committing to that cabinet.
For a project-specific P6 outdoor LED display quote, send EagerLED your project brief with the opening dimensions, audience distances, content samples, and exposure conditions. Ask for a cabinet drawing, an exact native resolution, and an itemized scope that you can compare against your installation and acceptance requirements.
 Full Color LED Display: How It Works and How to Choose One
 LED Dance Floor Buying Guide: Tiles, Setup and Costs
Related Posts
Fill In Your Needs In Detail
Fill in the screen usage scene and size you need in “Content”.You will get a quote.