Outdoor LED screen installation follows one of five common methods: wall-mounted on a building facade, a single pole, a double pole or free-standing frame, a rooftop frame, or a low ground-standing monument. The right one depends on where viewers stand, what the screen can be fixed to, how exposed the site is to wind, what the local permit allows, and whether the screen will be serviced from the front or the back. Choosing the method first, before the screen size and pixel pitch are fixed, avoids the most expensive redesigns later.
This guide is for advertisers, property owners and contractors planning a permanent outdoor screen who need to decide how and where it will be mounted. It compares each outdoor LED screen installation method, explains how front or rear service changes the structure, and lists what to prepare before anyone orders steel.
The engineering of foundations, steel, lightning protection and waterproofing is a separate step that a local engineer must sign off. Our sister site covers that process in its outdoor LED installation engineering checklist; this article focuses on choosing the method.
1. What Are the Main Outdoor LED Screen Installation Methods?
The main outdoor LED screen installation methods are wall-mounted, single pole, double pole or free-standing, rooftop, and ground-standing. Each one is a way of carrying the screen’s weight and wind load to something solid: a building wall, a foundation in the ground, or a roof structure.

| Method | Typical use | What carries the load | Main checks |
|---|---|---|---|
| Wall-mounted | Shopfronts, malls, building facades, corner 3D screens | Steel subframe anchored to the building structure | Wall capacity, anchor design, rear access, drainage and ventilation |
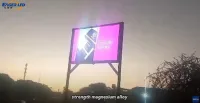
| Single pole | Roadside advertising, gas stations, campuses | One steel column on a concrete foundation | Foundation size, overturning in wind, height limits, traffic safety |
| Double pole or free-standing | Larger roadside billboards, open sites | Two or more legs with bracing on separate footings | Foundations, bracing, clearance under the screen, access platforms |
| Rooftop | City-center visibility from a distance | Frame fixed to the roof structure | Roof load capacity, waterproofing of penetrations, high wind exposure |
| Ground-standing | Entrances, plazas, wayfinding, schools | Low base or plinth on a slab | Vandal protection, impact protection, low-level service access |
Whatever the method, the structure has to handle two kinds of load. The first is the dead weight of the cabinets, frame, cables and any cladding. The second is wind, which pushes and pulls on the whole face of the screen and often governs the design of outdoor structures more than weight does. A large screen on a tall pole acts like a sail, so the higher and larger the screen, the more the foundation and steel have to do. That is why the same cabinets can need a very different structure on a sheltered wall than on an exposed roadside.
Two other forms appear on larger projects: screens recessed into a facade opening and curved or corner screens wrapped around a building. Both are variations of wall-mounted outdoor LED screen installation, with more coordination with the building’s architect.
2. Wall-Mounted Outdoor LED Screen Installation
Wall-mounted outdoor LED screen installation fixes the screen to a building facade through a steel subframe. It is widely used in cities because the building already provides height and visibility, and no new foundation is needed.
01. Flat facade mounting
The cabinets are bolted to a steel frame, and the frame is anchored into the building’s structural members, not just the cladding. The gap between the frame and the wall decides how the screen can be serviced: rear-service screens need a corridor deep enough for a technician to work behind the cabinets, while front-service screens can sit much closer to the wall. Rainwater, heat and cable routes need planning in that gap too.
02. Recessed or embedded mounting
A recessed screen sits inside an opening in the facade so its face is flush with the building. It looks clean, but the screen loses airflow at the sides and back, and service access must be designed in from the start. Front-service cabinets are usually the practical choice here because there is often no room behind them.
Whether flat or recessed, the space behind a wall-mounted screen needs three things. Water that runs down the facade must drain away rather than collect behind the cabinets. Warm air from the power supplies must be able to escape, usually through vents at the top and bottom of any cladding. And cables need a protected route from the distribution board to each cabinet row, without crossing the service walkway.
03. Corner and curved 3D screens
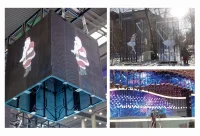
Naked-eye 3D billboards usually wrap around a building corner, so viewers see two faces at once. This needs cabinets designed for the corner joint. EagerLED’s EA160ES 3D billboard, for example, uses a 90° curved display for that corner effect. Our 3D billboard guide covers content and viewing angles for this format.

Before committing to a wall, ask the building owner for structural drawings and permission to anchor into the structure. Many facades that look solid are cladding over a lighter frame that cannot carry a screen.
3. Pole and Free-Standing Outdoor LED Screen Installation
Pole and free-standing outdoor LED screen installation puts the screen on its own structure and foundation, independent of any building. It is the standard choice for roadside advertising and open sites where there is no suitable wall.
01. Single pole
A single column carries the screen above traffic and pedestrians. It takes little ground space, which suits narrow plots, gas stations and roadsides. Because all the wind load acts on one column, the foundation must resist overturning, and both the column and its base need engineering for the local wind conditions.
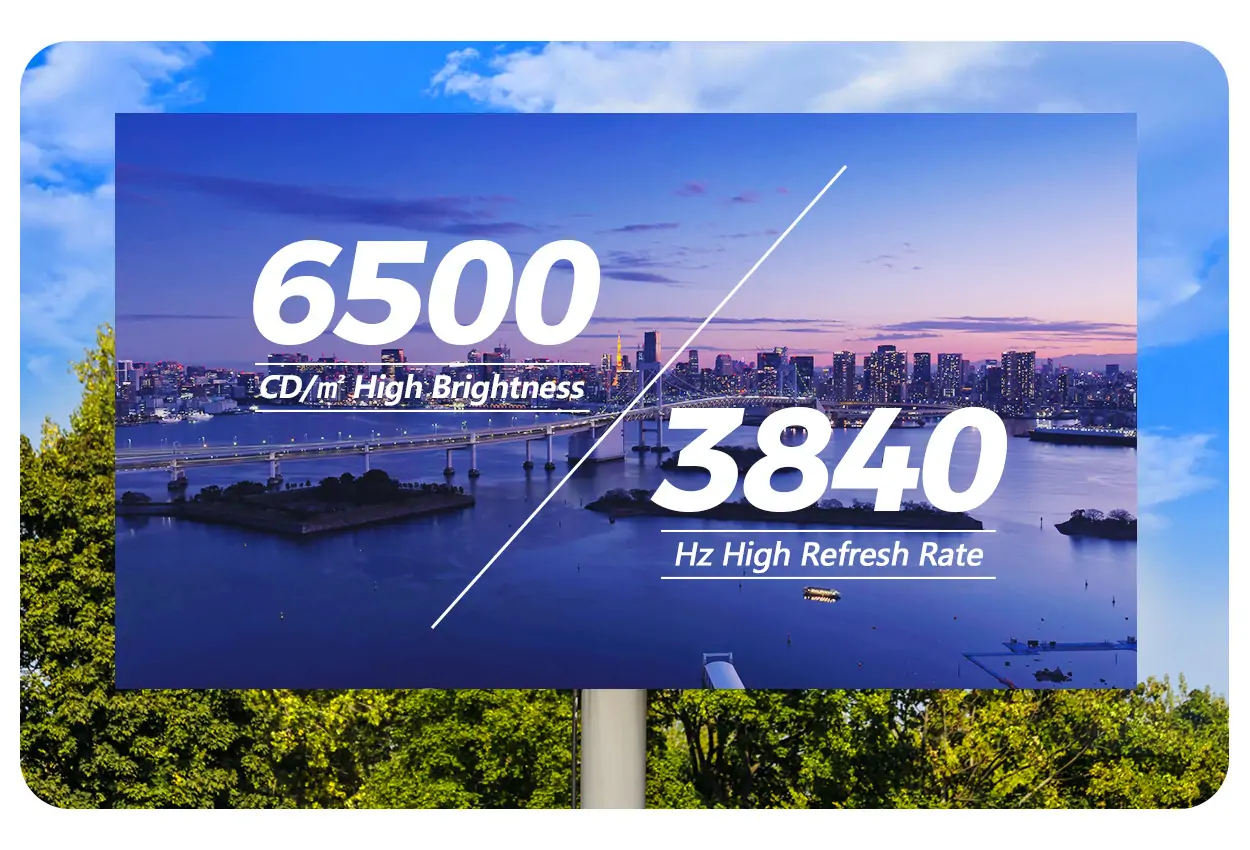
02. Double pole and free-standing frames
Larger faces usually stand on two legs, or on a braced frame with several footings. Spreading the load over more supports allows a wider screen and reduces the size of each foundation. Free-standing frames also leave room for a service platform or walkway behind the screen, which matters for rear-service cabinets.
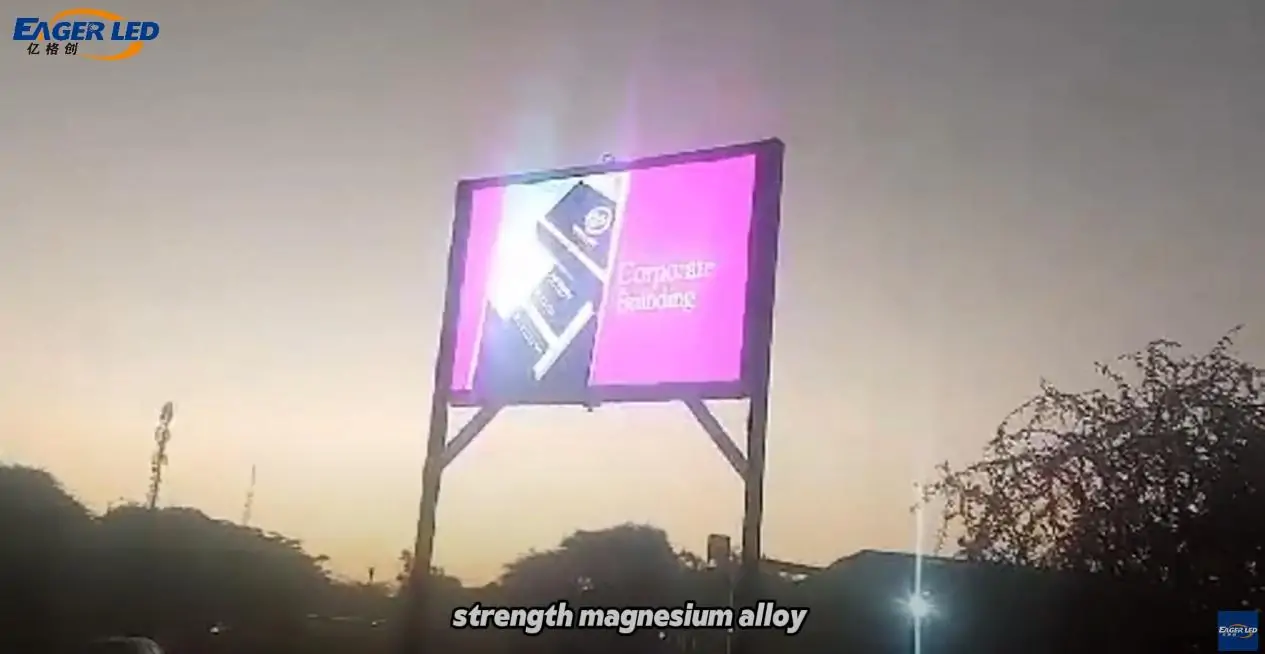
For any pole or free-standing structure, the foundation is designed from a soil assessment, not from a standard drawing. Allow time for it in the schedule: concrete footings need to cure before the steel and screen go up.
4. Rooftop and Ground-Standing Outdoor LED Screen Installation
01. Rooftop installation
A rooftop screen is visible from much further away, which is why it is popular in dense city centers. It is also the most demanding method. The frame must be fixed to the building’s structure through the roof, every fixing that passes through the waterproofing must be sealed, and wind exposure at height is greater than at street level. The building’s structural engineer must confirm the roof can carry the frame, screen and wind loads.
Plan maintenance access at the same time. A rooftop or high wall screen is only as serviceable as the route to it: a safe walkway behind the frame with guardrails and anchor points for rear-service cabinets, or space for a lift or gondola for front-service work. Access that is left until after installation is usually expensive to add and sometimes impossible.
02. Ground-standing installation
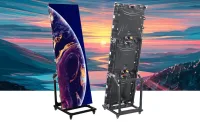
Ground-standing screens sit on a low base or plinth at eye level, for entrances, plazas, campuses and wayfinding. They are simple to build and easy to reach for service, but they are also within reach of people and vehicles. Plan for impact protection, a tamper-resistant enclosure for cables and power, and a viewing distance that suits a closer audience, which usually means a finer pixel pitch than a roadside billboard.
At street level, ambient light changes the brightness you need less than at height, but direct sun still matters. Our guide to LED screen brightness in nits explains how to set it for the site.
5. How Does Front or Rear Service Change the Installation?
Front or rear service decides how much space the structure must leave behind the screen. It is the decision that most often changes the steel design, so settle it together with the installation method.

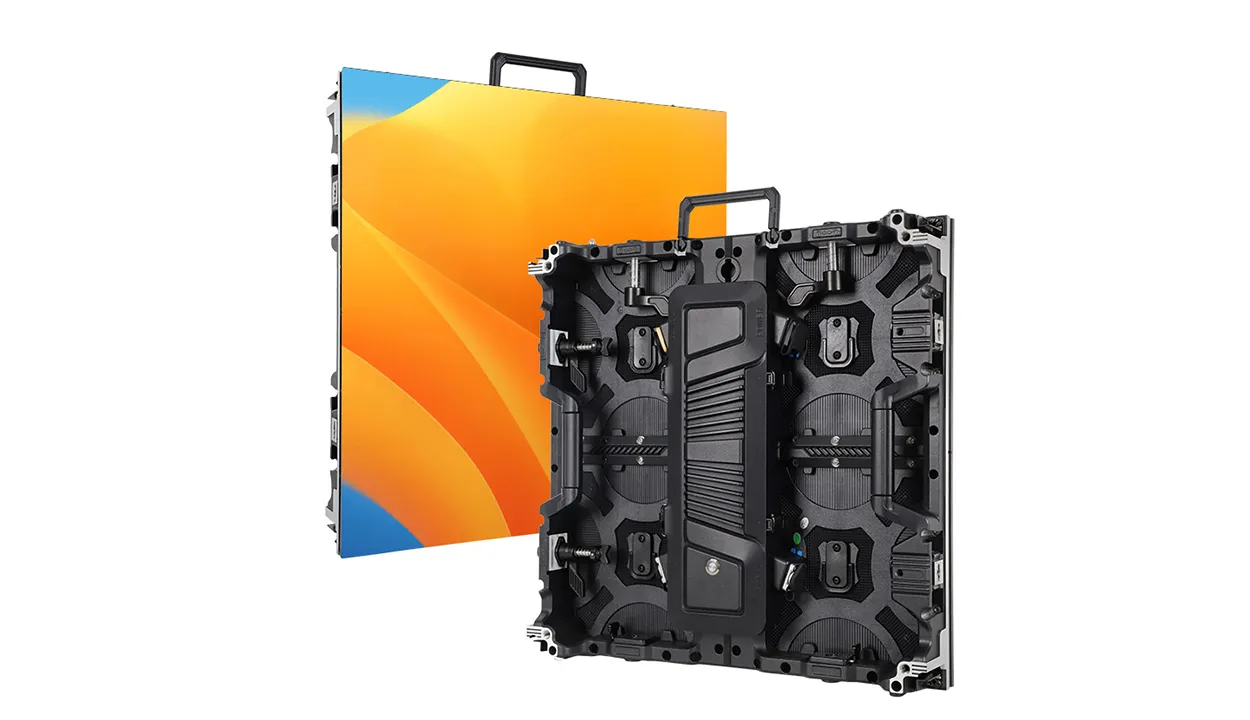
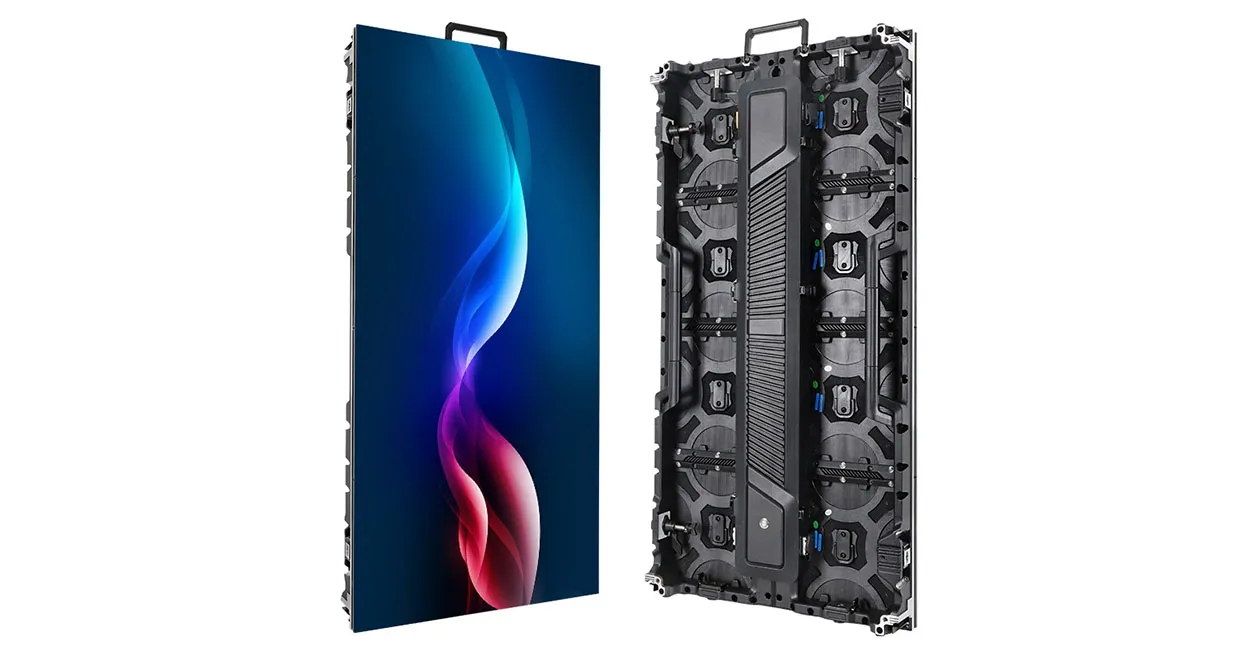
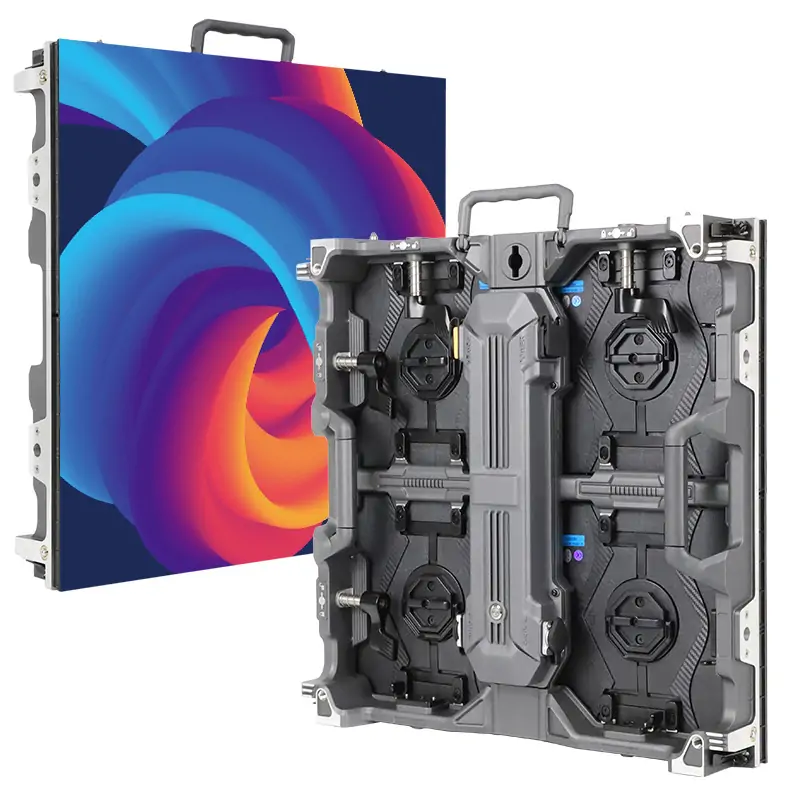
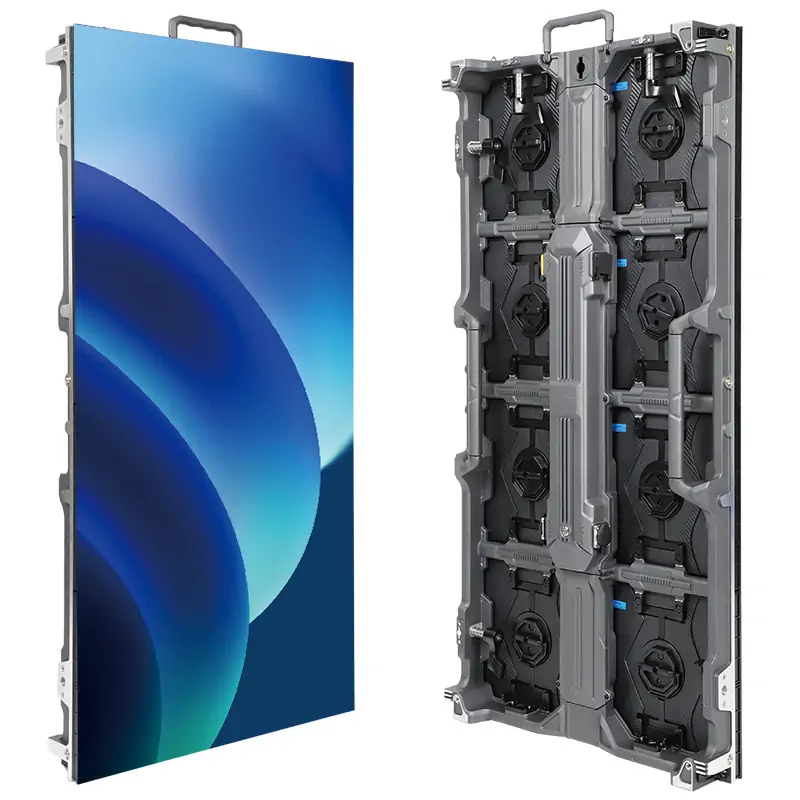
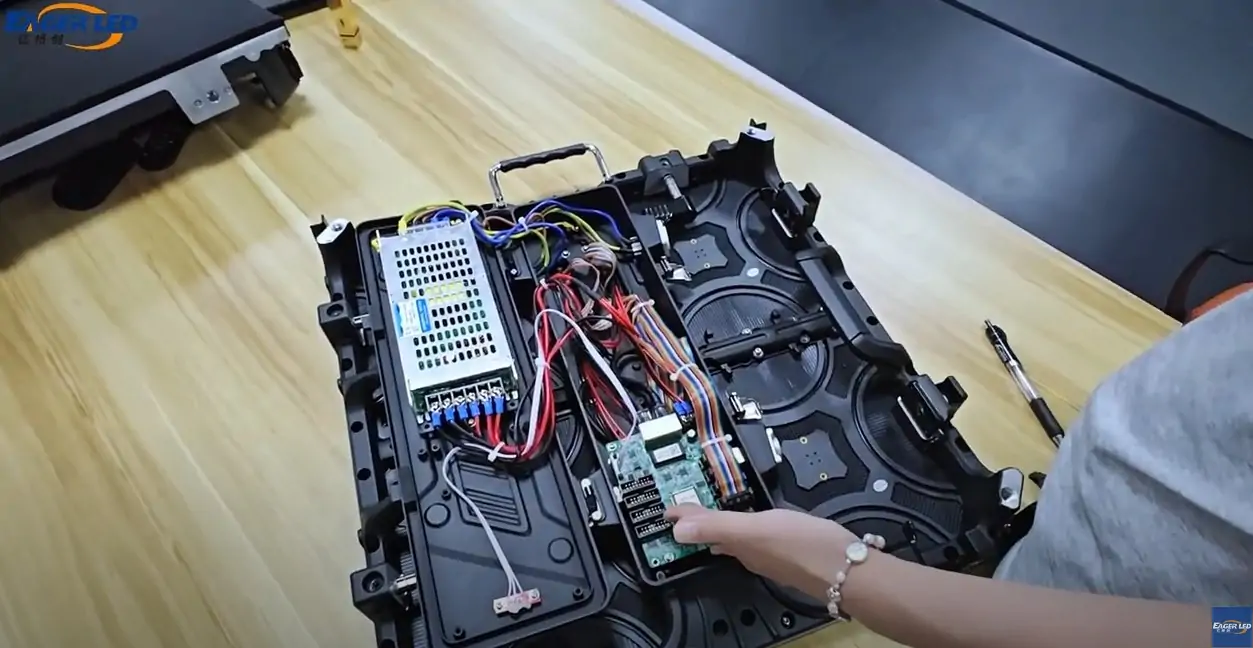
- Rear service: technicians open the back of each cabinet. The structure needs a safe walkway or platform behind the screen. EagerLED’s EA960R4 series, for example, has an openable back cover for maintenance.
- Front service: modules and power parts are removed from the front with service tools, so the screen can sit close to a wall or inside a recess. Front work at height usually needs a lift or gondola.
- Dual service: some cabinets support both. EagerLED’s EA1000F2 offers front and rear dual access, which keeps options open if the site changes.
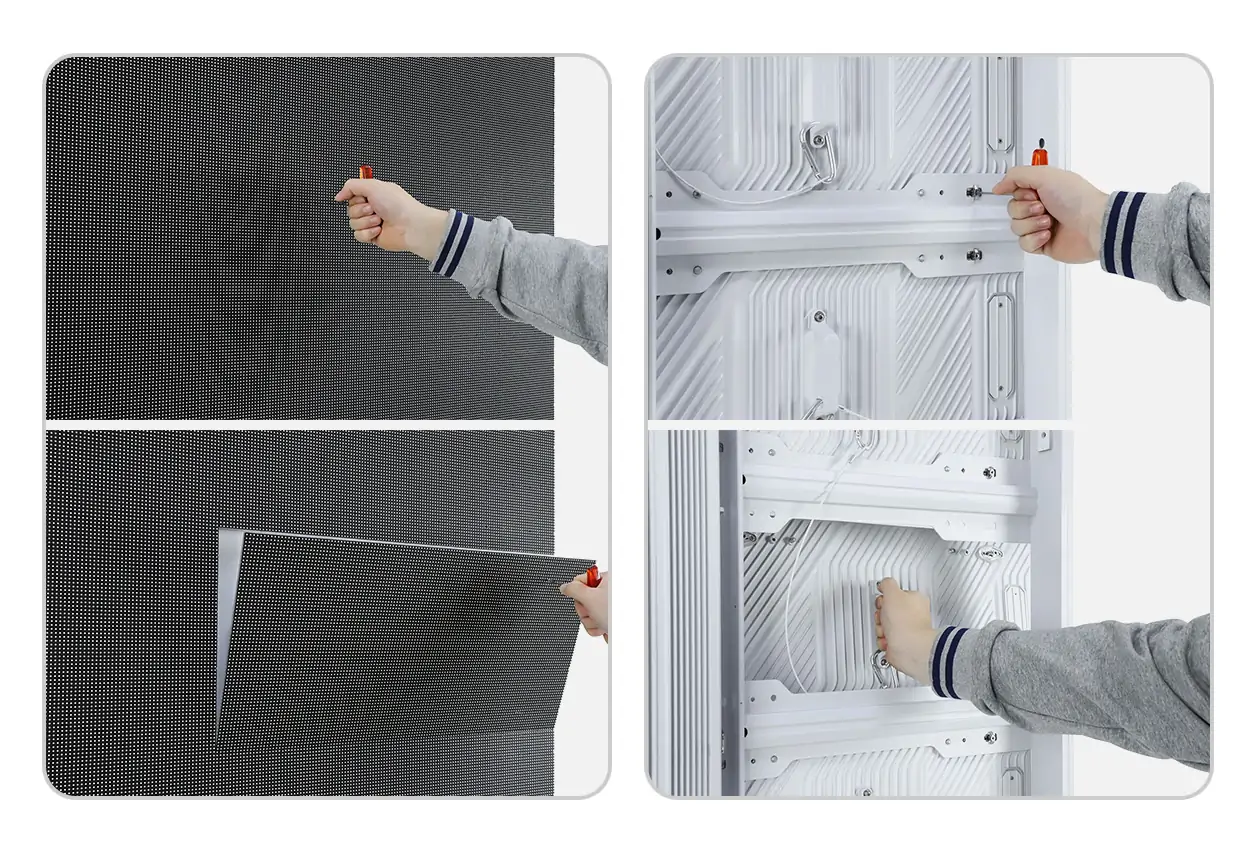
Our comparison of front service vs rear service LED displays goes deeper into cost, speed of repair and safety for each approach.
6. How Do You Choose the Right Outdoor LED Screen Installation Method?
Choose the outdoor LED screen installation method by starting from the site and the audience, then checking which supports are available and what the permit allows. The table maps common site conditions to the methods that usually fit.
| Site condition | Usually suits | Watch out for |
|---|---|---|
| Strong building wall facing the audience | Wall-mounted or recessed | Owner approval, anchoring into structure, service gap |
| Open roadside plot, no building | Single or double pole | Foundation design, setback rules, height limits |
| Viewers far away in a dense city | Rooftop or high wall | Roof capacity, wind at height, waterproofing |
| Pedestrians at close range | Ground-standing or low wall | Finer pixel pitch, impact and vandal protection |
| Building corner on a busy junction | Corner or curved wall-mounted 3D | Corner cabinets, content made for the angle |
| No space behind the screen | Any method with front-service cabinets | Lift access for front work at height |
Three questions narrow most choices quickly:
- Where will viewers be? Distance and angle decide height, size and pixel pitch, which in turn limit the methods that work.
- What can carry the load? A strong wall, open ground for a foundation, or a roof with spare capacity.
- What will the permit allow? Local rules on height, setback, brightness and digital signage often rule out options before engineering starts.
Think about the future as well. A free-standing frame can be designed with room for a second face on the back, and a wall frame can be sized for a larger screen later. Building that capacity in now costs far less than replacing the steel when the advertiser wants a bigger or double-sided display.
7. What Should You Prepare Before Outdoor LED Screen Installation?
Prepare the site information, approvals and service plan before ordering the screen, because each one can change the method or the structure. A short checklist for any outdoor LED screen installation:
- Site survey: photos, dimensions, viewing positions, sun direction, nearby obstructions and access for cranes or lifts.
- Permits: confirm digital signage, height and brightness rules with the local authority before design.
- Structural engineering: a licensed local engineer designs or approves the foundation, steel and anchors for local codes and wind conditions.
- Power and data: supply capacity at the site, cable routes, a distribution board with protection, and a signal or network path to the control room.
- Lightning and grounding: part of the structure design for any exposed outdoor screen.
- Service plan: front or rear access, who maintains the screen, and spare modules from the same production batch.
Agree early who is responsible for each part. A typical split is that the screen supplier provides the cabinets, control system, drawings and weights; a local engineer designs the foundation and steel; a steel contractor fabricates and erects the structure; and a licensed electrician handles the supply and protection. Gaps between those scopes, such as who supplies the cable trays or the service walkway, are where projects most often run late.
Regular cleaning and inspection also belong in the service plan. Our guides to cleaning an LED screen and LED screen lifespan explain what outdoor screens need over the years.
8. What Is the Installation Sequence on Site?
Once the method is chosen and the structure is approved, outdoor LED screen installation follows a similar sequence on every project. Doing the steps in order keeps the work safe and makes faults easy to trace.
- Check the structure: confirm the steel is level, square and built to the approved drawings before any cabinet is lifted. Small errors in the frame show up as visible gaps between cabinets.
- Fix the cabinets: lift and bolt the cabinets to the frame row by row, starting from the bottom or from a reference line, and connect neighboring cabinets so the face stays flat. EagerLED’s installation tutorial for its EA320F front-service outdoor display, for example, starts by fixing the cabinets with connecting iron pieces and screws.
- Connect power: plug the power cable firmly into each cabinet and run the supply from a protected distribution board, following the electrician’s design.
- Connect signal: connect the signal cables to each receiving card in the planned order, so the control system maps the cabinets correctly.
- Power-on test: test the screen section by section to confirm power supply and signal transmission before closing covers or cladding.
- Seal and finish: close cable entries, fit cladding and flashing, and check that vents and drainage paths are clear.
- Commission: calibrate brightness for the site, set schedules and automatic brightness control, and hand over spare parts and maintenance instructions.
Keep a record of cabinet positions, receiving card settings and test results. It makes later repairs and module replacements much faster.
Frequently Asked Questions
Which outdoor LED screen installation method is used most?
It depends on the setting. In cities, wall-mounted installation is widely used because a building already provides height and a support. On roadsides and open land, single and double pole structures are the usual choice because there is no wall to use.
Can an outdoor LED screen be mounted directly on a wall?
It is normally mounted on a steel subframe that is anchored to the building’s structure, not fixed directly to the facade surface. The subframe spreads the load, keeps the cabinets flat and leaves room for drainage, airflow and cables.
Do I need a structural engineer for an outdoor LED screen?
Yes. Foundations, steel and anchors must be designed or approved by a licensed engineer for local codes and wind conditions. Screen suppliers provide cabinet weights and dimensions, but they do not replace the local engineer’s sign-off.
Does front-service or rear-service affect the installation cost?
It changes where the cost goes. Rear service needs a deeper structure with a walkway, while front service saves structural depth but may need a lift for maintenance at height. Compare both over the life of the screen.
How long does outdoor LED screen installation take?
It depends on the method and on approvals. Foundations need time to cure before steel goes up, and permits can take longer than the build itself. Ask your contractor for a schedule that includes approvals, foundations, steel, screen assembly and commissioning.
Can a rental LED screen be used for a permanent outdoor installation?
It is possible, but fixed outdoor cabinets are usually the better fit. They are designed for continuous weather exposure and permanent fixing, while rental cabinets are optimized for fast assembly and transport.
Planning Your Outdoor LED Screen Installation
The installation method should be decided with the screen, not after it. When you request a quote, send photos and dimensions of the site, where viewers will be, what the screen will be fixed to, and whether there is space behind it for service. EagerLED can then recommend cabinets such as the EA1000F2 outdoor advertising screen with front or rear service to match your outdoor LED screen installation, and provide cabinet weights and drawings for your engineer. Send your project details to get started.
 Retail Entrance LED Poster: Supplier Readability Checks
 COB Control Wall: Supplier Visibility Checks
Related Posts
Fill In Your Needs In Detail
Fill in the screen usage scene and size you need in “Content”.You will get a quote.