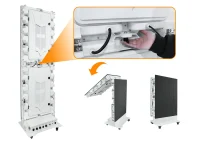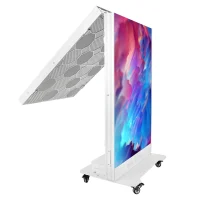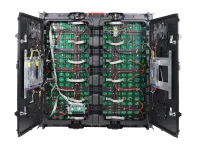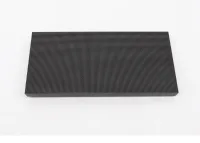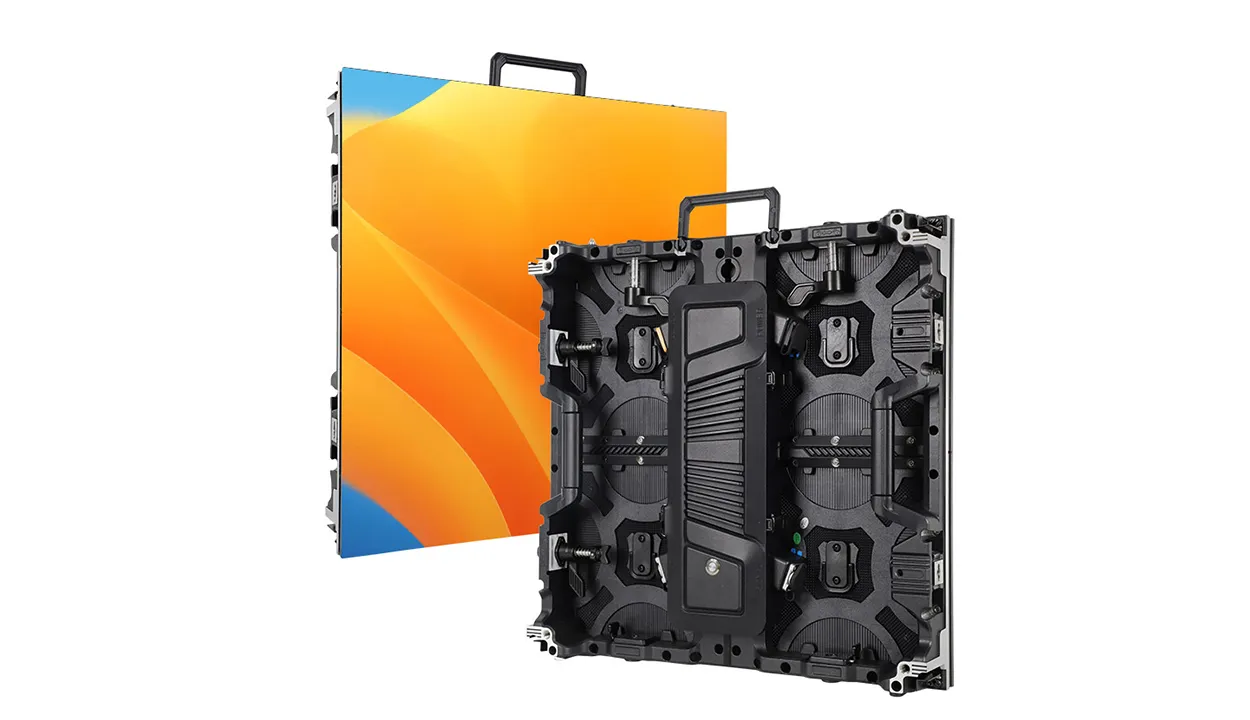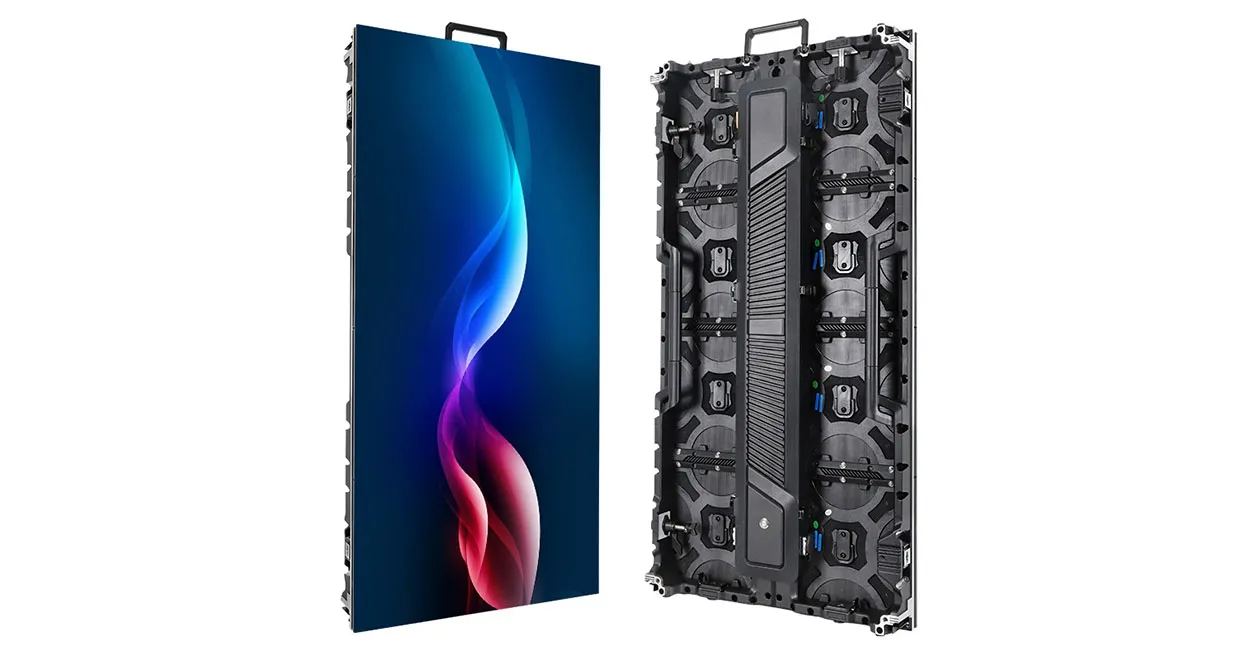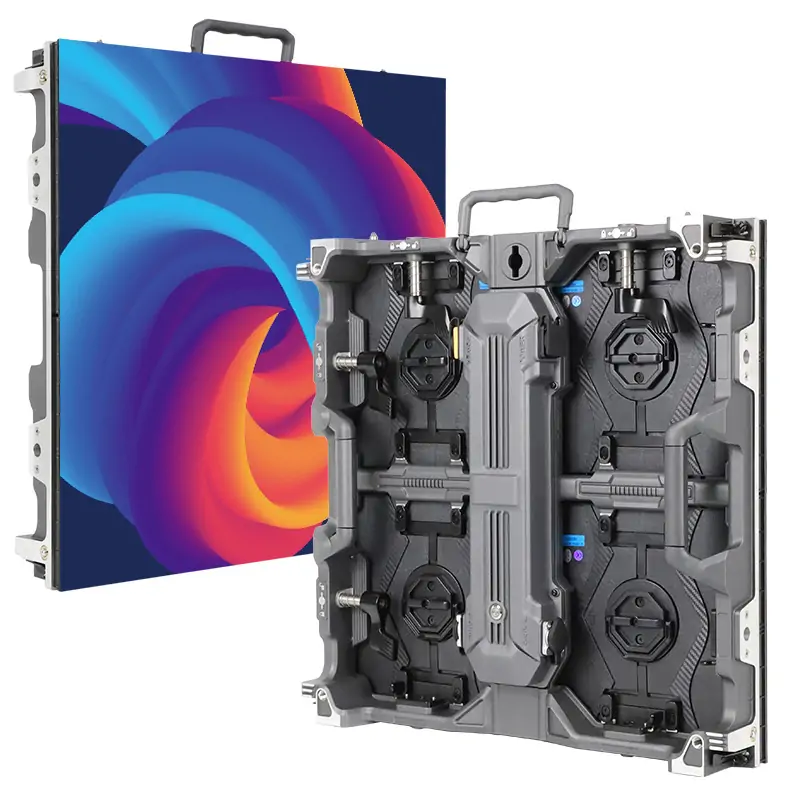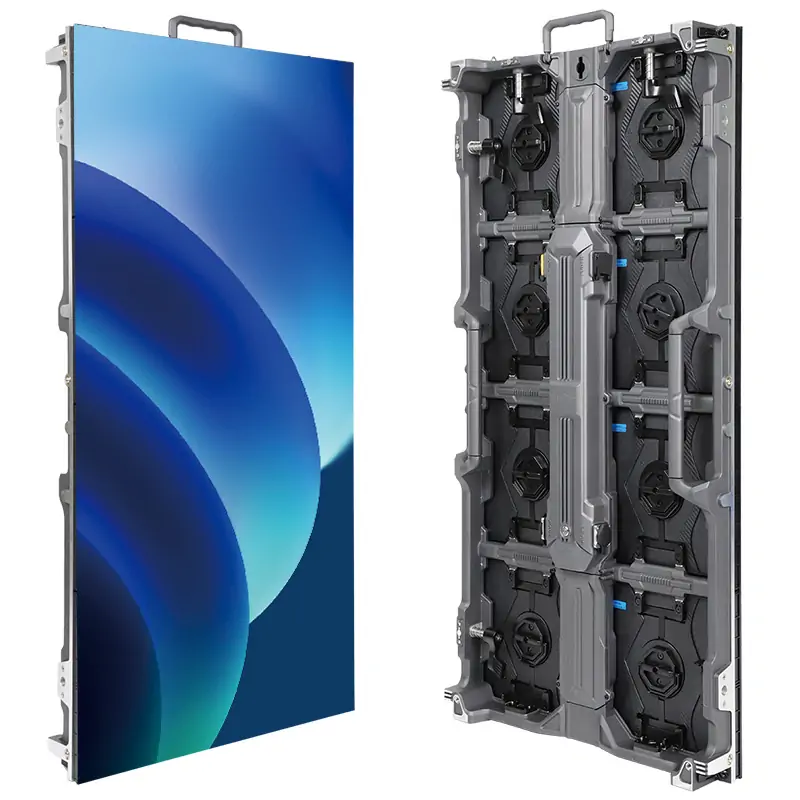
Front-service vs rear-service LED displays are mainly an access decision, not an image-quality decision. Choose front service when the display must sit close to a wall, glass facade, or architectural finish and technicians cannot work safely behind it. Choose rear service when the structure provides a permanent, protected service corridor and rear access makes large-cabinet maintenance faster.
The correct answer depends on what can be removed from each side, how technicians reach every component, how the cabinet is supported and cooled, and what one hour of downtime costs. This guide turns those questions into a practical specification for fixed indoor, retail, facade, and outdoor advertising projects.
1. Front-Service vs Rear-Service LED Displays: The Short Answer
A front-service LED display lets technicians remove serviceable parts from the viewing side. A rear-service display requires access behind the screen. Neither method is automatically brighter, sharper, or more reliable; those outcomes depend on the LEDs, driver design, processing, thermal control, protection level, installation quality, and calibration.
Use this rule for the first decision: if reliable rear access cannot be guaranteed for the life of the display, specify front service. If a safe rear corridor is already part of the structure, compare both designs on component access, cabinet depth, airflow, weather sealing, labor time, and total installed cost.
Do not approve a proposal that only says “front maintenance.” Confirm in writing whether LED modules, power supplies, receiving cards, hub boards, cables, fans, and cabinet fasteners can all be reached from the promised side. A display is only fully front-service when the items most likely to require replacement are genuinely accessible from the front.
2. How Front-Service and Rear-Service LED Displays Work
2.1. Front-service access
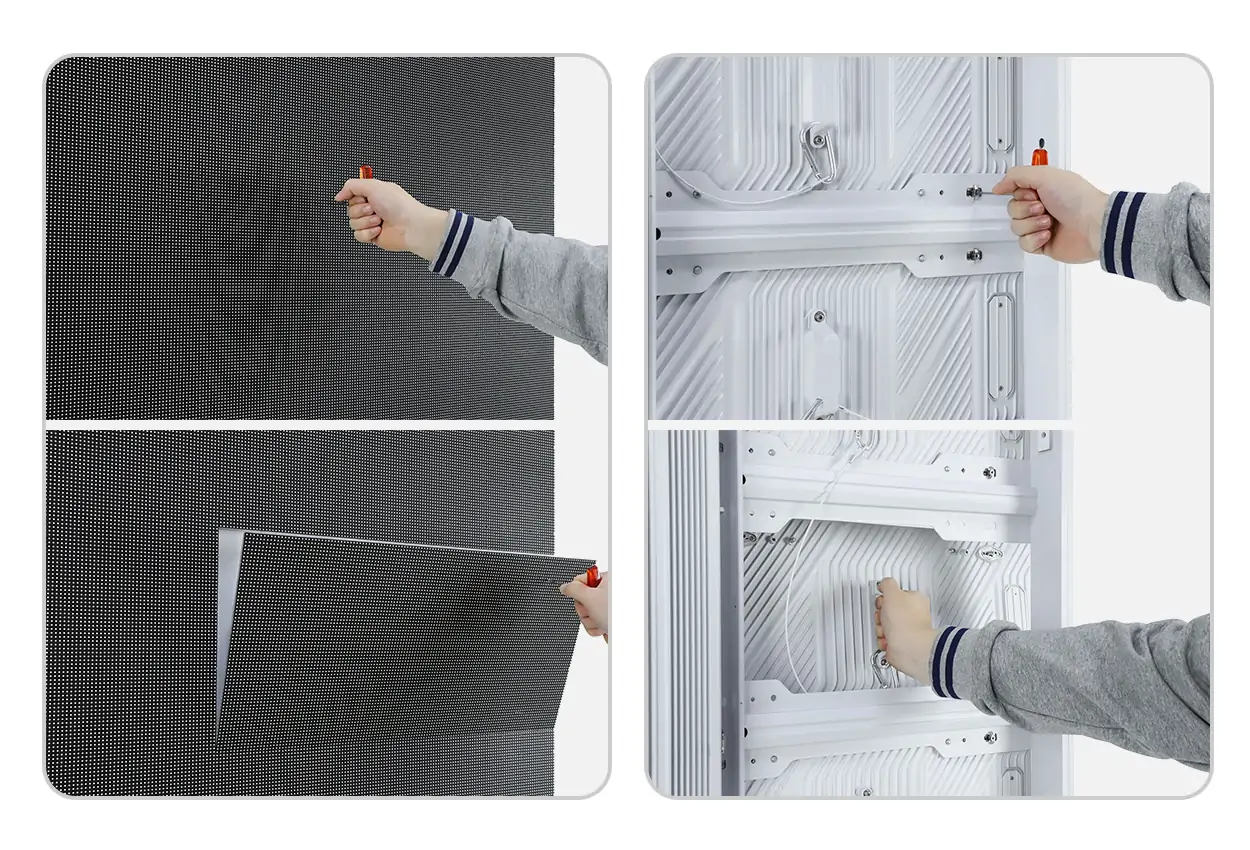
Front-access LED cabinets commonly use magnetically retained modules, captive fasteners, or a dedicated vacuum or magnetic service tool. After electrical isolation, a technician removes the affected module from the display face and reaches the power and signal system through the opening. This architecture can reduce wall depth and eliminate a rear maintenance aisle.
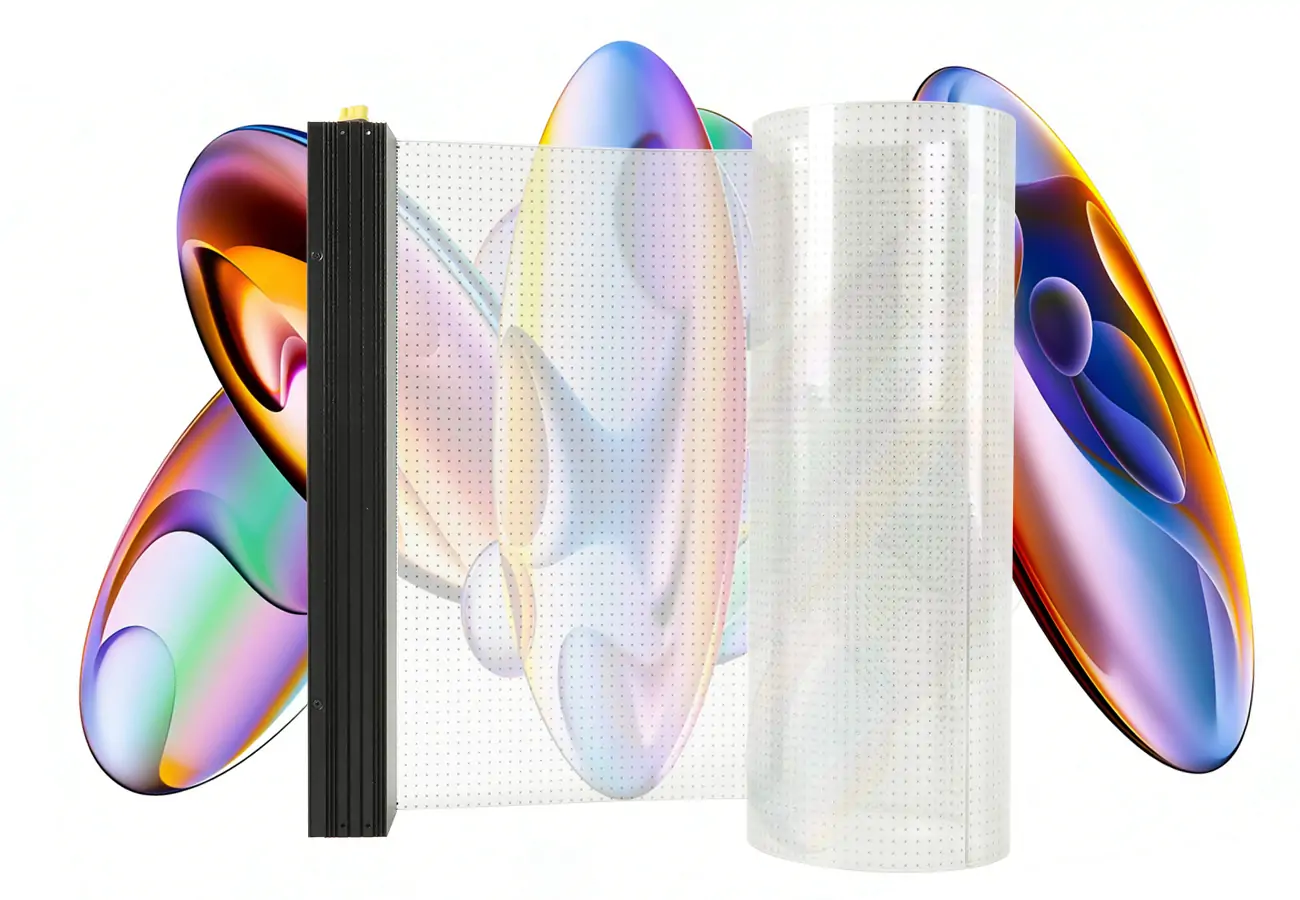
The benefit is strongest for wall-mounted indoor LED video walls, shallow retail installations, column wraps, and displays integrated with architectural finishes. It is also valuable behind shop windows or near glass curtain walls, where a rear walkway may conflict with merchandise, mullions, doors, or the building envelope. For these projects, also compare the transparency, suspension, and access strategy of EagerLED’s transparent LED display solutions.
2.2. Rear-service access
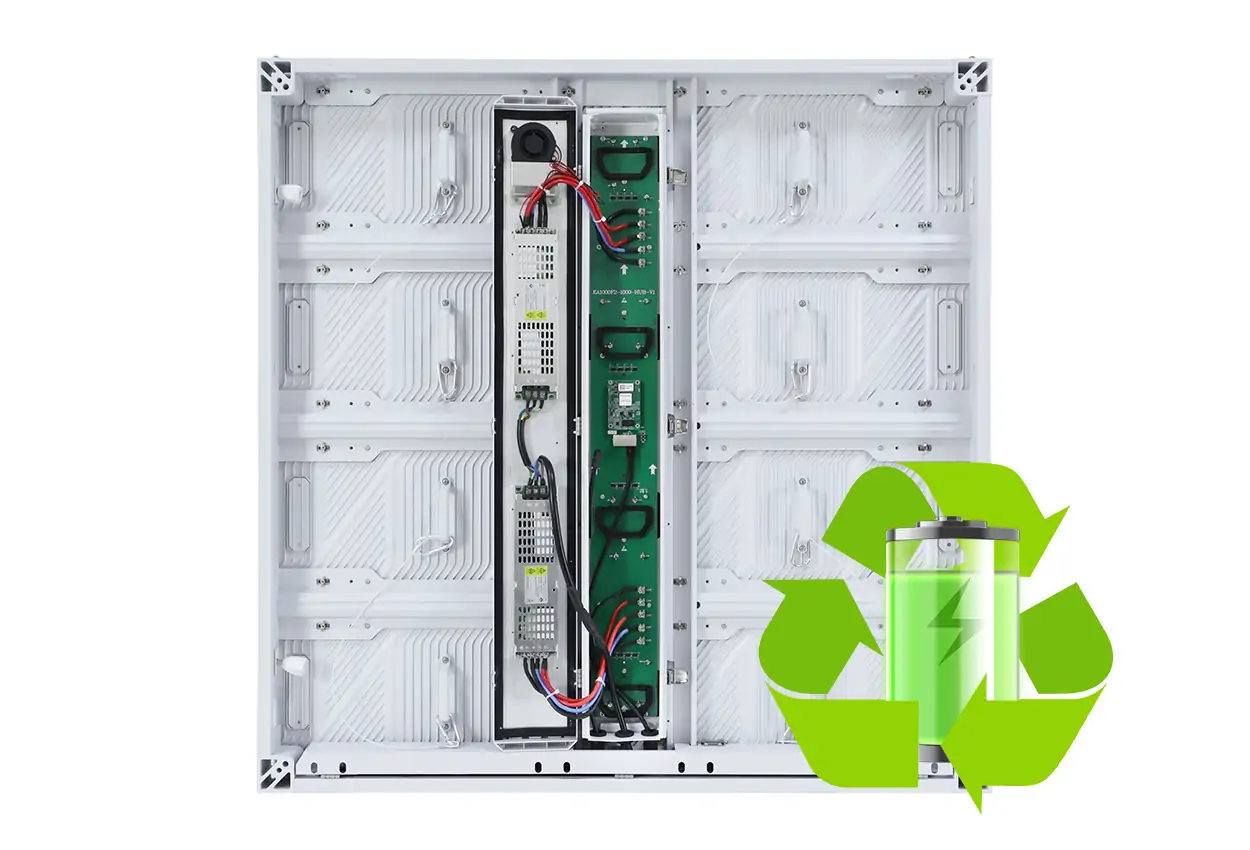
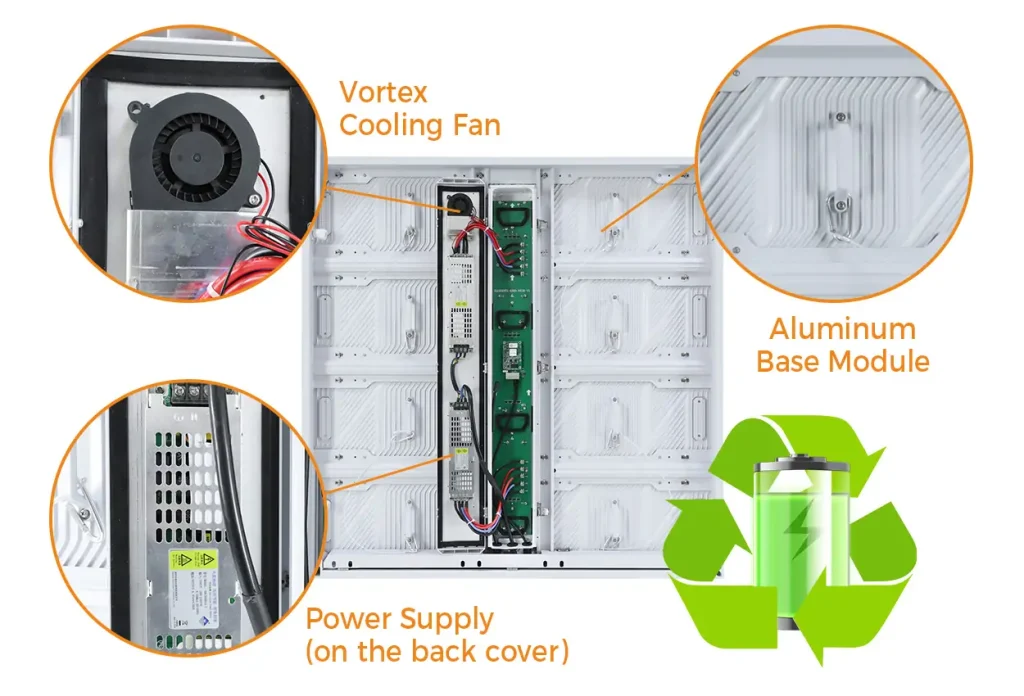
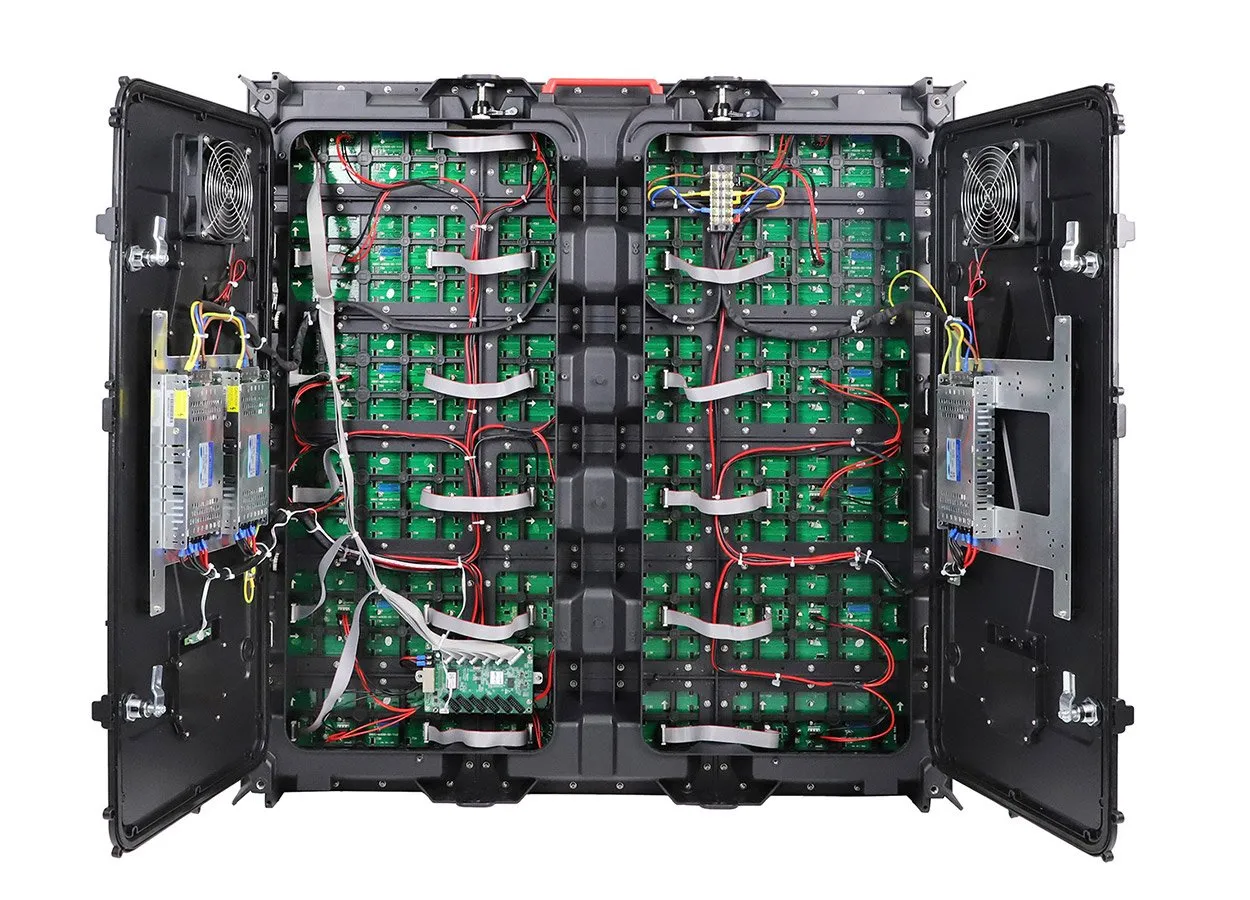
Rear-service cabinets open from behind through doors, removable covers, or a service frame. Technicians work inside the supporting structure and normally reach power supplies, control cards, wiring, cooling components, and the back of the LED modules without touching the viewing surface.
This arrangement suits freestanding outdoor billboards, rooftop signs, stadium structures, and large fixed screens with a designed service platform. It can be efficient because major components are visible from one working side, but the access zone becomes part of the building and safety design. A space that exists during installation but is later blocked by cladding, storage, landscaping, or another tenant is not dependable rear access.
3. Key Differences at a Glance
| Decision factor | Front service | Rear service |
|---|---|---|
| Technician position | Viewing side | Behind the display |
| Typical structural depth | Can support a shallower wall assembly | Must include a usable service zone |
| Best-fit environments | Retail walls, lobbies, control rooms, facade-adjacent screens | Billboards, stadiums, freestanding and catwalk-served screens |
| Main risk | Damage during module extraction or incomplete front access | Unsafe, obstructed, hot, or weather-exposed rear workspace |
| Cost driver | Front-access hardware and service tools | Corridor, platform, doors, lighting, ventilation, and fall protection |
| Image performance | Determined by the complete LED system, not service direction alone | |
4. Start with the Site, Structure, and Access Route
4.1. Survey the complete service route
Draw the technician’s route from the building entrance to every cabinet. Record doors, stairs, ladders, lifts, roof hatches, parapets, ceiling voids, catwalks, glass panels, decorative cladding, and locked areas. Then verify that a replacement module or power unit can travel along the same route without dismantling the building finish.
For rear service, do not reduce the design to a single clearance dimension. A workable zone also needs body movement, tool clearance, safe footing, lighting, emergency egress, cable protection, and a way to handle components. Local codes, the structural engineer, the electrical designer, and the installer must determine the final dimensions and controls.
4.2. Coordinate with the wall and facade design
An indoor wall may appear simple but still contain sprinklers, air returns, acoustic treatment, doors, and structural joints. A glass curtain wall adds mullion spacing, glass replacement zones, solar heat, condensation, reflections, and restrictions on drilling or point loading. Resolve these interfaces before fixing cabinet dimensions.
For transparent retail signage, preserve the required view through the glazing and access to clean both the glass and the display. A front-service solution may save floor area, but the extraction tool and removed module still need a protected working zone on the customer side. Rear service may be practical when a controlled staff corridor already runs behind the display.
5. Compare Maintenance Tasks, Downtime, and Safety
5.1. Time a complete component replacement
Ask the supplier to demonstrate a realistic fault, not only a fast module pull. The test should include isolation, access setup, removal, connector inspection, replacement, power-up, data check, brightness verification, and final alignment. Repeat it at the center, an edge, and the least accessible cabinet.
Front service can shorten travel time when a lift or small platform can reach the viewing side. Rear service can be faster when technicians already have a permanent platform and can inspect several cabinets without moving access equipment. The relevant metric is mean time to restore the display under site conditions, not the seconds shown in a factory video.
5.2. Treat electrical and work-at-height safety as design inputs
Service direction does not remove the need for safe isolation, lockout procedures, suitable access equipment, trained personnel, and fall protection where required. Review the project with the responsible safety and electrical professionals. The U.S. Occupational Safety and Health Administration electrical guidance is a useful general reference, but applicable local regulations and site procedures control the work.
Build maintenance windows into the operating plan. A retail screen may be serviced before opening; a transport or control-room display may require redundancy; a roadside display may need lane management or a weather window. These constraints can outweigh a small difference in cabinet price.
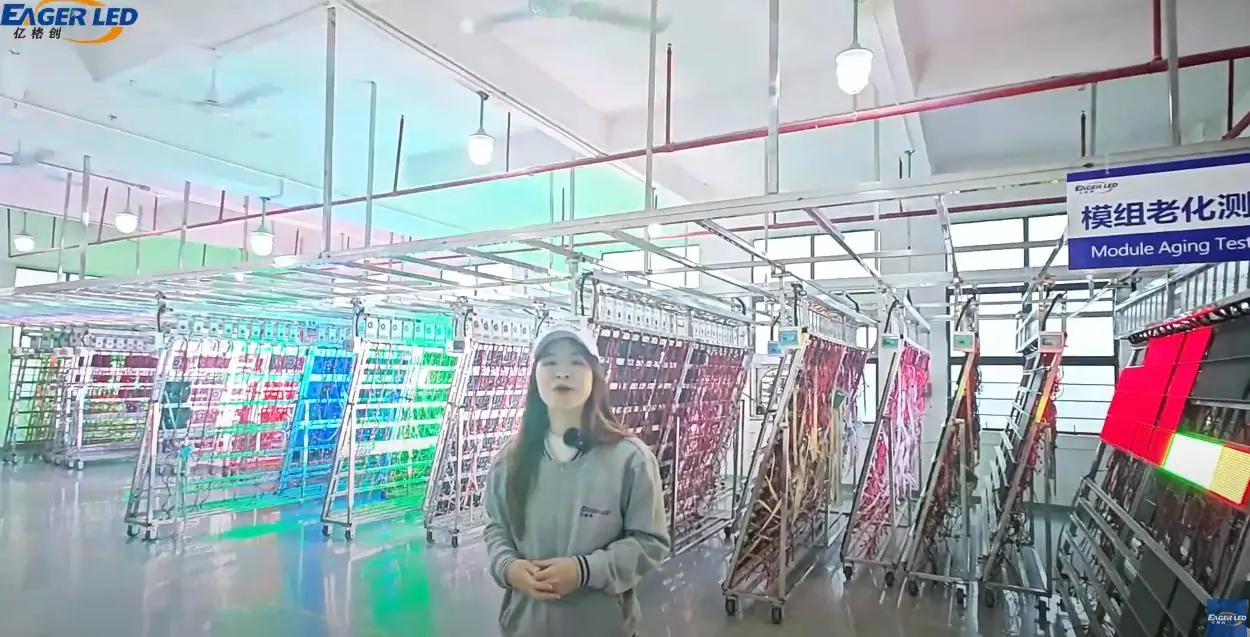
EagerLED demonstration: front and rear maintenance procedures for an LED display cabinet.
6. Check Cabinet Depth, Cooling, and Weather Protection
6.1. Do not trade access for poor thermal performance
A shallow front-service wall still needs a defined heat path. Confirm the manufacturer’s limits for ambient temperature, solar load, ventilation, derating, fan maintenance, and spacing around the installed cabinet. For glass-fronted retail sites, model the hot zone between the display and glazing rather than relying on the room thermostat.
Rear corridors can also overheat, especially inside dark outdoor structures exposed to sun. More empty volume does not guarantee cooling. Specify where air enters and leaves, what happens when a fan fails, and how filters or vents are cleaned.
6.2. Verify protection at every opened service interface
For outdoor displays, request the protection rating for the relevant face and for the complete assembled product. Check door seals, module gaskets, cable glands, drain paths, corrosion protection, and the procedure for reseating seals after service. The IP Code is defined in IEC 60529; the IEC’s official IP rating guidance explains how enclosure protection against dust and liquids is classified. An IP statement should identify exactly what assembly was tested and under which configuration.
Serviceability and weather resistance must be validated together. A quick-open door is not useful if repeated opening damages a gasket, and a sealed front module is not maintainable if its removal method risks the coating or LEDs.
7. Compare Installed Cost and Lifetime Cost
Do not compare cabinet prices in isolation. A rear-service design may use familiar hardware but require a deeper steel structure, access doors, platforms, lighting, ventilation, guarding, and more floor or facade volume. A front-service design may cost more at cabinet level yet reduce building work and rentable-space loss.
Build a five-year or project-life comparison that includes:
- LED cabinets, processors, spares, service tools, and calibration equipment
- Steelwork, cladding, access platforms, lifts, and electrical distribution
- Installation, commissioning, training, and acceptance testing
- Planned inspections, cleaning, replacement labor, and access-equipment rental
- Expected downtime and the business value of restoring the display quickly
- Energy used by the display and any dedicated ventilation or cooling
Use the same scope and operating assumptions for both options. The lowest panel price is not the lowest-cost display when technicians cannot reach it without dismantling finishes or hiring specialized access equipment.
8. When to Choose a Front-Service LED Display
Front service is normally the stronger starting point when the display is mounted directly to a wall, installed in a shallow recess, positioned behind retail glazing, or surrounded by finishes that eliminate rear entry. It also suits lobbies, meeting rooms, command centers, broadcast sets, museums, and houses of worship where a rear corridor would consume useful space.
Choose it only after confirming the front removal method at the installed height. Ask whether the tool can release a module without chipping adjacent LEDs, whether a safety tether is available, how a corner or edge module is removed, and how the technician supports the part while disconnecting cables. Review EagerLED’s indoor LED screen options when planning a shallow fixed installation.
9. When to Choose a Rear-Service LED Display
Rear service is a sound choice for freestanding billboards, rooftop signs, stadium fascia, building-mounted advertising screens, and other structures designed around a permanent rear work area. It is especially practical when the display face is above traffic or a public zone where placing a lift in front would be disruptive.
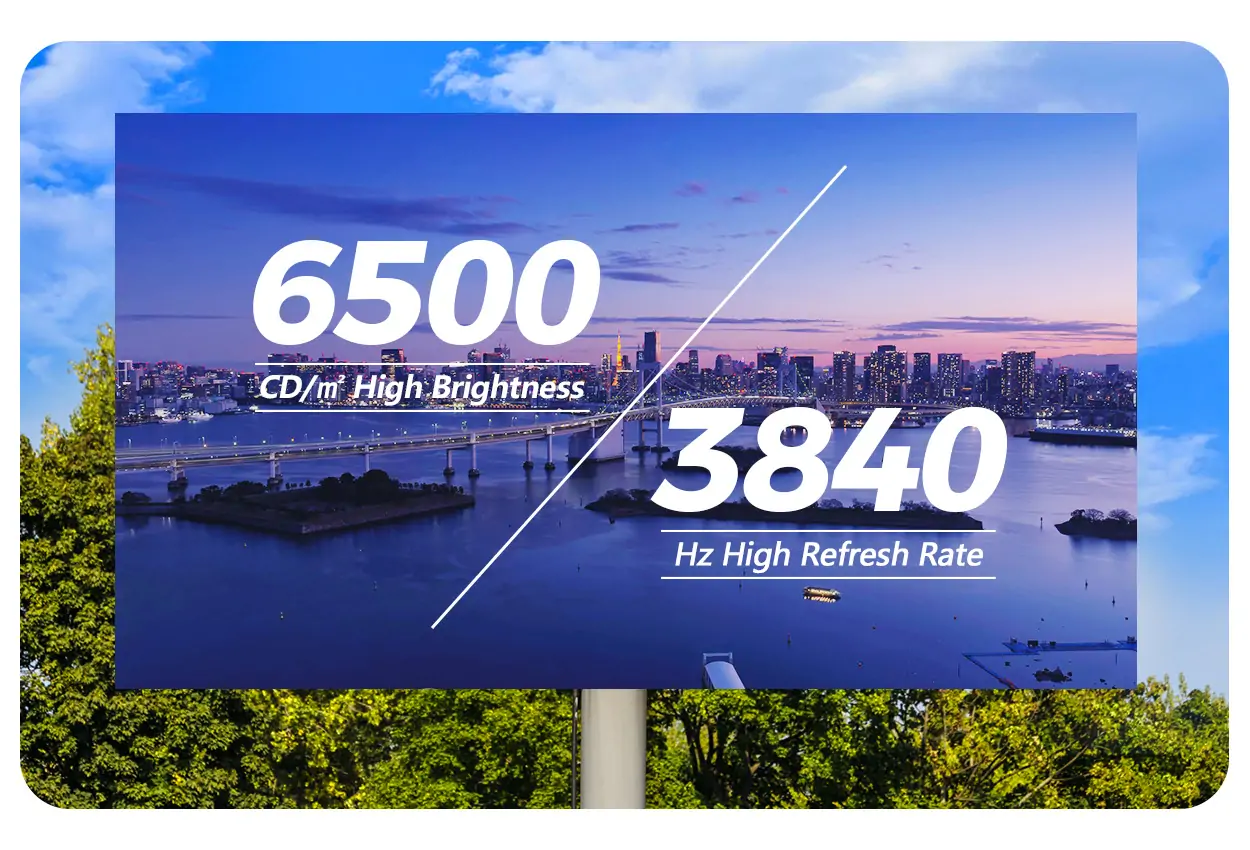
The design team must protect that advantage for the full service life. Document access ownership, keys, lighting, ventilation, fall protection, drainage, clearance around opened doors, and the route for replacement parts. EagerLED’s advertising LED screen range and the EA1000F2 dual-access outdoor display show configurations intended for these large-format applications.
10. Consider Dual-Service or Hybrid Access
A cabinet that supports both front and rear service can reduce design risk when access conditions differ across the screen or may change later. For example, the lower rows of a facade display may be reachable from a rear platform while upper modules are easier to remove from the front using approved access equipment.
Dual service is not automatically worth paying for. Verify which components are accessible from each side, whether both paths maintain the same environmental protection, and whether the extra hardware affects weight, depth, cabling, or spares. Write the expected service path for each component into the operation and maintenance manual so technicians do not improvise.
11. Use This Selection and Acceptance Checklist
- Map the site. Record wall depth, structure, glazing, public zones, service corridors, lifts, doors, weather exposure, and future fit-out plans.
- List every replaceable part. Modules, power supplies, receiving cards, hub boards, cables, fans, sensors, and cabinet hardware must each have a defined access side.
- Compare complete designs. Include steel, platforms, cladding, ventilation, electrical work, safety systems, tools, and access-equipment rental.
- Run a service demonstration. Replace a real component at the easiest and hardest positions using the proposed method.
- Validate image and thermal performance. Test real content at expected brightness and ambient temperature; service direction does not replace system testing.
- Inspect sealing after maintenance. Confirm gasket seating, door latches, cable glands, and the required post-service checks.
- Prepare the maintenance package. Include labeled spares, tools, calibration files, drawings, training, contact routes, and escalation times.
- Record acceptance results. Document replacement time, access equipment, safety controls, test images, and the responsible parties before handover.
EagerLED’s front and rear maintenance demonstration can help project teams visualize the basic process, but final acceptance should use the exact cabinet, mounting structure, and access conditions proposed for the project.
12. FAQs
13. Conclusion
Choose front-service vs rear-service LED displays by designing the maintenance route before selecting the cabinet. Front service is generally the safer choice for shallow wall-mounted, retail, glass-adjacent, and architecturally integrated screens. Rear service remains effective for billboards, stadiums, and freestanding structures with a permanent protected work area. Dual service can help when the project genuinely needs both paths.
The final specification should identify the access side for every replaceable component, document structure and thermal conditions, verify outdoor sealing where applicable, and record a timed maintenance demonstration. That evidence is more reliable than a generic label and gives owners a display they can actually maintain throughout its service life.
 How Do LED Screens Work? RGB Pixels, Modules & Controls
 How to Choose LED Screen Brightness: Nits by Application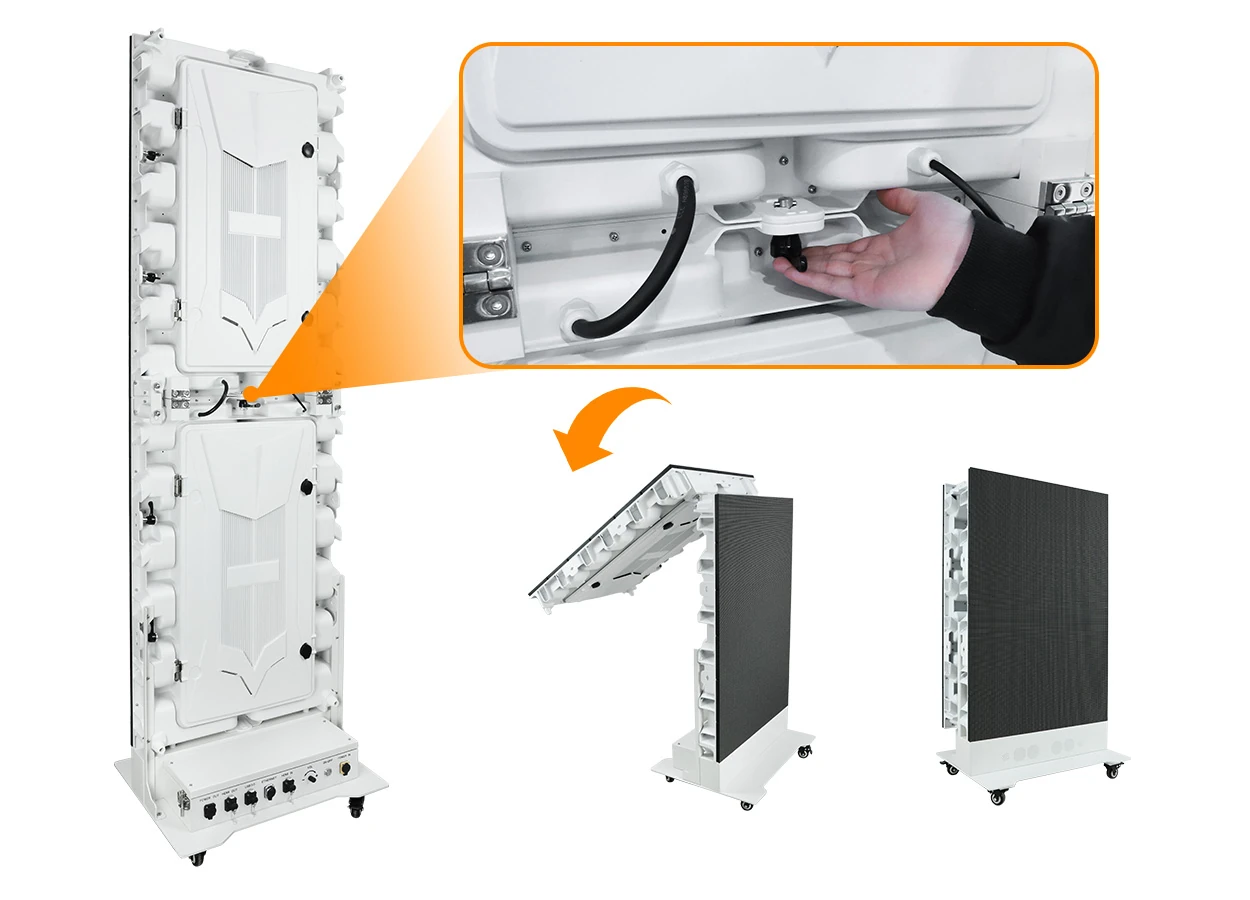
Fill In Your Needs In Detail
Fill in the screen usage scene and size you need in “Content”.You will get a quote.