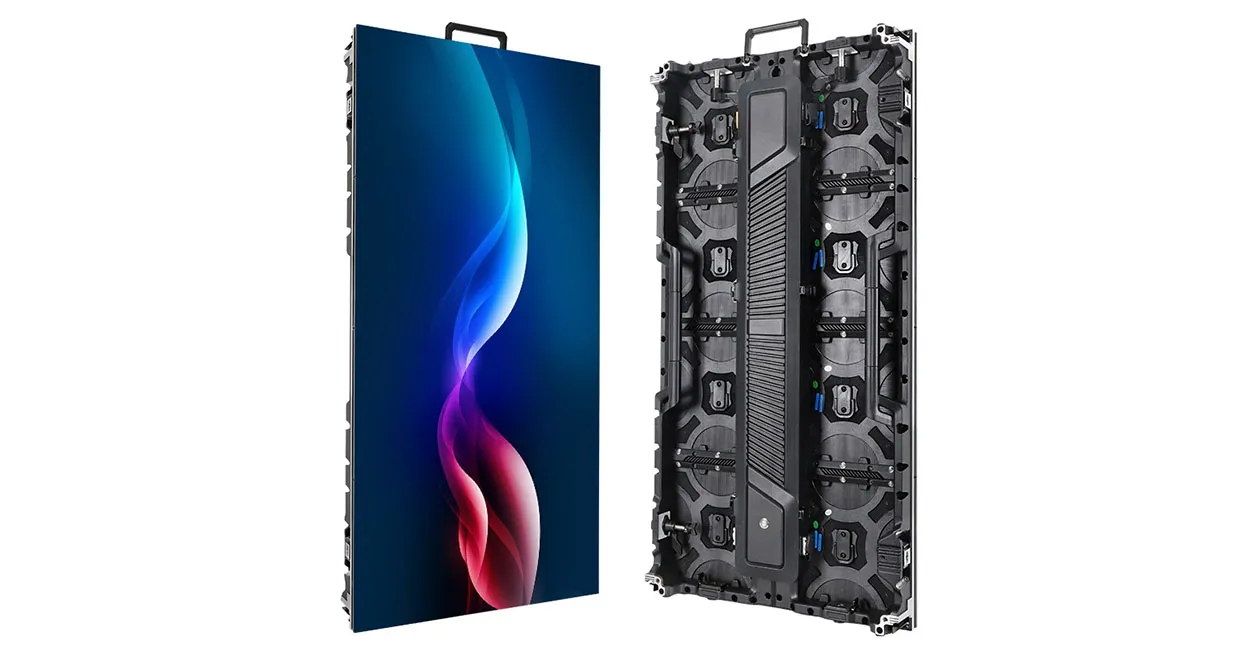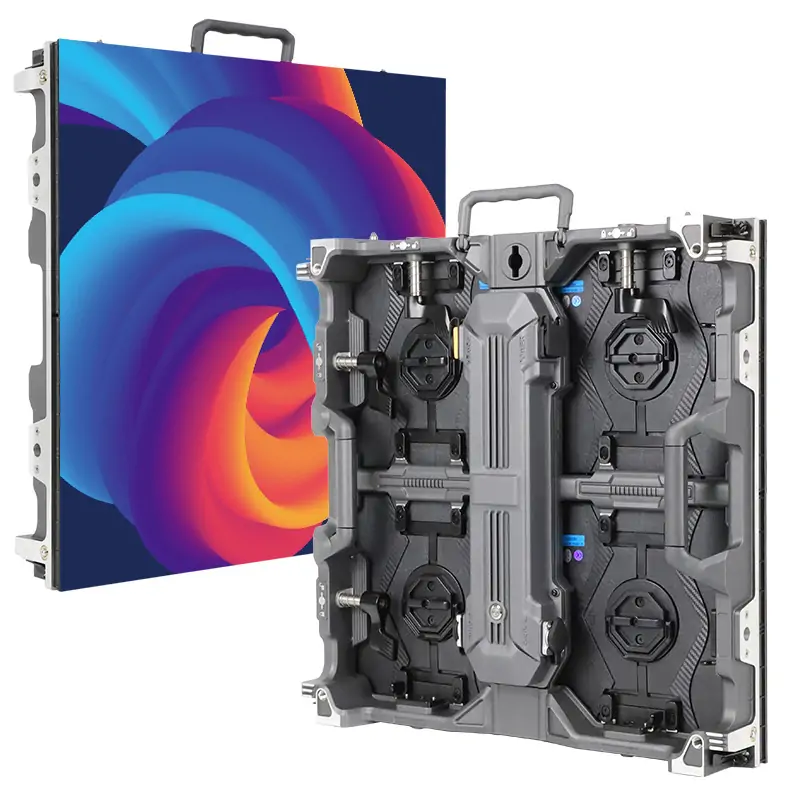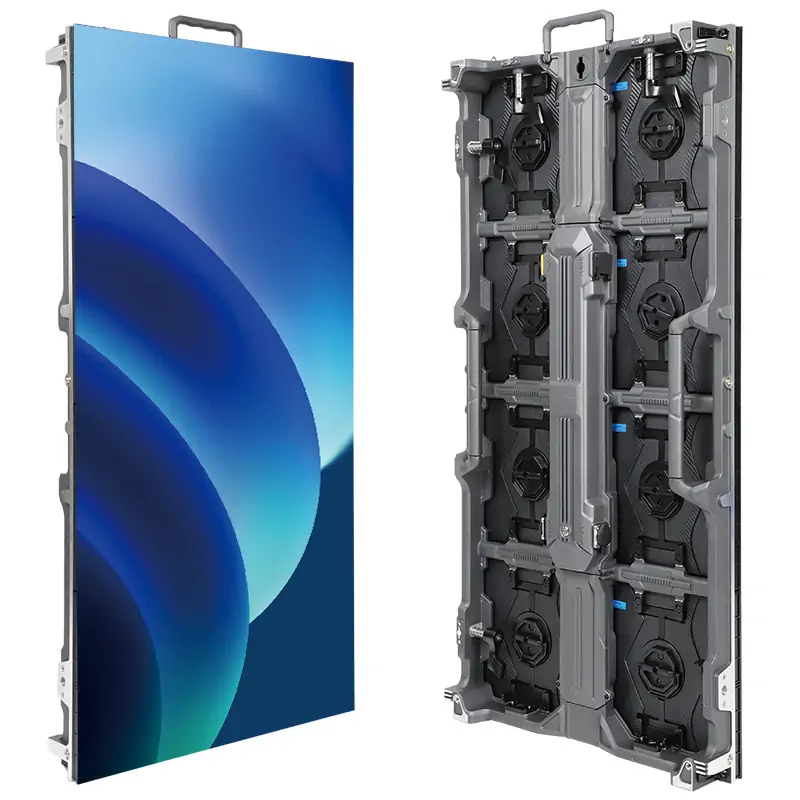
The LED display manufacturing process turns bare LED packages and circuit boards into finished screens in three stages: building the module electronics, protecting the module, and testing and assembling it into cabinets. At EagerLED’s factory in Shenzhen, that path has 12 published steps, from baking the LED lamps before soldering to a 72-hour aging test on the finished screen. Each step exists to stop a specific failure, so knowing the sequence tells a buyer what to ask a supplier and what to look for on a factory visit.
This guide is written for distributors, importers and AV integrators who are assessing an LED display factory before a first order. It explains what happens at each step, why it matters for reliability, how indoor and outdoor modules differ, and which evidence to request. Process details and durations come from EagerLED’s published factory and quality-control pages; general industry practice is labeled as such.
1. How Are LED Displays Made?
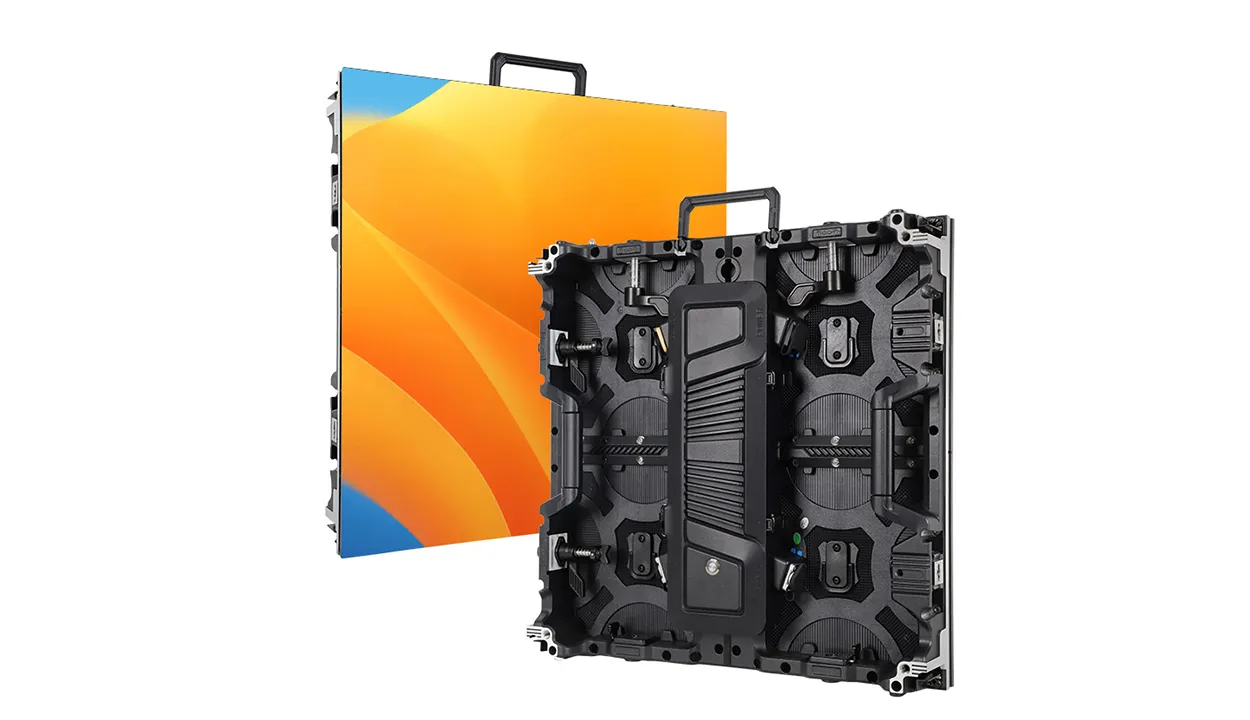
An LED display is made from modules, and the LED display manufacturing process is mostly about building and proving those modules before they go into cabinets. Each module is a circuit board carrying hundreds or thousands of LED packages on one side and the driver chips on the other, closed with a plastic bottom case and a front mask. Modules are then fitted into a cabinet with a receiving card and a power supply, and cabinets are joined on site to form the screen.

| Step | What happens | What it prevents |
|---|---|---|
| 1. LED lamp baking | LED packages are baked before soldering | Moisture damage during the heat of reflow soldering |
| 2. PCB SMT | Solder paste, component placement and reflow on the driver side | Missing or poorly soldered driver components |
| 3. LED SMT | Solder paste and LED placement on the lamp side | Misaligned or cold-soldered LEDs |
| 4. Light-on test | Every LED is lit to confirm it works | Dead pixels reaching later stages |
| 5. Three-proof coating | Protective conformal paint on the PCB | Corrosion from moisture, dust and salt |
| 6. Bottom case | PCB and bottom shell joined with screws | Board flex and loose fixings |
| 7. Glue filling | Potting compound on outdoor modules | Water entering from the back of the module |
| 8. Mask | Black mask fitted over the LEDs | Physical damage to LEDs and poor contrast |
| 9. QC test | Brightness and color consistency checks | Visible patches between modules |
| 10. Module aging | Modules run for more than 12 hours | Early-life failures after delivery |
| 11. Cabinet assembly | Modules, frame and power supply assembled | Wiring and fit problems on site |
| 12. Screen aging | Assembled screen runs for 72 hours | System-level faults in power and signal |
EagerLED lists its factory at more than 5,000 m² (53,800 ft²) with more than 100 production staff, and states a monthly production of more than 6,000 m² of display. Those figures describe this factory only; other factories will run more or fewer steps, in a different order, so ask each supplier for its own written process.
2. What Happens at the SMT Stage of the LED Display Manufacturing Process?
SMT, surface-mount technology, is the stage of the LED display manufacturing process where the electronics of the module are built. Solder paste is printed onto the circuit board through a stencil, machines place components onto the paste, and the board passes through a reflow oven that melts the solder and fixes every part in place.
01. Why the LEDs are baked first
LED packages absorb moisture from the air during storage. If that moisture is trapped when the board passes through the reflow oven, it can expand and damage the package. Baking dries the LEDs before soldering. The electronics industry manages this risk for moisture-sensitive parts under the IPC/JEDEC J-STD-033 standard; EagerLED lists LED lamp baking as the first step of its process.
02. Two sides, two SMT passes
Most video modules are double-sided. The PCB SMT pass places the driver chips and other components on the back, and the LED SMT pass places the LED packages on the front. The second pass is the more demanding one, because LED position and height decide how even the image looks.

03. Inspection after reflow
Across the electronics industry, SMT lines commonly add optical inspection after reflow to catch bridged joints, missing parts and misplaced components before they reach the next station. EagerLED’s published process does not name its inspection method at this stage, so ask any supplier how soldering defects are detected and how many modules are reworked on a typical order. A clear answer with records is a good sign that the line is controlled rather than relying only on the final light-on test.
04. The first electrical check
The light-on test follows immediately. Every LED on the module is lit to confirm it works and is correctly oriented, so faulty modules are reworked before any coating or glue makes repair harder.
3. How Are LED Modules Protected During Manufacturing?
In the LED display manufacturing process, modules are protected in layers: a conformal coating on the circuit board, a bottom case, glue filling for outdoor modules, and a front mask. Each layer deals with a different risk, and together they decide how well the module survives humidity, dust and handling.
- Three-proof coating. A thin protective paint, often called three-proof because it resists moisture, dust and salt spray, is applied to the PCB. EagerLED applies it as step 5, before the bottom case is fitted.
- Bottom case. The plastic shell is screwed to the PCB. It gives the module its shape and mounting points for magnets or screws in the cabinet.
- Glue filling. On outdoor modules, potting compound is applied at the back so water cannot reach the electronics. Indoor modules usually skip this step.
- Mask. A black mask goes over the front to protect the LEDs and improve contrast by darkening the area between pixels.

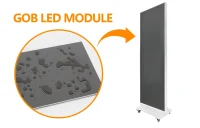
Some modules add another layer on the front. GOB modules put a clear protective glue over standard SMD LEDs, and COB modules mount LED chips directly on the board under a sealed surface. Our guide to SMD vs COB LED displays explains how these packaging choices compare.
4. How Does the Process Differ for Indoor and Outdoor Modules?
In the outdoor LED display manufacturing process, modules go through extra sealing steps and are built for higher brightness; indoor modules are built for finer pitch and closer viewing. The core electronics stages are the same, but the protection and test stages change.
| Stage | Indoor modules | Outdoor modules |
|---|---|---|
| LED packages | Small packages for fine pitch | Packages chosen for high brightness and weather resistance |
| Board protection | Conformal coating | Conformal coating plus glue filling at the back |
| Front protection | Mask; GOB or COB on some fine-pitch and rental products | Mask with sealing; GOB on some models |
| Cabinet | Sealed for dust; often front or rear service | Sealed for water and dust to the rated IP class |
| Extra checks | Close-range uniformity | Water-resistance checks; some factories add salt spray tests |
When you compare quotes, ask which of these steps each supplier applies to the exact model offered. Two modules with the same pitch can differ a great deal in protection.
5. How Are Modules Tested and Aged in the LED Display Manufacturing Process?
Modules are tested for brightness and color consistency, then run continuously in an aging test so that weak components fail in the factory rather than on site. EagerLED’s published process runs module aging for more than 12 hours, and its quality-control page describes this test as taking place in a simulated use environment.
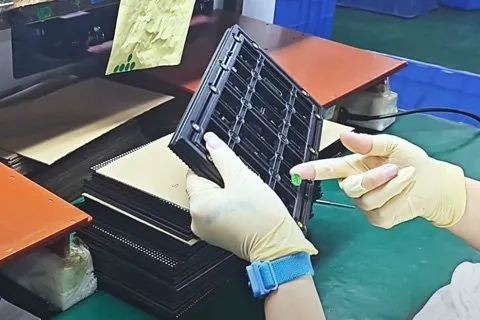
The QC step catches visible differences between modules. Modules that will sit next to each other in a screen should come from the same production batch, because LEDs from different batches can differ slightly in brightness and color even when they meet the same specification.

Aging works because many electronic faults appear in the first hours of operation: a weak solder joint, a marginal LED or a faulty driver channel. Running the modules before shipment moves those failures into the factory. It does not prove long-term life, which depends on temperature, brightness and use; our article on LED screen lifespan covers that difference.
The video follows visiting customers through the aging, waterproof and salt spray tests. Watching tests on a visit, or on a live video call, is a practical way to confirm that a supplier’s published process is what actually happens on the floor.
6. How Are LED Cabinets Assembled and Aged?
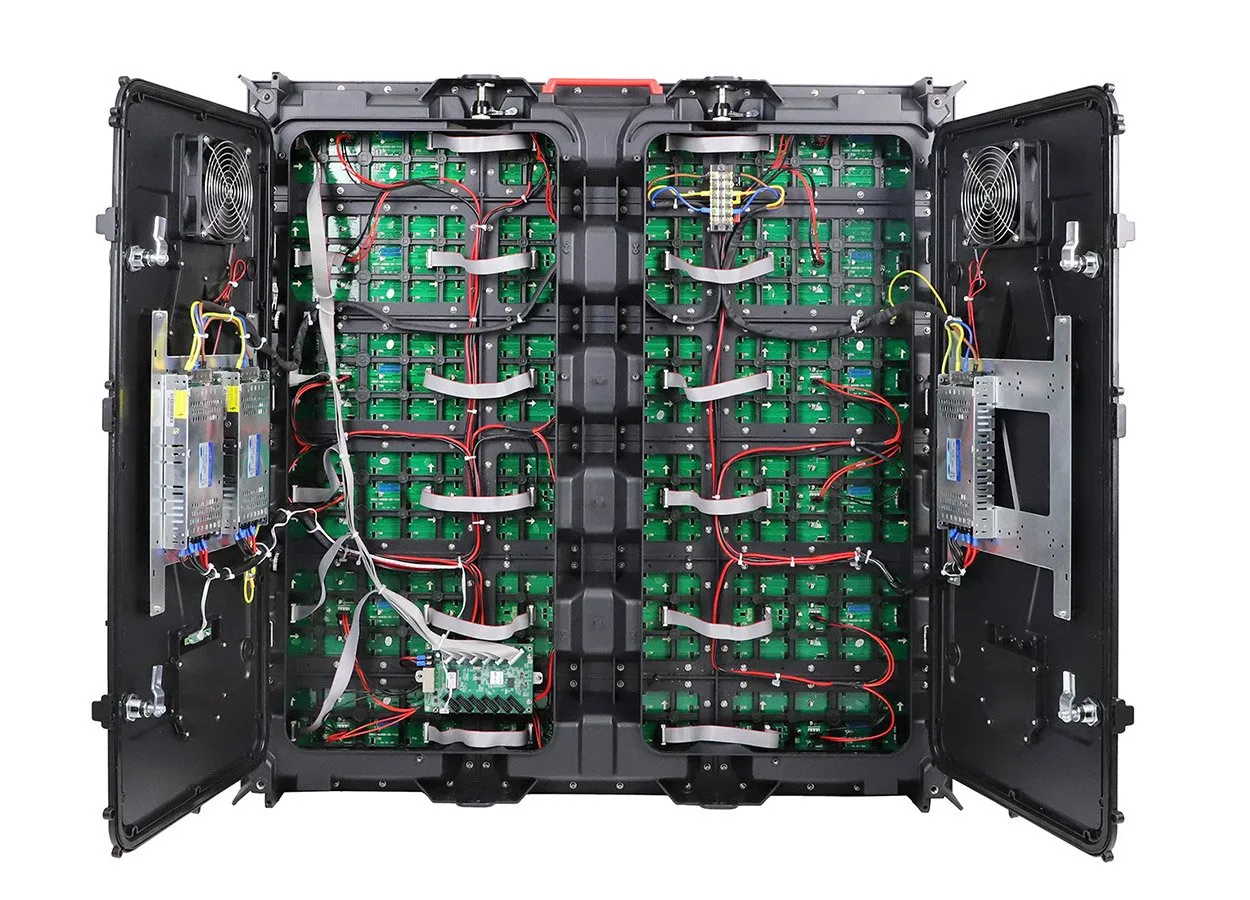
In the final stage of the LED display manufacturing process, tested modules are fitted into cabinets with the frame, power supply and receiving card, and the assembled screen is then aged again as a complete system. EagerLED runs this screen aging for 72 hours.
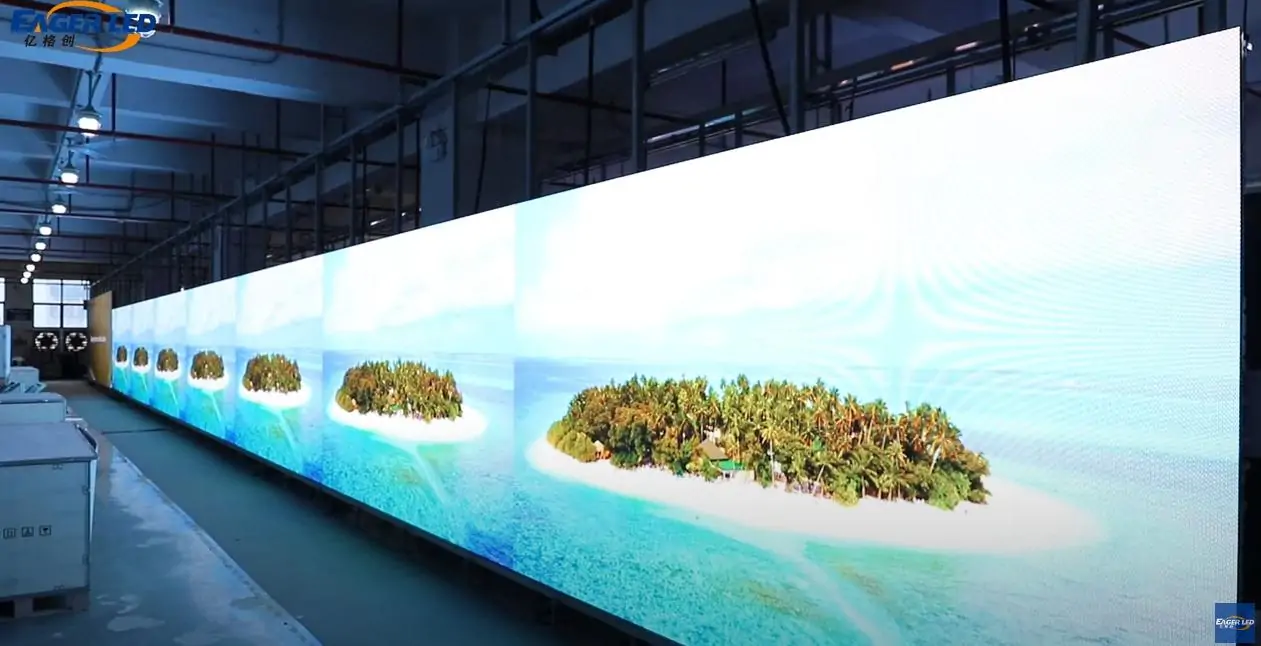
Screen aging tests what module aging cannot: power supplies under real load, signal paths between cabinets, connectors and the way the whole system behaves when it runs for days. Many factories also calibrate assembled screens point by point so that brightness and color are even across cabinets; EagerLED’s published process does not list calibration as a separate step, so ask whether it is included for your order and how the data is supplied.
Packing closes the LED display manufacturing process. EagerLED’s quality-control page states that large, heavy displays are packed in wooden boxes and that air boxes are used for international shipments or fast-delivery projects.
7. What Should Buyers Check in a Factory’s LED Display Manufacturing Process?
Check that each step of the LED display manufacturing process is real, recorded and applied to your model. A short, structured visit, or a live video tour, answers more than a brochure.
| Area | What to see | Evidence to request |
|---|---|---|
| Incoming materials | Storage and baking of LED packages | LED, driver IC and PCB specifications for your model |
| SMT lines | Solder paste printing, placement and reflow | Inspection records and rework procedure |
| Protection | Coating, glue filling and mask fitting | Which steps apply to the quoted model |
| Module testing | Light-on test, QC and aging racks | Aging duration, brightness setting and pass criteria |
| Cabinet testing | Assembly and screen aging area | Screen aging records and calibration method |
| Packing | Packing method for your shipping route | Packing list, spare parts and labeling |
If you cannot travel, the EagerLED quality control page and factory page show the published process, and a video call can confirm the steps for your order. For pre-shipment audit costs, see the guide to budgeting factory QC audits and aging tests on LEDScreenPrice.
8. Which Components Does the LED Display Manufacturing Process Start With?
The LED display manufacturing process starts with five groups of components: LED packages, driver ICs, the circuit board, the power supply and receiving card, and the cabinet frame. Their quality sets the ceiling for everything the process can achieve, so buyers should ask for them by name for the exact model quoted.
01. LEDs and driver ICs
The LED packages decide brightness, color and viewing angle, and the driver ICs decide refresh rate and how smoothly dark gray levels are rendered. EagerLED’s outdoor module page names Nationstar and Kinglight as LED sources and MBI5153, MBI5124, ICN2153 and ICN2038S among its driver ICs. Ask which ones are fitted to the model you are buying, because one product line can use different parts at different pitches.
02. Board, power and control
The PCB carries the LEDs and drivers, and its layout and copper weight affect heat and signal quality. Each cabinet then needs a power supply sized for the modules and a receiving card that matches the control system you will use. Request the power supply model and the receiving card brand in the quotation so spares can be sourced later.
03. Cabinet frame
Rental cabinets such as EagerLED’s EA1000C6 use die-cast aluminum frames with stainless steel quick locks, which keep cabinets flat and joints tight after repeated builds. Fixed installations may use other frame designs. Either way, the frame is what holds the modules in line, so its accuracy shows directly in the seams of the finished screen.
9. How Does the LED Display Manufacturing Process Affect Price and Delivery?
Every step in the LED display manufacturing process adds material, labor or time, so two quotes for the same pitch can differ because one supplier runs steps the other skips. When prices look very different, compare the process before you compare the totals.
- Protection steps. Glue filling, GOB and sealed cabinets add material and curing time. They matter most for outdoor screens and for rental fleets that are handled often.
- Aging time. Longer aging ties up racks and floor space but removes more early failures. Ask for the module and screen aging durations in writing.
- Component choices. Higher-grade LEDs and driver ICs raise cost and usually improve uniformity and refresh. A lower price can simply mean different parts.
- Batch planning. Building and testing a whole order from one LED batch keeps modules uniform and makes spare modules match. It is worth asking for spares from the same batch.
Delivery time follows the same logic: materials in stock, the number of process steps and the length of the tests decide when a screen is ready to ship. A supplier who quotes a much shorter time than others should be asked which tests are shortened or left out.
Frequently Asked Questions
How long does it take to manufacture an LED display?
It depends on the model, quantity, customization and material stock. The aging tests alone add time: EagerLED’s published process includes more than 12 hours of module aging and 72 hours of screen aging. Ask for a written lead time that separates production, testing and shipping.
Are LED display modules made by hand or by machine?
Both. Solder paste printing, component placement and reflow soldering are done by machines on SMT lines. Coating, case fitting, mask fitting, testing, cabinet assembly and inspection involve skilled manual work.
Why do outdoor LED modules cost more to make than indoor ones?
Outdoor modules need extra protection, such as glue filling and sealing, higher-brightness LEDs, and cabinets rated for water and dust. Each adds material and process time, and outdoor units are usually tested for water resistance as well.
Can I ask for a longer aging test?
Usually yes, but agree the duration, brightness setting, test content and pass criteria in writing before production, because a longer test affects the delivery schedule.
Which certifications should an LED display factory provide?
It depends on the destination market and the model. EagerLED lists CE, RoHS and FCC among its certifications and states that documents vary by model and destination, so confirm which certificates cover the exact product you order, such as CE, EMC and LVD for Europe or FCC and UL for North America.
Does a factory need its own SMT lines to make good displays?
Not necessarily, but in-house SMT gives the factory direct control over soldering quality, rework and traceability. If SMT is outsourced, ask who does it and how quality is checked.
Plan a Factory Review
Understanding the LED display manufacturing process makes it easier to compare suppliers on evidence rather than claims. Tell us the model, quantity and application you are considering, and we can walk you through the steps that apply to it, arrange a factory visit or a live video tour, and share the aging and QC records you need. Browse our rental LED display range or contact the EagerLED team to plan your review.
 Top 10 LED Screen Suppliers in Spain (2026)
 How to Clean an LED Screen Without Damaging It
Related Posts
Fill In Your Needs In Detail
Fill in the screen usage scene and size you need in “Content”.You will get a quote.