The Colorlight VX20 LED Video Controller is a cutting-edge solution designed for professionals in the LED display industry. Whether you’re managing large-scale events, exhibitions, or stage rentals, this device offers unparalleled performance and flexibility. In this comprehensive guide, we’ll explore its features, configuration process, advanced functionalities, and real-world applications to help you maximize its potential.
1. What Is the Colorlight VX20 LED Video Controller?
The Colorlight VX20 is a state-of-the-art LED video controller that stands out in the market due to its robust processing capabilities and versatile functionality. It supports up to 13 million pixels, with a maximum width of 16,384 pixels and height of 8,192 pixels, making it ideal for medium-to-high-end rental scenarios and fine-pitch LED screens.
This device operates in three distinct modes:
- Video Processor Mode: Processes multiple video inputs and outputs them to receiving cards with minimal delay.
- Fiber Optic Transceiver Mode: Acts as a fiber optic transceiver, enabling seamless signal transmission over long distances.
- Bypass Mode: Outputs one selected video input directly to the screen without any frame delay.
With support for HDR technology, 8/10/12-bit video input, and 8/10-bit output, the VX20 ensures exceptional image quality. Its compatibility with Windows, macOS, and Linux through a web-based interface further enhances usability.
2. Colorlight VX20 Hardware Overview
To fully understand the Colorlight VX20 Specs, let’s break down its hardware components and their functionalities:
2.1 Front Panel Features
The front panel of the VX20 includes an intuitive touch screen, knobs, and various control buttons. Here’s a detailed breakdown:
| Feature | Description |
|---|---|
| Touch Screen | Displays device status and provides menus for navigation and control. |
| Knob | Used for parameter tuning, menu navigation, and confirming selections. |
| ESC Button | Exits the current interface or returns to the previous one. |
| Layer Operation | Buttons like Main, PIP1, PIP2, BKG, SIZE, and Full Screen allow layer management. |
| Input Control | Buttons for HDMI, DP, SDI, Mosaic, and numeric entry enable quick source selection. |
| Function Buttons | Preset, Brightness, Freeze, FN, Cut, and Take buttons offer advanced controls. |
| Power Switch | Turns the device on or off. |

2.2 Rear Panel Features
The rear panel houses all input/output ports and additional connectivity options:
| Port | Functionality |
|---|---|
| LAN1/LAN2 | Gigabit Ethernet ports for PC connection and VLAN cascading. |
| USB IN & OUT | USB 2.0 ports for configuration and cascading. |
| RS-232 | RJ11 connector for central controller integration. |
| GENLOCK & LOOP | Sync signal input and loop-out via BNC connectors. |
| 12G-SDI | Handles 4K@60Hz video input with HDR and custom resolution support. |
| DP 1.2 | Preset, Brightness, Freeze, FN, Cut, and Take buttons offer advanced controls. |
| HDMI 2.0 | Supports 4K@60Hz video input with loop-out and embedded audio. |
| HDMI 1.4 | Handles lower resolutions (up to 4K@30Hz) with loop-out. |
| Ethernet Ports | 20 Gigabit Ethernet ports for high-capacity data transmission. |
| Fiber Ports | 4×10G fiber ports with redundancy and backup configurations. |
| HDMI OUT | Outputs 2K/4K images for previewing PVW/PGM content. |
| AC Power Input | Accepts universal voltage (100-240V, 50/60Hz). |

2.3 Dimensions and Weight
- Device Size: 482.6mm × 88.0mm × 412.1mm (2U rack mountable).
- Weight: Net weight: 5.65kg; Gross weight: 9.10kg.

2.4 Electrical Parameters
- Power Supply: AC 100-240V, 50/60Hz.
- Power Consumption: 92W.
3. Step-by-Step VX20 Configuration Guide
Configuring the Colorlight VX20 LED Video Controller involves several steps to ensure optimal performance. Below is a step-by-step guide:
Step 1: Initial Setup
- Connect the VX20 to a power source using the provided AC power cord.
- Turn on the device using the power switch located on the front panel.
- Use the touch screen to navigate to the initial setup menu.

Step 2: Network Configuration
- Connect your PC to the VX20 using an Ethernet cable via LAN1 or LAN2.
- Access the web-based interface by entering the default IP address (168.1.100) in your browser.
- Configure network settings such as static/dynamic IP addresses and subnet masks.
Step 3: Input Signal Selection
- Navigate to the Input Settings section in the web app.
- Select the desired input source (HDMI 2.0, DP 1.2, 12G-SDI, etc.) based on your requirements.
- Adjust input parameters like resolution, color depth, and frame rate.
Step 4: Output Configuration
- Go to the Output Settings.
- Choose between Ethernet ports (1G) or fiber ports (10G) for output.
- Assign specific ports to different sections of the LED display.
Step 5: Advanced Image Processing
- Enable HDR10/HLG for enhanced dynamic range.
- Use the cropping and scaling tools to adjust video sources.
- Set up Picture-in-Picture (PiP) or multi-layer displays if needed.

Step 6: Save Presets
- Create presets for frequently used configurations.
- Label each preset clearly for easy identification.
- Test the presets to ensure they work as expected.

Step 6: Troubleshooting Tips
If you encounter issues during configuration:
- Check all physical connections.
- Ensure firmware is updated to the latest version.
- Reset the device to factory settings if necessary.
4. Advanced Configuration Options of VX20 Video Processor
The Colorlight VX20 Advanced Features make it stand out in professional environments. Here are some key highlights:
1. Dual Canvas Views
- PVW&PGM Mode: Edit images in Preview (PVW), then send them to Program (PGM) for display.
- PGM Only Mode: Apply changes directly to the displayed image.
2. Multi-Layer Display
Supports up to 3 layers at 4K resolution, allowing for creative splicing and PiP effects.
3. Customizable Display Elements
- BKG: Add solid colors or UHD backgrounds.
- OSD: Display scrolling text with adjustable transparency.
- Logo: Overlay logos with customizable opacity.
4. Redundancy Solutions
- Ethernet Port Loop Redundancy: Ensures uninterrupted operation.
- Fiber Port Backup: Automatically switches to backup ports in case of failure.


5. Applications of Colorlight VX20 LED Video Controller
The Colorlight VX20 finds application in various industries due to its versatility and reliability. Here are six notable use cases:
- Stage Rentals: Ideal for concerts and live performances requiring dynamic visuals.
- Commercial Events: Perfect for product launches and corporate presentations.
- Exhibitions: Enhances trade shows with interactive displays.
- Broadcast Studios: Provides high-quality video processing for TV production.
- Retail Spaces: Creates immersive advertising experiences.
- Sports Arenas: Powers large LED scoreboards and perimeter boards.
6. FAQs
7. Conclusion
The Colorlight VX20 LED Video Controller is a powerhouse designed to meet the demands of modern LED display applications. With its advanced features, robust build, and user-friendly interface, it sets a new standard in the industry. By following this guide, you can unlock the full potential of the VX20 and deliver stunning visual experiences.
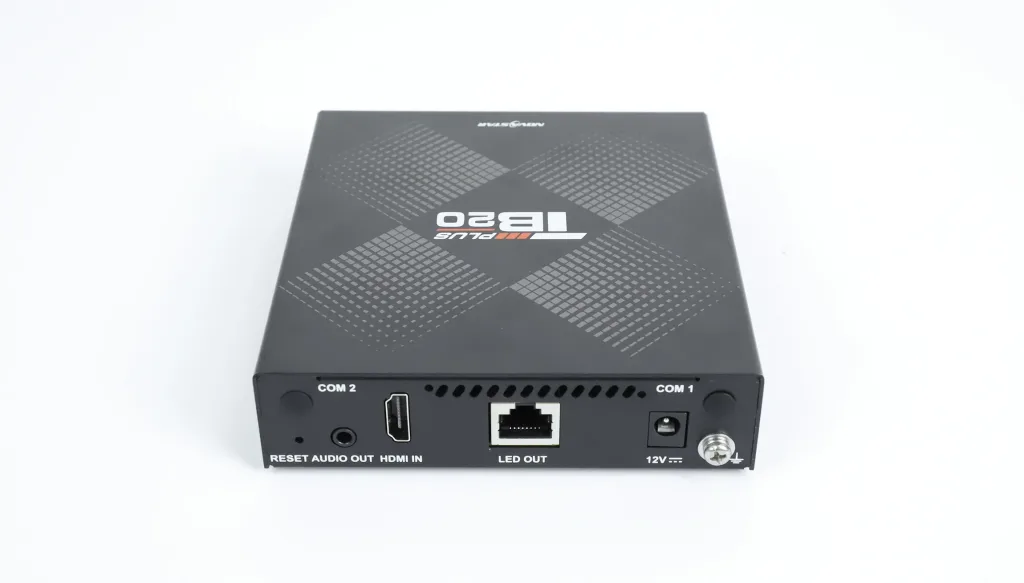 Novastar TB20 Plus Review: Power for Modern LED Screens
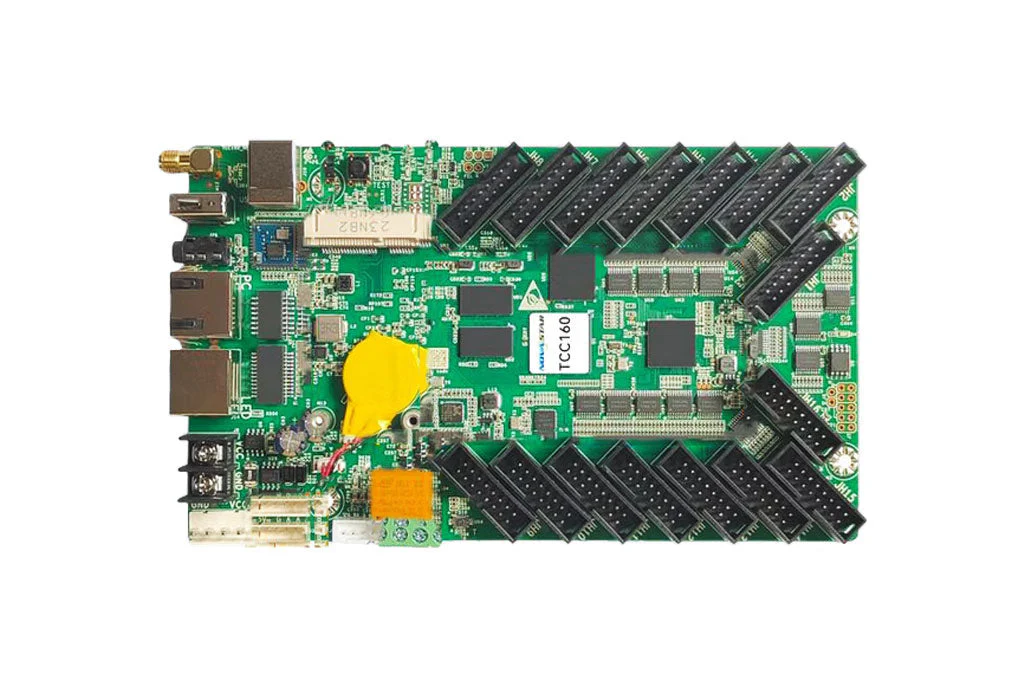 Novastar TCC160 Sending Card: Full Feature Review
Related Posts


Fill In Your Needs In Detail
Fill in the screen usage scene and size you need in “Content”.You will get a quote.


