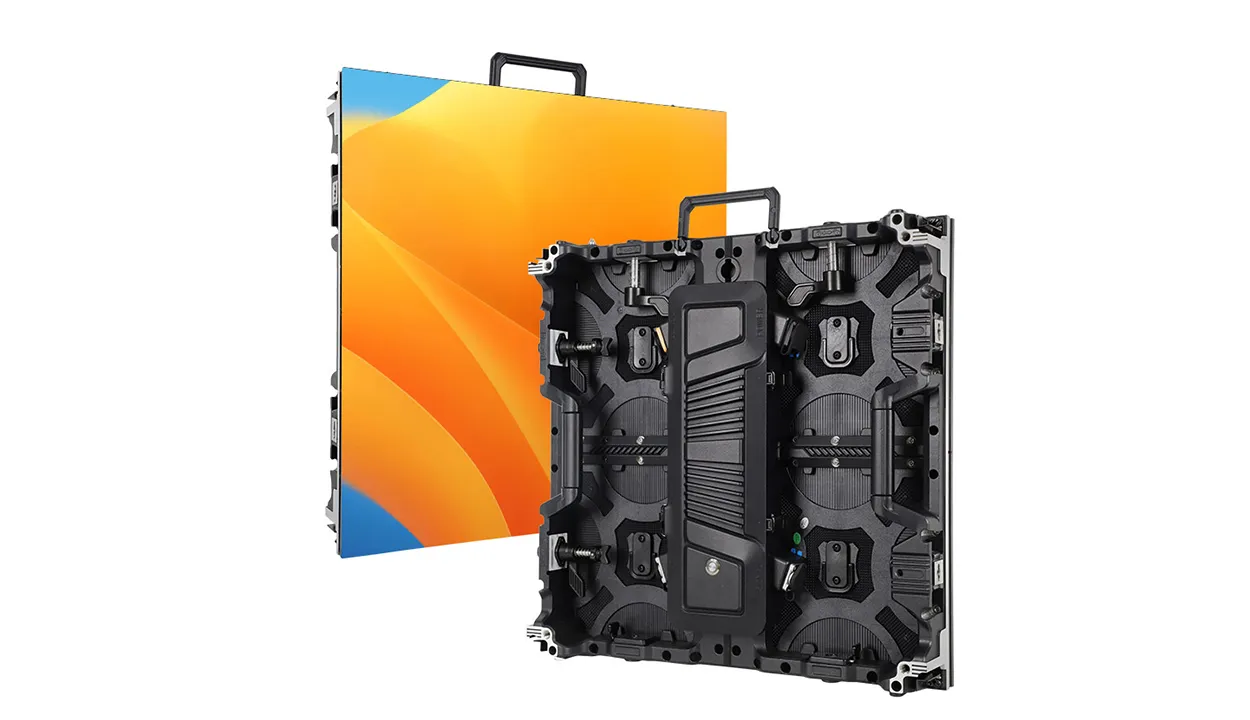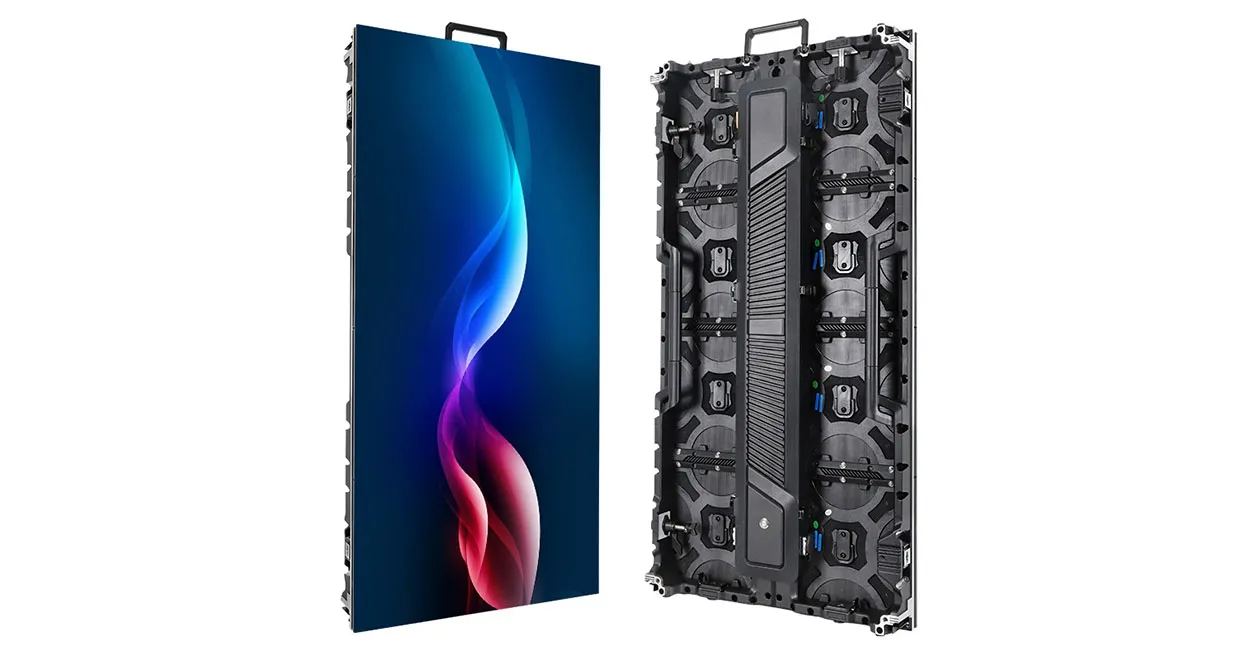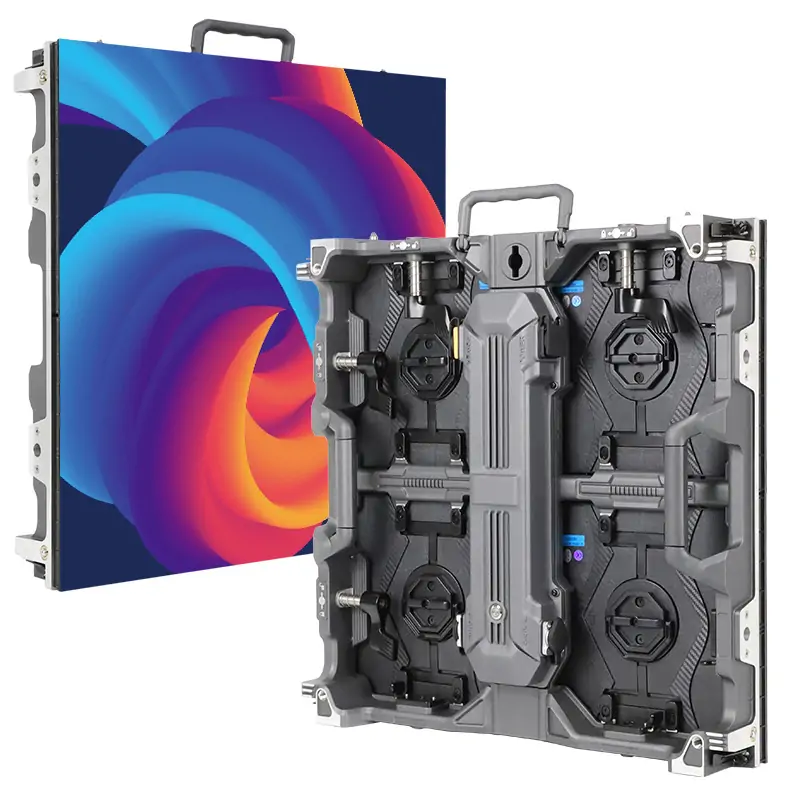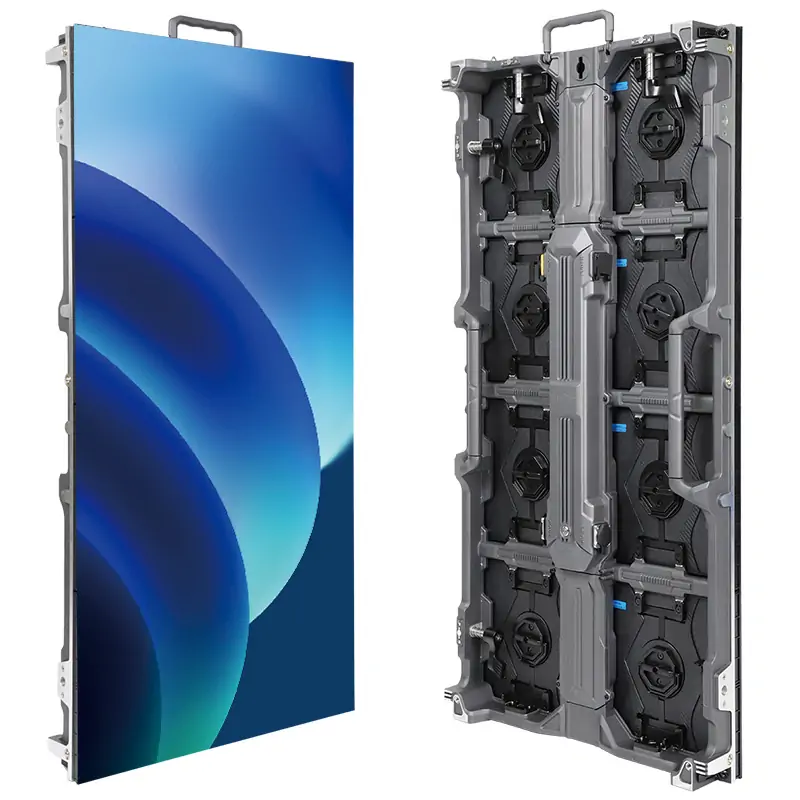
To understand how to choose an LED screen for a small church, do not start with the panel that has the smallest pixel pitch. Start by deciding whether the room needs direct-view LED at all. If a large commercial display or laser projector cannot provide the required image size, daylight performance, viewing angle, or camera consistency, shortlist an indoor front-service LED wall using the room’s nearest seat, farthest seat, content, lighting, service access, and complete installed budget.
As a practical screening range, many compact sanctuaries begin by evaluating a 3-5 m wide 16:9 screen, P2.0-P2.9 pixel pitch, approximately 800-1,200 nits of usable indoor brightness, and a refresh rate of 3,840 Hz or higher when cameras are involved. These are not universal specifications. Confirm them with real lyrics, sermon slides, video, and camera tests in the actual room before ordering.
1. Should a Small Church Buy an LED Screen?
A small church should buy an LED wall when it needs a permanent image larger than a commercial flat-panel display, cannot sufficiently control light on a projection screen, has wide seating angles, or uses the main display frequently in IMAG and livestream camera shots. LED is not automatically the most responsible use of a limited budget.
Use this decision table before comparing LED cabinet specifications:
| Small-church requirement | Best option to evaluate first | Why |
|---|---|---|
| One image up to roughly the largest practical commercial-display size | Commercial display | Simple installation and operation; no pixel-pitch decision |
| Occasional lyrics and slides in a room that can be darkened | Laser projector | A large image can be achieved with a lower initial equipment cost |
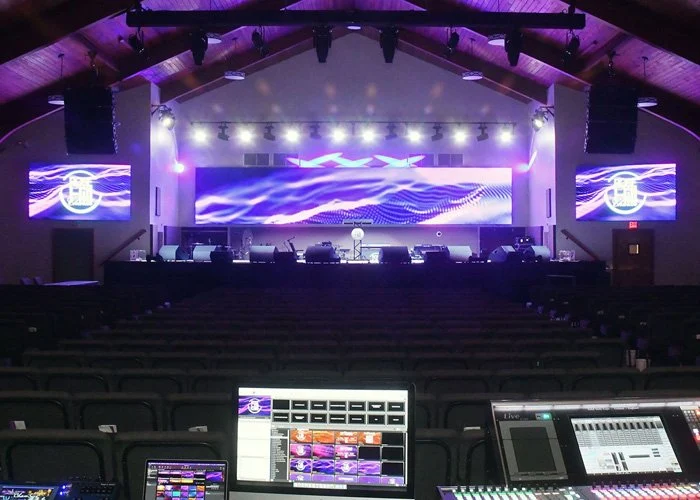
| A 3-5 m wide image in a bright sanctuary | Direct-view LED wall | The image emits its own light and normally retains stronger perceived contrast |
| Weekly IMAG or livestreaming with the display in camera shots | Camera-tested LED wall | A suitable processor and panel can provide a consistent on-camera background |
| A historic or multipurpose room where the display should disappear | Retractable projection or a portable solution | Preserves the room when the display is not needed |
The question is not, “Can we fit an LED wall here?” It is, “Which display solves our weekly communication problem with the lowest acceptable five-year risk?” A church that has not compared these options should first read the church LED wall vs projector guide.
2. Measure the Room Before Choosing Specifications
Do not request a quotation using only seat count. Two 180-seat churches can require different screens because one is long and narrow while the other is shallow and wide. Create a one-page room brief before discussing a model or price.
2.1. Record viewing positions and sightlines
Measure from the proposed screen plane to:
- The nearest occupied seat
- The farthest occupied seat
- The primary camera positions
- The most extreme left and right seats
- Any balcony or overflow seating
Then photograph the sightline from each location. Mark the stage height, the heads of standing worship leaders, loudspeakers, lighting fixtures, columns, and scenic elements that could block the image. The bottom edge must remain visible over seated or standing people without placing the screen so high that the first rows look upward throughout the service.
2.2. Measure the available wall and service space
Record maximum screen width and height, wall construction, the depth behind the screen, nearby doors, cable paths, electrical panels, ventilation, and access equipment. A shallow wall or inaccessible rear area often makes a front-service LED display the safer choice for a small church.
Do not treat the full empty wall as the screen area. Leave room for structural supports, service tolerances, loudspeakers, architectural trim, and safe access. Cabinet and module dimensions may also force a small adjustment to the final 16:9 size.
2.3. Define what the congregation must see
List the content used during a normal month and estimate its share of screen time:
- Song lyrics
- Scripture and sermon notes
- Announcements
- Video playback
- IMAG, or live camera magnification
- Livestream backgrounds
- Scenic motion graphics
Small lyrics and detailed spreadsheets require a different image-size decision from full-screen video. Prepare representative files before the demonstration. A supplier should test the church’s actual content, not only a colorful promotional reel.
3. Choose the Right LED Screen Size
Church LED screen size should be based on the smallest important content element at the farthest seat, not on a generic screen-width recommendation. The AVIXA display-size guidance defines display image size as the active area showing the user’s content and relates readable element height to the viewing conditions. Use its DISCAS calculator as a structured starting point, then verify the result in the room.
3.1. Start with image height
Image height controls how large lyrics, faces, and sermon text appear. Create a test slide using the smallest lyric or scripture font the church plans to use. Display it at the proposed image height and inspect it from the farthest and most angled seats.
If people cannot read it comfortably, the solution is not always a finer pixel pitch. The physical image may need to be taller, the font may need to be larger, or the content layout may need fewer words per slide. Pixel pitch affects detail at close range; it does not compensate for text that is physically too small at the back of the room.
3.2. Use 16:9 unless the workflow requires another canvas
Most small churches should begin with a 16:9 canvas because presentation computers, video, cameras, and streaming systems commonly use that shape. For a true 16:9 screen:
Screen width = screen height x 1.7778
A 2.25 m high image is therefore 4.0 m wide. Real LED walls are assembled from cabinets and modules, so the final size must align with the available product. Ask the supplier to state the exact physical dimensions, native pixel resolution, and any scaling required from the presentation output. The EagerLED screen aspect ratio guide explains when a custom canvas may still make sense.
3.3. Work through a realistic small-church example
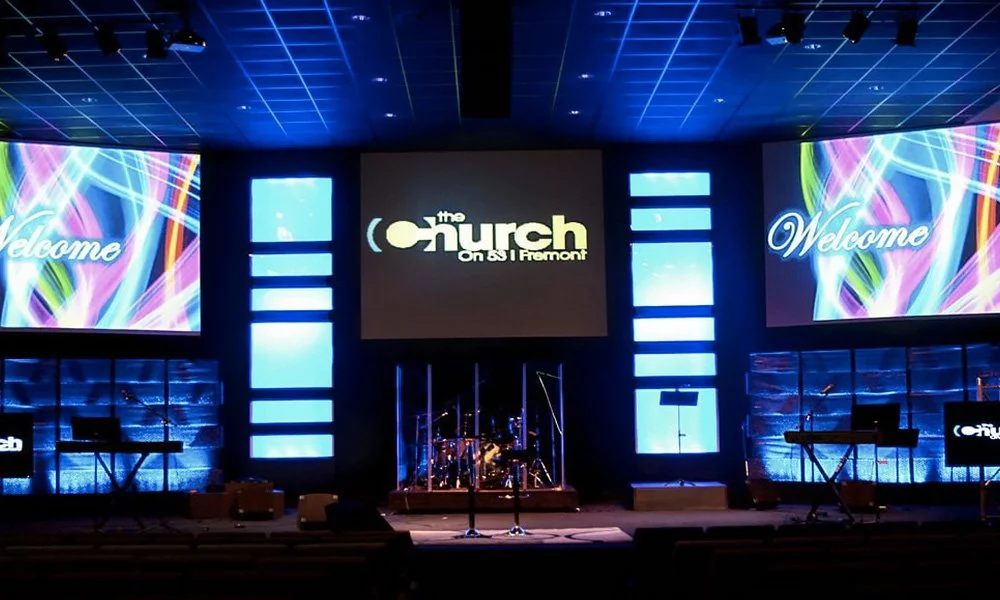
Consider an illustrative 180-seat sanctuary with the nearest seat 3.5 m from the screen, the farthest seat 18 m away, and 4.2 m of usable wall width. The church presents lyrics, sermon slides, and weekly IMAG.
A 4.0 x 2.25 m 16:9 image fits the wall. At P2.5, its approximate native resolution is:
- Width:
4,000 mm / 2.5 mm = 1,600 pixels - Height:
2,250 mm / 2.5 mm = 900 pixels - Total:
1.44 million pixels
That 1,600 x 900 canvas preserves a 16:9 shape, although the exact cabinet layout still needs manufacturer confirmation. The church should compare P2.5 with P2.0 using its front-row view and cameras. If P2.5 makes lyrics, faces, and graphics look clean from every important position, paying for P2.0 may not improve the worship experience enough to justify the additional pixels and cost.
4. Choose Pixel Pitch from the Nearest Viewer
Pixel pitch is the center-to-center distance between adjacent LED pixels, measured in millimeters. A smaller number creates a higher pixel density and usually a higher panel cost. For a small church LED screen, the nearest viewer and nearest camera are more important than the total seat count.
4.1. Use the distance rule only for shortlisting
A common screening method treats the pixel-pitch number in millimeters as approximately equal to a minimum viewing distance in meters. Under that rough method, P2.5 enters the shortlist when the nearest important viewer is around 2.5 m or farther.
This is not a pass/fail standard. Visual acuity, content, brightness, pixel design, camera distance, and personal tolerance change the result. Use the LED pixel pitch calculator guide to build a shortlist, then inspect real panels at the intended distance.
4.2. Use practical small-church starting ranges
| Nearest important viewer | Pixel pitches to evaluate | Typical decision concern |
|---|---|---|
| About 2-3 m | P1.5-P2.0 | Very close seating, fine text, and visible pixel structure |
| About 3-5 m | P2.0-P2.9 | Common balance of clarity, processing load, and budget |
| More than 5 m | P2.9-P3.9 | Larger viewing distance may allow a coarser, lower-cost pitch |
These are evaluation ranges, not guarantees. Ask for a same-content comparison at the same brightness. A P1.8 panel shown at a different distance or with different processing cannot fairly prove that it is the right purchase.
4.3. Do not buy the smallest pitch by default
Finer pitch adds pixels, receiving-card load, processing requirements, and cost. It can also make physical alignment and calibration more demanding. The responsible choice is the coarsest pitch that still produces acceptable text, faces, and graphics from the nearest important seat and camera.
Require the quotation to list screen dimensions, pitch, native resolution, cabinet layout, module layout, processor loading, spare modules, and maximum as well as expected operating power. Without those fields, two proposals are not comparable.
5. Match Brightness, Contrast, and Color to the Room
An indoor church usually does not need outdoor-display brightness. For many compact sanctuaries, approximately 800-1,200 nits is a useful shortlisting range, especially when stage lights or windows affect the screen. The correct operating level may be substantially below the product’s maximum rating.
Ask the supplier to demonstrate the panel at the brightness expected during a normal service. Check black levels, low-gray detail, skin tones, color consistency between cabinets, and whether the screen overpowers the people on stage. A higher maximum-nit number does not guarantee a better indoor image.
5.1. Treat ambient light at the screen separately
Measure or document light falling directly on the proposed screen throughout the service time. Sunlight from a side window, a front light aimed at the pastor, and decorative fixtures near the wall can reduce perceived contrast. Re-aiming or shading one light source may improve the result more economically than purchasing a much brighter display.
5.2. Design readable worship content
Hardware cannot rescue weak content contrast. The W3C contrast guidance specifies at least 4.5:1 for normal text and 3:1 for large-scale text in web content. Those ratios are not an LED hardware specification, but they are a useful benchmark when designing lyrics and sermon slides for a congregation with varied visual ability.
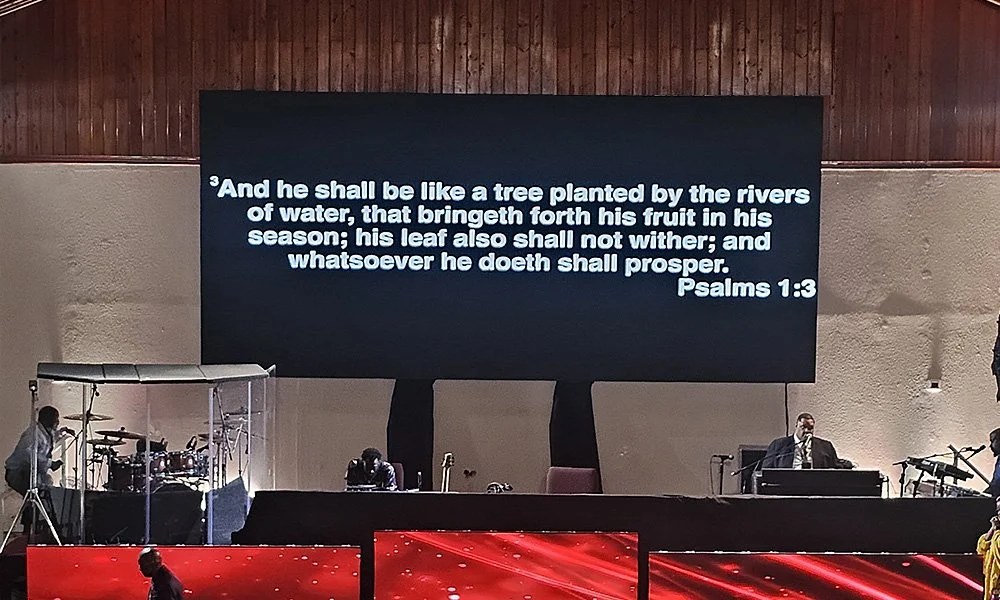
Use fewer words per slide, strong foreground/background contrast, thick readable fonts, and consistent safe margins. Test the content while the room lights and stage lights are set for an actual service.
6. Specify Camera and Livestream Performance
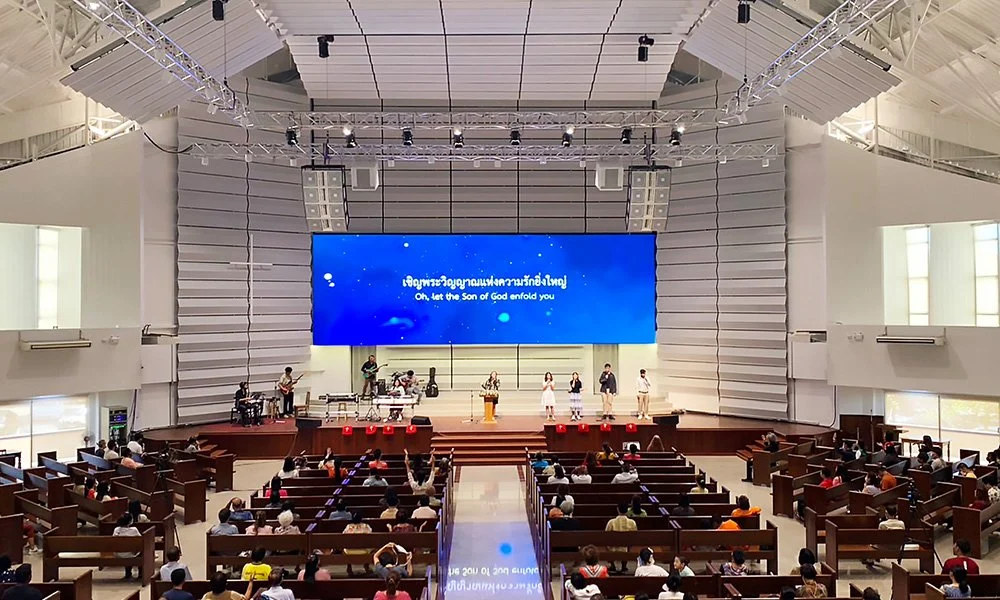
A high refresh-rate label is a procurement filter, not proof of camera compatibility. For a church livestream LED wall, request 3,840 Hz or higher as a starting specification and test the complete system: LED modules, receiving cards, processor, scan mode, brightness setting, camera sensor, shutter speed, frame rate, distance, and angle.
Brompton Technology’s ShutterSync explanation states that filming an LED screen requires camera shutter speed and LED refresh to be matched to prevent visual artifacts. Brian Macauto, Director of Technology for Virtual Production at Evolve CX, describes the benefit directly: “ShutterSync is also a great feature because it reduces visual artifacting and lets the creative team choose its desired camera configuration first, rather than having to tailor it to what the wall can handle.”
A small church does not necessarily need that specific processor, but the principle is important: refresh rate alone does not control every artifact. During the on-site test, record the screen with every regular camera using the church’s normal frame rates and shutter settings. Look for:
- Horizontal bands or rolling lines
- Flicker at different brightness levels
- Moire on wide and close shots
- Color shifts between the room and camera feed
- Clipped highlights on faces near the screen
- Uneven low-gray performance in dark backgrounds
- Unacceptable latency between live action and IMAG
Save the passing camera settings and processor configuration. Volunteers should not have to rediscover them before every service.
7. Plan Installation, Power, and Maintenance
A suitable LED panel can still become a poor church system if the wall cannot be serviced safely. Small sanctuaries often have limited rear access, shared electrical circuits, shallow stages, and volunteers rather than full-time technicians.
7.1. Prefer front service when rear access is limited
Front-service modules, power supplies, and receiving cards can be removed from the audience side. This is valuable when the display is mounted close to a wall or when a rear service corridor would consume scarce stage space.
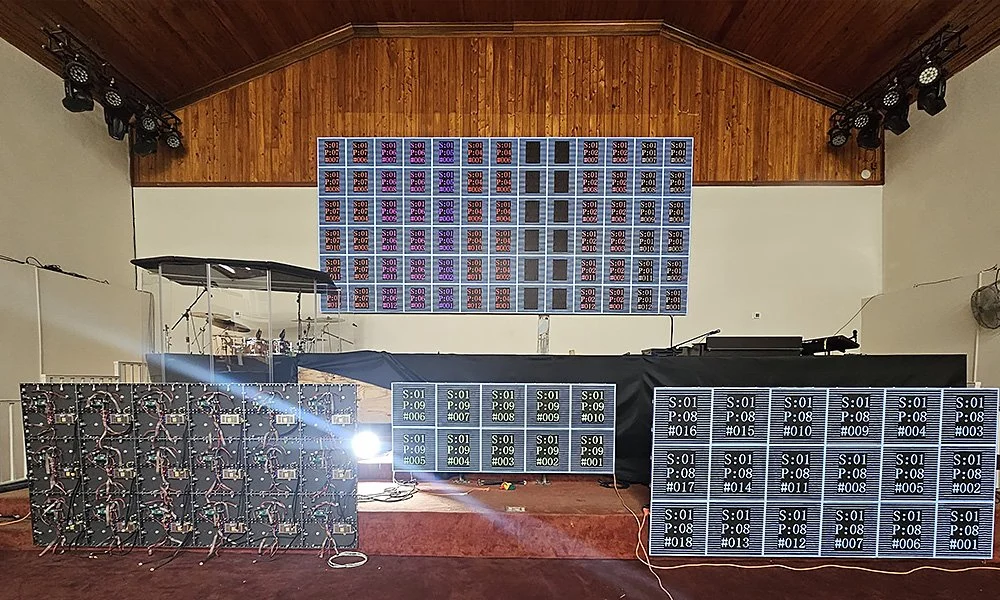
Ask the installer to demonstrate one module replacement before acceptance. Confirm the required tool, safe power-isolation procedure, module storage method, calibration process, and whether a volunteer can identify the failed component without dismantling adjacent cabinets.
7.2. Engineer structure and power for the actual system
Obtain the display weight, cabinet layout, mounting method, maximum power, expected operating power, circuit plan, cable routes, grounding method, ventilation needs, and service clearances. A qualified local structural professional and electrician should approve the installation for the building and applicable codes.
Do not accept a proposal that treats structure or power as an unspecified allowance. The church needs to know who designs, supplies, installs, inspects, and warrants each part of the system.
7.3. Specify control, spares, and volunteer training
The system scope should include:
- A video processor or scaler sized for the native canvas
- Compatible inputs from the presentation computer and switcher
- A documented backup signal path where appropriate
- Spare LED modules, power supplies, receiving cards, cables, and masks
- Configuration-file backups stored in two locations
- Color and brightness calibration
- Operator and basic maintenance training
- Named warranty contacts and response expectations
The church’s existing worship software can normally feed an LED processor through a computer, switcher, or scaler. Confirm the output resolution, frame rate, aspect ratio, connectors, HDCP behavior, and whether the operator needs a single canvas or multiple content zones.
8. Build a Complete Small-Church LED Wall Budget
Church LED wall cost cannot be compared from a price per square meter alone. Request equal-scope, installed quotations. Each proposal should identify what is included, excluded, provisional, and supplied by the church.
8.1. Include the complete installed system
Budget for:
- LED cabinets and modules
- Spare modules, power supplies, receiving cards, and cables
- Video processor, scaler, control computer, or sending device
- Structural engineering, frame, wall reinforcement, or rigging
- Electrical distribution, data cabling, and signal transport
- Freight, duties, taxes, access equipment, and site labor
- Installation, alignment, calibration, and camera testing
- Content-template changes for the native canvas
- Volunteer training and documentation
- Warranty service, remote support, and expected travel charges
8.2. Compare five-year total cost, not only purchase price
Use the same analysis period for LED, projection, and commercial displays:
Five-year total cost = purchase + design + installation + supporting equipment + energy + planned service + expected replacement parts
Document the weekly operating hours and expected brightness setting. Ask each supplier for measured or rated typical and maximum power for the proposed configuration. Do not assume LED or projection always consumes less energy; screen size, brightness, projector class, content, and operating schedule can change the result.
For budget-limited churches, a phased project may be safer than deleting structural work, spares, or training from the first installation. A smaller correctly engineered screen is usually a better asset than a larger wall that cannot be serviced or operated reliably.
9. Recommended Starting Specifications
Use the following table to prepare a request for quotation. It is a shortlist, not a final design.
| Requirement | Small-church starting point | Verification required |
|---|---|---|
| Technology | Indoor direct-view LED only after comparing display and projection alternatives | Confirm the LED advantage in the actual room |
| Screen shape | 16:9 where cabinet/module increments allow | Match presentation, video, and camera workflow |
| Width | Often 3-5 m for compact sanctuaries | Calculate from content and farthest viewer, not seat count |
| Pixel pitch | Often P2.0-P2.9 when important viewers are about 3-5 m away | Compare real panels from the nearest seat and camera |
| Brightness | Approximately 800-1,200 nits as an indoor shortlist | Demonstrate at the normal operating level and room lighting |
| Refresh rate | 3,840 Hz or higher when cameras are used | Test all regular cameras, shutter settings, and brightness levels |
| Service access | Front service when rear access is unavailable | Perform a supervised module-replacement demonstration |
| Processing | Sized for native pixels with appropriate input scaling | Test presentation, switcher, camera, and backup sources |
| Spares | Modules plus critical power, receiving, and cable parts | List quantities, storage, calibration, and warranty treatment |
| Power and structure | Designed for the exact configuration | Local structural and electrical approval |
For broader venue types and outdoor requirements, use the complete church LED screen buying guide. Churches ready to compare product formats can also review EagerLED’s indoor LED screen options.
10. Use This Seven-Step Buying Checklist
- Confirm the technology. Compare a commercial display, laser projector, and direct-view LED against the same image size, room light, camera use, and five-year period.
- Document the room. Record dimensions, nearest and farthest viewers, sightlines, wall construction, lighting, power, cable paths, and service access.
- Define the content. Bring real lyrics, scripture slides, IMAG, video, and dark as well as bright scenes.
- Calculate size and resolution. Use image readability and a 16:9 workflow where appropriate; state the exact physical and native pixel dimensions.
- Request equal-scope proposals. Require the same structure, power, processor, spares, installation, testing, training, warranty, and support fields.
- Run an on-site demonstration. View the proposed pitch from every important seat and record it with every regular camera under service lighting.
- Document acceptance. Record brightness, color, camera, signal, spare-part, service, and training tests before final sign-off.
The final quotation should be understandable to the church board, not only to an LED technician. If a major scope item is described only as “by others,” assign a responsible party and cost before approval.
11. Avoid These Common Small-Church Mistakes
11.1. Choosing from seat count alone
Seat count does not reveal viewing distance, image height, font size, or seating angle. Measure the room and test content.
11.2. Buying the finest available pixel pitch
P1.5 is not automatically better stewardship than P2.5. If both look clean at the nearest viewer and camera positions, the coarser pitch may release budget for structure, spares, or training.
11.3. Copying another church’s dimensions
The other church may have different sightlines, content, stage lighting, wall construction, and cameras. Use examples to generate questions, not specifications.
11.4. Comparing a panel price with an installed-system price
A low panel quote can omit the processor, frame, power, freight, installation, calibration, spares, and support. Normalize the scope before comparing totals.
11.5. Ignoring the volunteer workflow
A system that requires specialist intervention for every input change or module fault is not suitable for a volunteer-run ministry. Test normal Sunday tasks with the people who will operate the wall.
11.6. Skipping the camera test
A screen can look excellent to the eye and still show banding, moire, or color problems on camera. Test the complete signal chain before ordering.
12. FAQs
13. Conclusion
To choose an LED screen for a small church, begin with the ministry’s actual display problem and the room’s measurements. Confirm that LED solves the problem better than a commercial display or projector. Then select image size from readability, pixel pitch from the nearest viewer and camera, brightness from room light, and processing from the real livestream workflow.
The strongest small-church proposal is not the one with the largest screen or finest pitch. It is the one that documents physical size, native resolution, operating brightness, camera performance, structure, power, service access, spares, training, warranty, and five-year cost in one comparable scope. That process protects a limited budget and gives volunteers a display they can operate and maintain week after week.
 Church LED Wall vs Projector: Which Is Better?
 P2.6 vs P2.97 vs P3.91 Rental LED Display: Which Pixel Pitch Fits Your Event?
Related Posts


Fill In Your Needs In Detail
Fill in the screen usage scene and size you need in “Content”.You will get a quote.