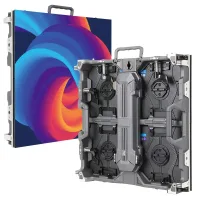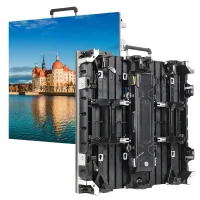
A supplier for a convex branded LED stage should prove the outward curve, the brand artwork and the audience view together. Ask Chinese manufacturers to demonstrate the quoted cabinet system in the proposed direction of curvature, then show your logo, text and motion content from the principal audience and camera positions. A concave sample, a product render or a flat-wall test cannot answer all three questions.
- A labelled top view showing the visible face, audience and convex direction.
- A representative curved sample using the quoted hardware and content.
- A pixel map, content handover and agreed visual acceptance record.
- Clear responsibility for structural approval, installation and show support.
Contents — convex stage supplier review
1. Remove ambiguity from the design brief
Draw the audience-facing side and label the curve as convex: it projects outward towards viewers. Include the straight end-to-end span, maximum projection, height and any flat wings or returns. Tell the supplier which dimensions are fixed and which can change. Do not rely on the sign of a radius or angle without agreeing the supplier’s drawing convention.
Mark the main camera, side cameras, front seating, extreme side seats and presenter positions. A logo that looks balanced from the centre may stretch or disappear around the ends from another position. The design review should decide where critical brand information remains visible and where decorative content can wrap around the curve.
For Southeast Asian projects, specify whether the stage is in an air-conditioned hall, an open-sided venue or outdoors. Provide expected exposure, operating hours and build conditions. Have the supplier identify the appropriate model variant and its operating limits instead of assuming that every cabinet in a series suits the same environment.
2. Request the right sample assembly
Ask how the display creates its curve. A flexible module system and an angled assembly of rigid cabinets are different constructions. Require drawings for the proposed cabinet, adjustment mechanism, permitted orientation and support interfaces, including any transition to a flat section.
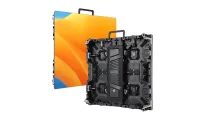
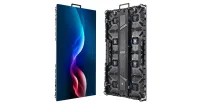
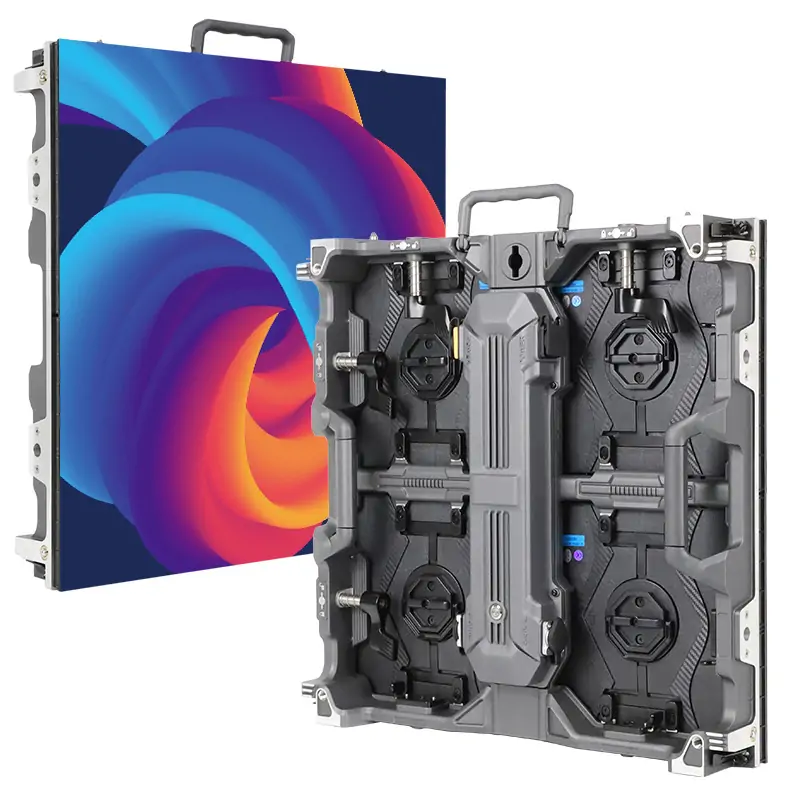
The EA500H7 curved rental display is a product reference for internal and external curved configurations. Its removable rear power-box arrangement is also relevant to a service demonstration. These features do not establish a minimum radius or an approved load for your stage: request those details for the actual configuration.
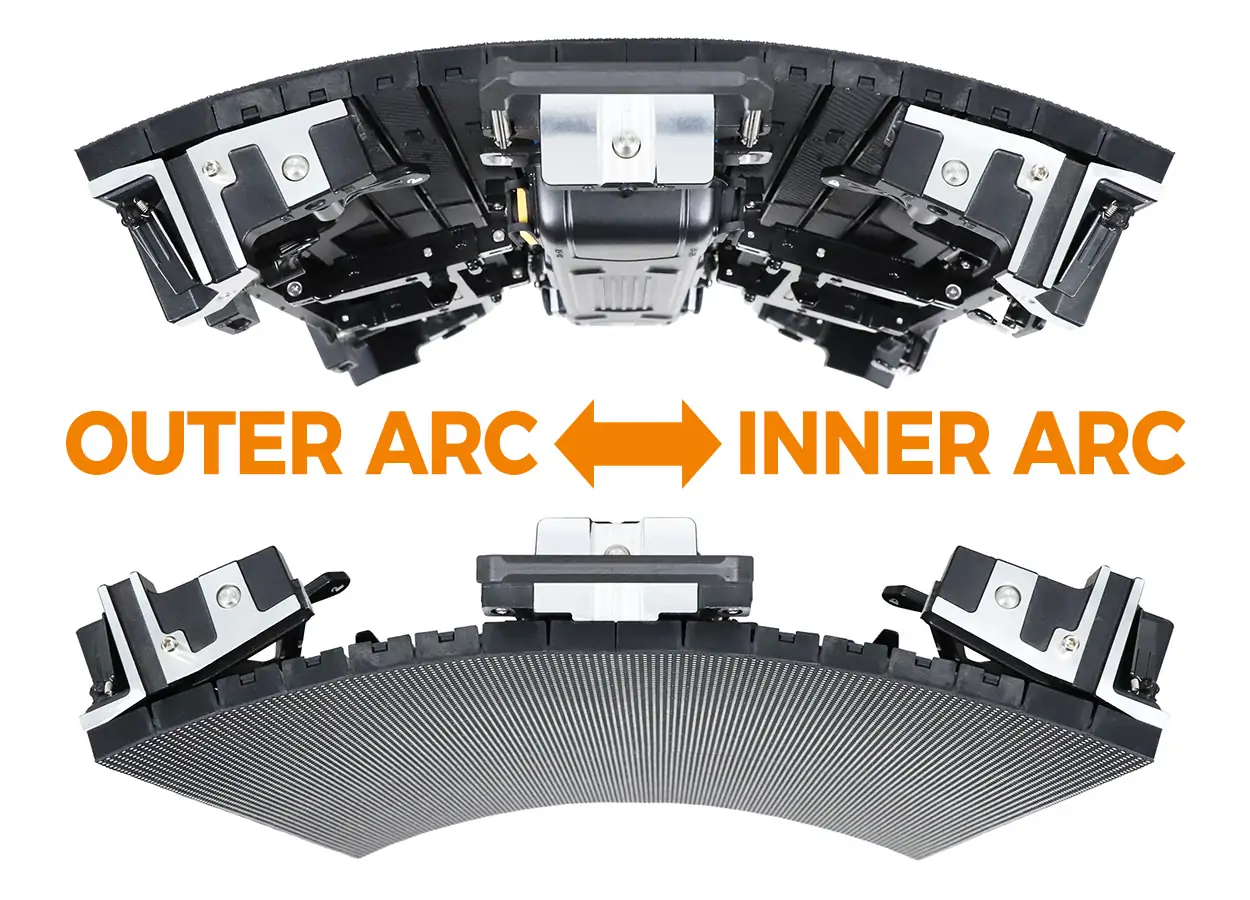
The sample must contain enough of the proposed assembly to expose its critical joints and transitions. Have the supplier show the rear as well as the lit face. Record the cabinet and module revisions, adjustment settings, receiving-card configuration and sample date. If the supplier cannot reproduce the required curve, resolve that before negotiating production quantity.
3. Run a witnessed brand-image test
Send the same short test sequence to each shortlisted supplier. Include your actual brand colours and artwork where you have permission to share them. The worksheet below defines what to observe; it is not a claim that a particular product has passed.
| Test content | Where to observe | Record before approval |
|---|---|---|
| Grid and straight lines | Centre, ends and curve transitions | Joint alignment and any visible steps or changes in geometry |
| Logo and small text | Main audience and side seating positions | Readable area, distortion and safe placement of key information |
| White, grey and brand colours | Across the full visible curve | Colour differences, seams and the agreed brightness setting |
| Motion and gradients | Audience view and camera monitor | Mapping errors, transitions and the actual playback settings |
| Camera shot with presenter | Proposed camera positions | Exposure, artefacts and whether the presenter remains separated from the image |
| Representative service task | Actual access side | Tools, clearance and how the replacement is checked afterwards |
Agree an observation method and acceptance criteria with the project team before the demonstration. Keep the camera settings and display settings with the record so another supplier’s footage can be compared meaningfully. Do not accept an unlabelled phone clip as proof of performance with your production cameras.
4. Check the content and signal handover
Require a cabinet map and native pixel map rather than a screen-area number alone. The content team needs the complete canvas, orientation, module boundaries and any separately controlled wings. Decide who prepares the final artwork, who loads the processor configuration and who signs off the rehearsal image.
For a convex surface, ask the creative team to preview the composition from the important viewing positions. Keep essential names and call-to-action text in areas that remain readable. Treat perspective correction as an explicit creative or system task; it is not automatically supplied by choosing curved cabinets.
Have the supplier demonstrate a representative signal route and explain the proposed recovery process for an input or cabinet fault. Confirm what equipment, spare components and configuration files are included. Obtain a saved configuration matched to the labelled cabinets rather than a generic file for the product family.
5. Agree installation and support responsibilities
Verify the legal supplier, manufacturing location and party responsible for the final system. Request current evidence of similar outward-curve assemblies, while distinguishing verified project records from demonstration renders. Check any claimed certifications against the exact supplied models and destination requirements.
The responsible qualified installation team must approve support, loads, interfaces and venue conditions using the manufacturer’s documentation. Assign responsibility for local venue submissions, rigging or ground support, cable management and working access. A manufacturer’s cabinet-strength statement does not approve the complete stage structure.
Before shipment, require an acceptance record tied to the approved sample and a packing list that identifies the curve components. Put substitutions, replacement compatibility and repair procedures in writing. For shows across time zones, confirm which support hours cover local load-in and rehearsal, what can be diagnosed remotely and who supplies local labour.
The stage LED screen overview can help narrow the product discussion. Your final purchase specification should remain the project drawing, configuration and witnessed acceptance record.
6. Send a useful supplier enquiry
Provide: country and venue; stage drawing; convex span, projection and height; audience and camera plan; brand-content examples; indoor/outdoor conditions; build and rehearsal dates; installation method; service space; and the required equipment and support scope.
Ask EagerLED to propose a curved rental LED configuration and identify the sample assembly needed to validate its visual and mechanical fit.
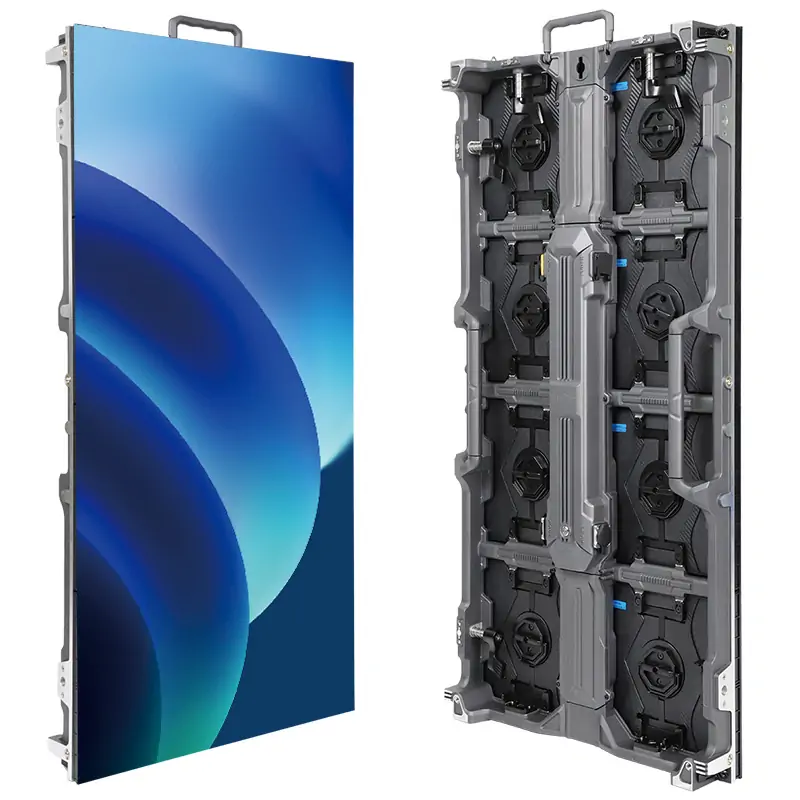
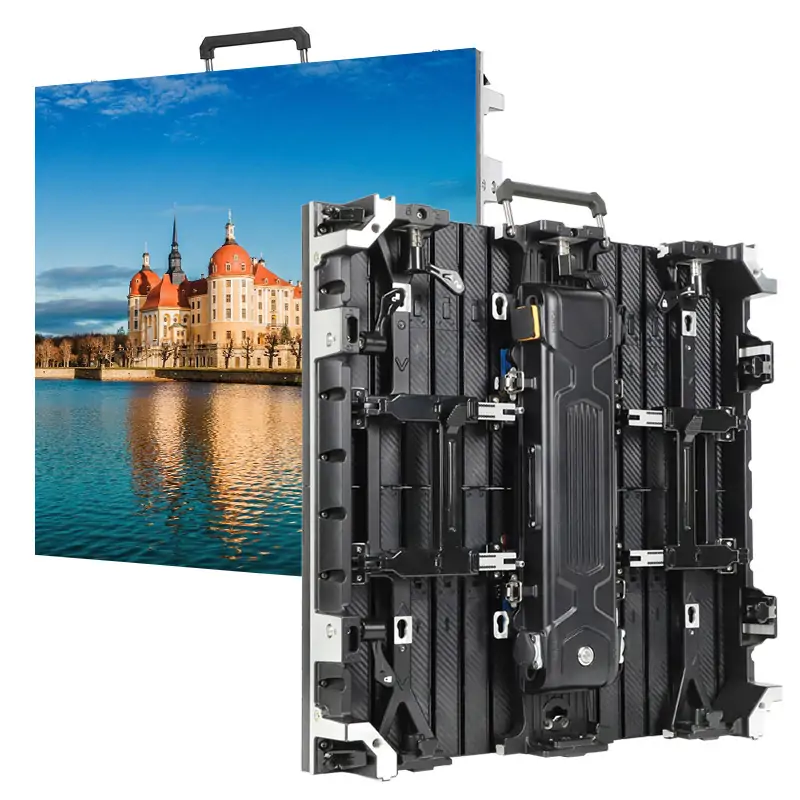
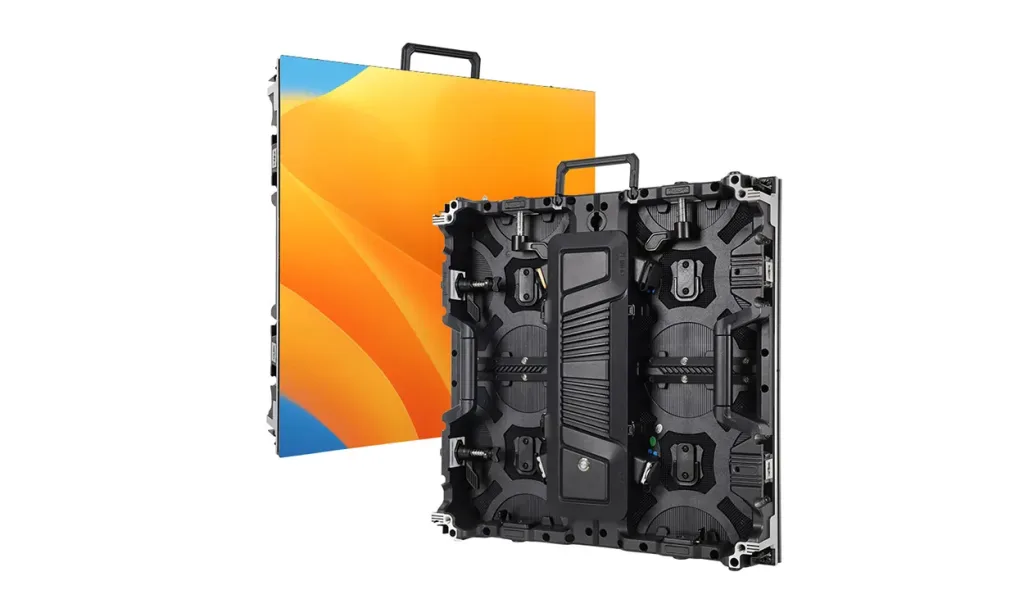
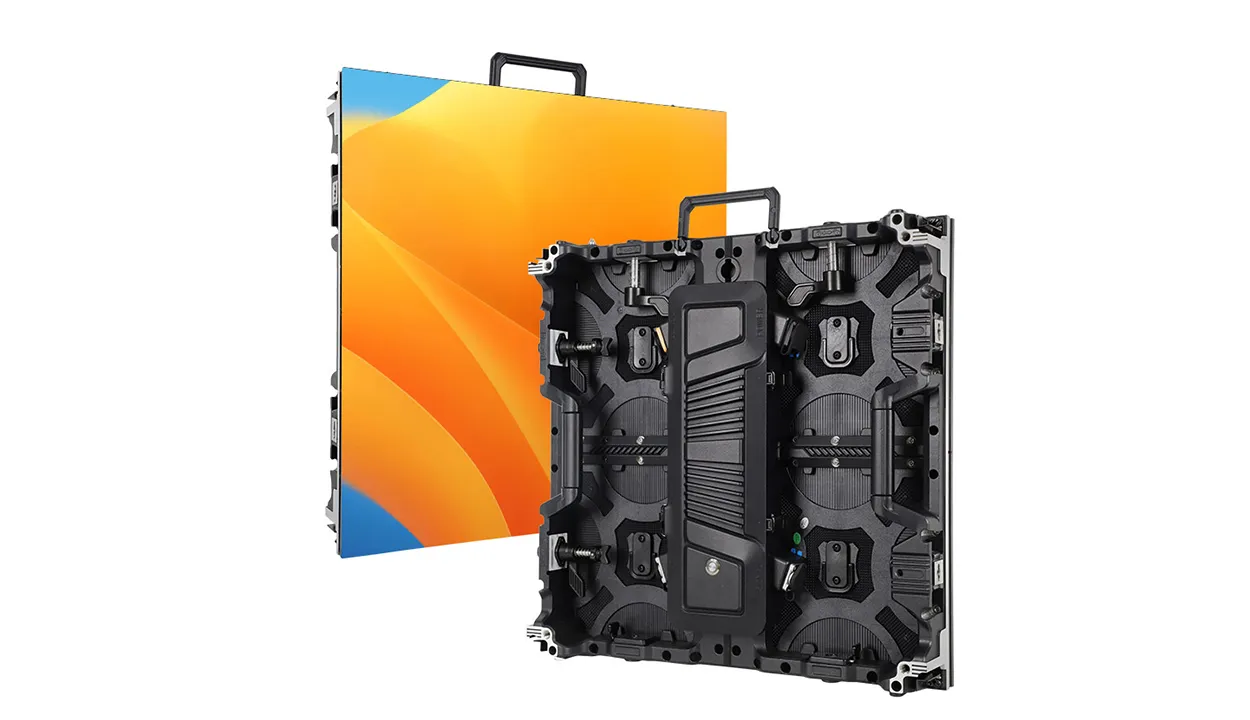
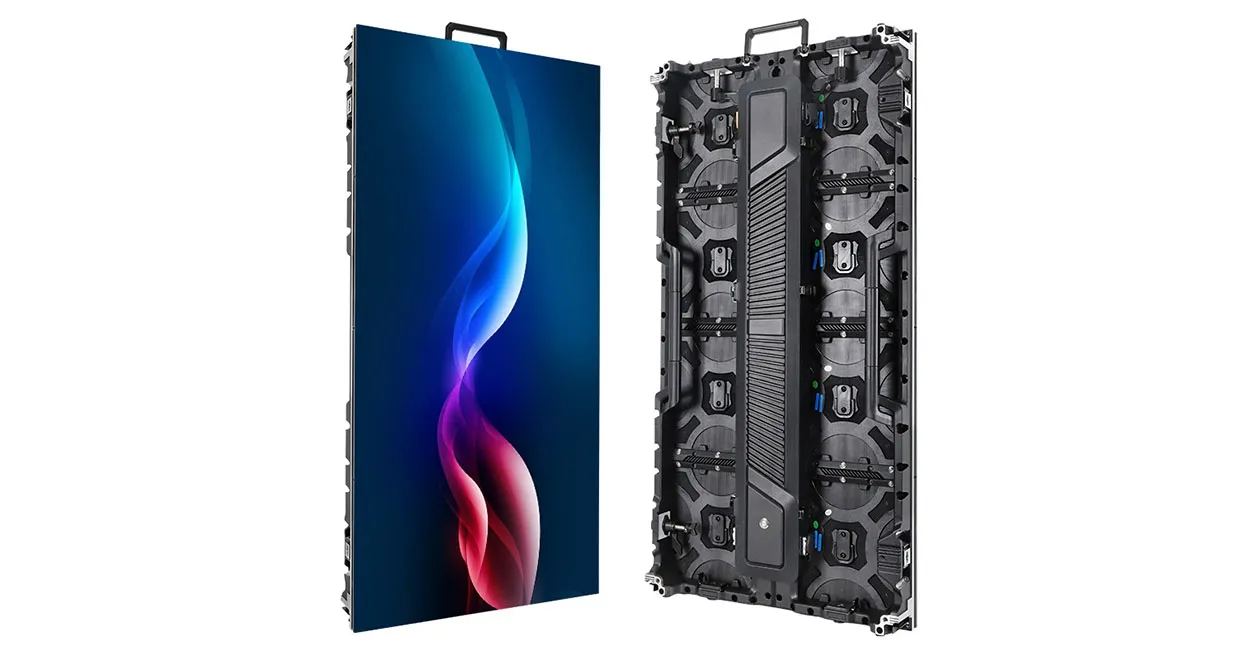
Product photographs and illustrations explain the EA500H7 construction. They are not evidence of a completed customer stage or a project-specific structural approval.
 500×500 Rental LED Cabinets: Curved Booth Supplier Checks
 Indoor Rental LED Displays: Ballroom Supplier Checks
Related Posts

Fill In Your Needs In Detail
Fill in the screen usage scene and size you need in “Content”.You will get a quote.