For most final-pixel virtual production, an LED wall is better than a green screen when the shot depends on interactive lighting, accurate reflections, faster on-set decisions, and a background that the camera can capture directly. A green screen is better when budget, portability, unrestricted camera movement, or maximum post-production control matters most. Many productions should use both.
The right answer depends on the shot list, not the trend. An LED volume moves environment work into pre-production and gives the crew a visible, tracked world on set. Chroma key keeps the stage simple but transfers keying, integration, and many creative decisions to post. This guide compares image quality, parallax, camera constraints, schedule, cost, and LED specifications so producers can choose a workflow before committing to a stage.
1. Quick Verdict: LED Wall or Green Screen?
Choose an LED wall for shots with reflective vehicles, glass, glossy wardrobe, complex practical surfaces, long golden-hour scenes, or frequent location changes that must be approved on set. The display becomes both scenery and a large lighting source, while camera tracking updates the rendered perspective. This is the clearest route to believable in-camera VFX when the stage, content, tracking, processing, and camera are engineered as one system.
Choose a green screen when the production needs a low-cost or mobile stage, several camera viewpoints, fast-moving handheld or crane work beyond the usable LED frustum, heavy background redesign after photography, or subjects that can be keyed cleanly. Green screen is not obsolete; it remains efficient when a skilled compositing team is already part of the plan.
Choose a hybrid workflow when a hero subject benefits from LED lighting and reflections but wide shots, stunts, hair detail, set extensions, or secondary angles are better finished with chroma key or roto. The practical question is not which technology wins in theory. It is which one reduces total production risk for each shot.
2. How LED Walls and Green Screens Work
2.1. LED volume and in-camera VFX
A virtual production LED wall displays a digital environment behind the performers. In an in-camera VFX, or ICVFX, workflow, a tracking system reports camera position and lens data to a real-time engine. The engine renders the correct view for the camera frustum, and the LED processor displays that view in synchronization with the camera. Epic Games describes virtual production as a set of methods that connect physical filmmaking with real-time computer graphics.
The visible background changes perspective as the camera moves, creating parallax that a static playback wall cannot provide. Areas outside the camera frustum may show lighting content rather than final-pixel imagery. EagerLED’s virtual production LED wall guide explains the broader combination of LED modules, tracking, rendering, synchronization, and calibration.
2.2. Green screen and chroma key
A green screen records the foreground against a controlled color. In post-production, artists create a key, refine edges and transparency, suppress green spill, restore fine detail, and composite the subject into a separate environment. Camera tracking can still be used, but the background is normally added after the shoot instead of appearing as final pixels in the original plate.
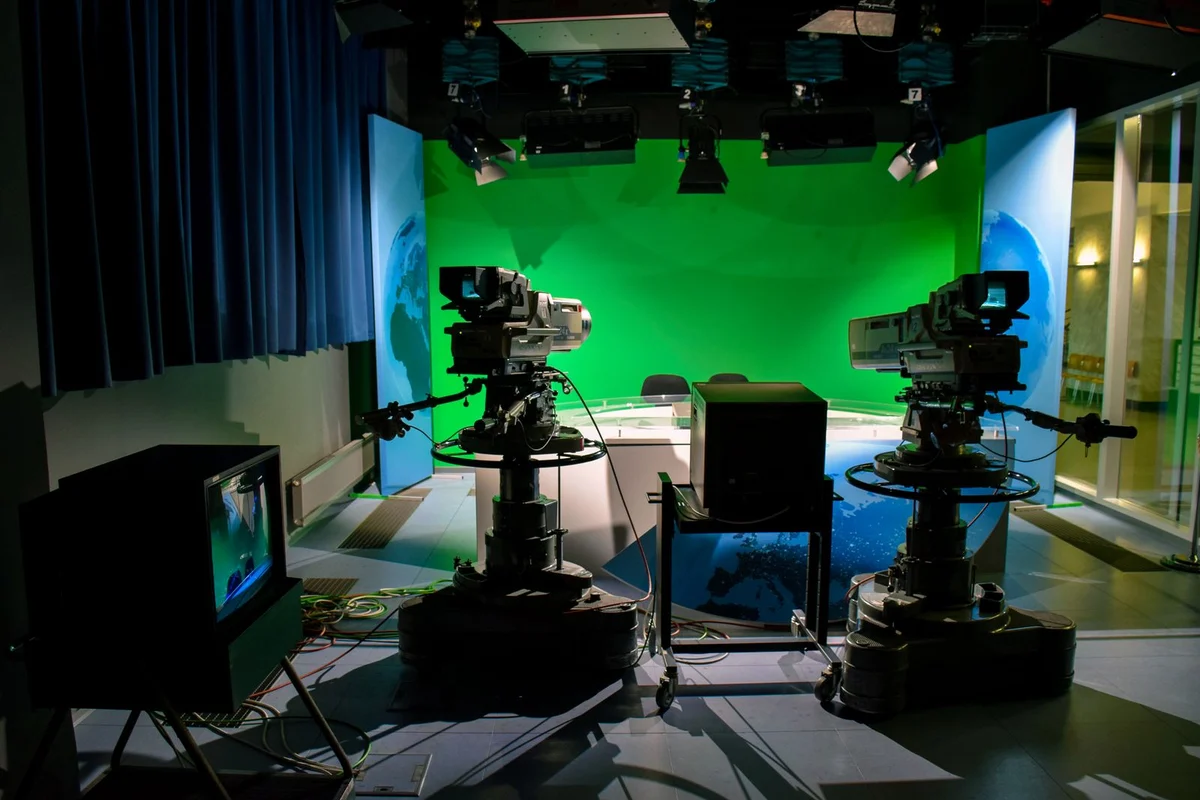
The method is familiar, portable, and unconstrained by LED dimensions. It also demands disciplined exposure, even backing illumination, subject separation, clean tracking markers, and sufficient post time. The studio image source below shows a practical broadcast-style chroma stage with cameras and overhead lighting.
3. LED Wall vs Green Screen at a Glance
This comparison assumes a properly designed LED stage and a professionally lit chroma stage. A poorly calibrated wall can create moire, banding, color error, and visible seams; a poorly lit green screen can create noisy keys, spill, and edge contamination. Crew capability matters as much as the backdrop.
| Decision factor | LED wall / ICVFX | Green screen |
|---|---|---|
| Final background | Often captured in camera | Added in post |
| Interactive light | Emitted by the environment | Recreated with fixtures |
| Reflections | Visible on reflective objects | Usually rebuilt or cleaned |
| Creative flexibility | High on set, content prepared early | Highest after the shoot |
| Stage investment | High hardware and technical cost | Low to moderate |
| Post workload | Reduced, not eliminated | Keying and integration intensive |
4. Image Quality, Spill, Reflections, and Lighting
4.1. Where LED creates a visible advantage
An LED volume can wrap the subject with the color, direction, and motion of the displayed world. A sunset can stay at the same angle for hours, a moving vehicle plate can cast changing highlights, and chrome or glass can reflect the environment naturally. Directors, cinematographers, and clients see a close approximation of the final shot on the monitor instead of imagining a composite.
That advantage is strongest for reflective products, helmets, visors, vehicles, metallic wardrobe, and skin lit by large environmental sources. It can reduce green spill, difficult reflection replacement, and disagreement between foreground lighting and the digital background. Practical lights may still be needed for modeling, exposure, eye light, shadows, and higher output.
4.2. Where green screen can look cleaner
Green screen can deliver excellent results when the subject has clear separation, controlled motion blur, manageable transparency, and no problematic green wardrobe or reflections. It also avoids photographing the LED pixel structure. For very shallow depth of field, extreme close-ups, fast lenses, or shots that bring the focal plane close to the backdrop, a keyed background may be simpler than managing moire and wall focus.
The trade-off is invisible work. Fine hair, translucent fabric, glass, smoke, motion blur, shadows, and glossy surfaces may require roto, despill, edge reconstruction, and additional grading. Budget that work shot by shot rather than assuming one flat keying rate.
5. Camera Tracking, Parallax, and Lens Constraints
5.1. Tracking creates perspective, not just motion
In ICVFX, the real-time engine must know camera position, orientation, focal length, focus, and distortion closely enough to render the correct view. Latency or calibration error makes the background appear to swim or slide. Tracking quality, lens calibration, render performance, genlock, processor timing, and camera settings form one chain; the weakest link can be visible in the recorded frame.
5.2. The camera frustum sets practical limits
A conventional LED workflow renders one final-pixel perspective for the active camera. A second camera looking from another position may see a distorted frustum or lighting content unless the system uses a supported multi-camera method. Fast moves can also expose the edge of the volume, floor transition, ceiling gap, or tracking delay. Shot design should respect the physical stage and render budget.
Green screen does not have an LED frustum or physical pixel grid. Multiple cameras and large moves are possible if the backing covers the frame and tracking data is sufficient. However, motion blur, changing light, marker removal, and perspective matching still increase post-production complexity.
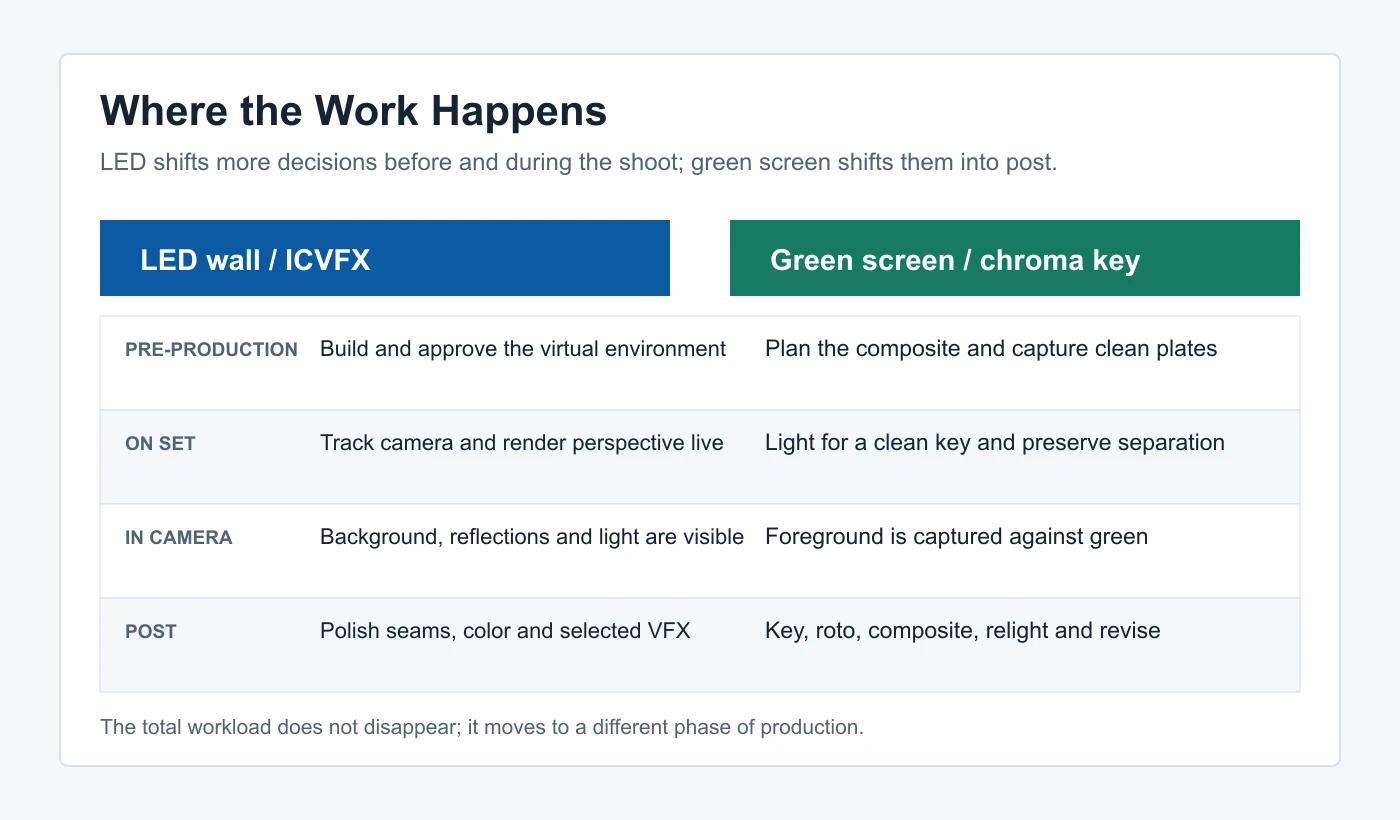
6. Production Speed and Post-Production Workload
6.1. LED moves decisions earlier
An LED stage rewards strong pre-production. Environments, camera paths, lighting states, color management, and performance targets should be ready before the crew arrives. That preparation lets the team scout virtually, approve composition, change locations quickly, and reduce uncertainty on set. It can also prevent travel, weather delays, and repeated physical set changes.
Final-pixel does not mean zero post. Teams may still remove tracking hardware, repair seams, extend the set, replace selected screen areas, add atmosphere, composite foreground effects, and complete normal editorial and color work. The benefit is a more complete plate and earlier creative alignment, not the elimination of VFX.
6.2. Green screen preserves late flexibility
Green screen keeps the capture stage inexpensive and leaves the background open to revision. That is useful when the environment is not final, several versions are required, or editorial decisions will change framing. The cost arrives later as keying, roto, integration, relighting, review, and render cycles. If approvals are slow, post schedules can expand even when the shoot was fast.
7. Cost Comparison and Break-Even Logic
7.1. Compare complete production cost
LED cost includes the wall, floor or ceiling where needed, support structure, power, cooling, processors, tracking, rendering, synchronization, calibration, stage space, technicians, content preparation, insurance, spares, and maintenance. Green screen cost includes the stage, cyc or fabric, lighting, camera tracking where used, keying, roto, clean-up, compositing, relighting, render, revisions, and possible reshoots.
Do not compare LED rental with green fabric alone. Compare the same finished shots at the same quality and deadline. Separate fixed stage cost from variable per-shot labor, then model the number of shoot days, approved environments, camera setups, reflection-heavy shots, post rates, revision rounds, and probability of reshoot.
7.2. Use a shot-level break-even model
Calculate the LED premium for the project, then estimate post labor and risk avoided by each suitable shot. LED becomes economically stronger when a volume is used across many days, environments can be reused, location travel is expensive, reflective subjects are common, or same-day approval prevents later changes. Green screen remains stronger for a small number of simple shots or when the production already has efficient compositing capacity.
Break-even test:
LED premium ≤ avoided location cost + avoided post labor + avoided reshoot risk + schedule value. Use quoted rates and probability-weighted risk; do not count benefits twice.
8. When an LED Wall Is Better
A virtual production LED wall is usually the better choice for automotive work, reflective products, science-fiction interiors, cockpit scenes, window views, controlled travel plates, repeatable day or night conditions, and productions that need clients to approve the composed image on set. It is also valuable when actors benefit from seeing the world and eyelines must match visible objects.
LED is especially compelling when the same stage supports recurring commercials, episodic content, broadcast, corporate production, or several related environments. Reuse improves the economics, but only if the technical team can maintain a predictable color and synchronization pipeline.
9. When a Green Screen Is Better
Green screen is usually the better fit for small budgets, mobile shoots, full-body keys, large stunts, wire work, fast or unrestricted camera movement, multi-camera coverage, and concepts likely to change after photography. It can also be the safer option when the available LED wall is too coarse, too small, too dim, poorly calibrated, or incompatible with the required frame rate and shutter.
Choose green screen deliberately, not merely because the stage is cheaper. Confirm that post has enough time and experienced artists, and test difficult wardrobe, hair, transparent objects, motion blur, smoke, and reflective surfaces before the main shoot.
10. LED Wall Specifications for Virtual Production
10.1. Pixel pitch and camera distance
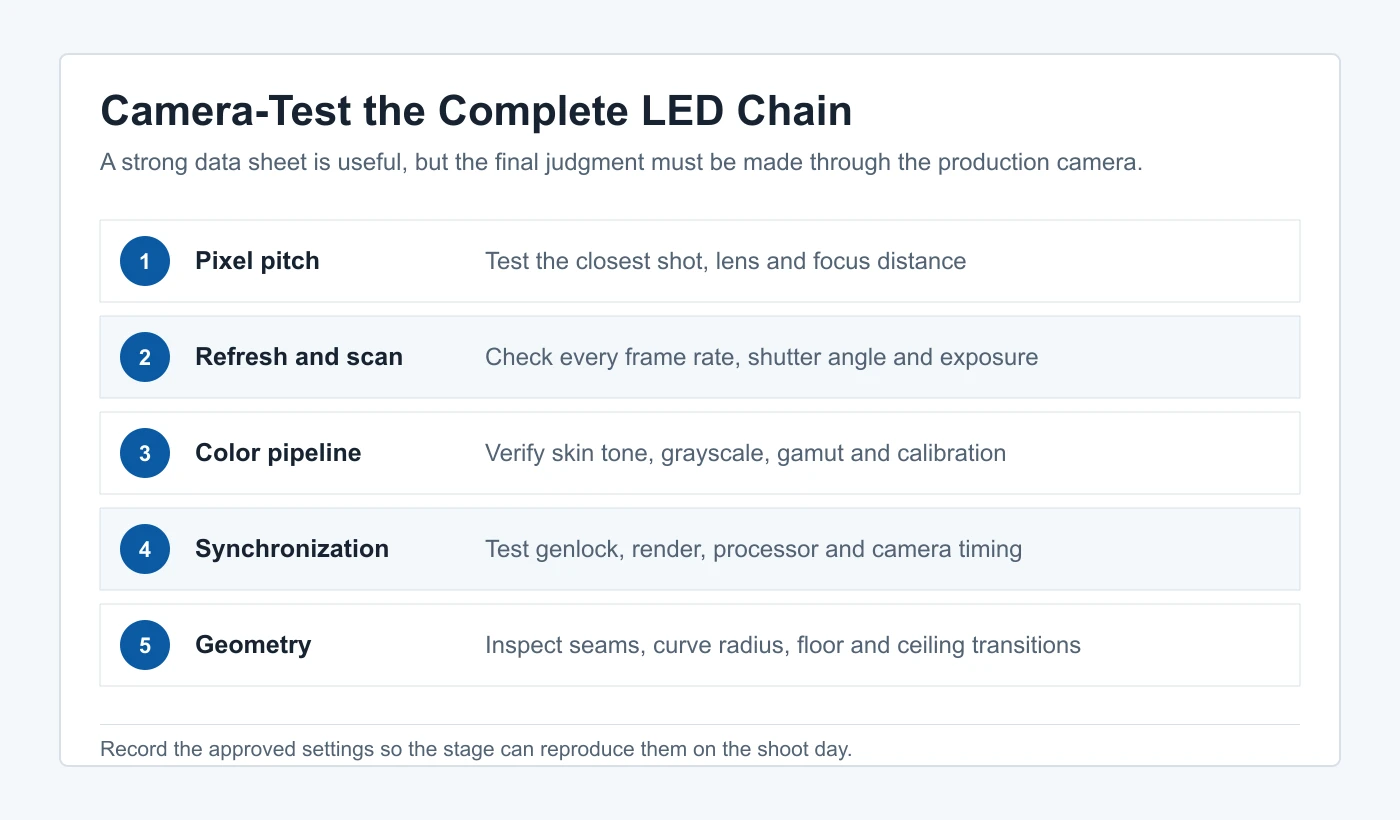
Pixel pitch affects how closely the camera can focus on the wall before the LED structure or moire becomes visible. A finer pitch usually increases usable camera proximity, but lens choice, aperture, focus distance, sensor, optical low-pass filter, wall angle, and image content also matter. There is no universal distance formula that replaces a camera test.
10.2. Refresh rate, scan behavior, and synchronization
A high advertised refresh rate is only one part of on-camera performance. Scan pattern, PWM behavior, grayscale at low brightness, processor configuration, genlock, shutter angle, frame rate, and exposure can produce banding or scan lines. Test every intended camera mode, including high-speed capture, at realistic brightness levels.
10.3. Color processing, calibration, and brightness
Specify the complete color pipeline: camera color space, real-time engine output, processor settings, panel calibration, white point, transfer function, and monitoring. Evaluate skin tones, neutral ramps, saturated colors, near-black detail, and uniformity across cabinet seams. More brightness is not automatically better; the wall must deliver the required exposure while retaining stable color and usable grayscale.
10.4. Viewing angle, geometry, and serviceability
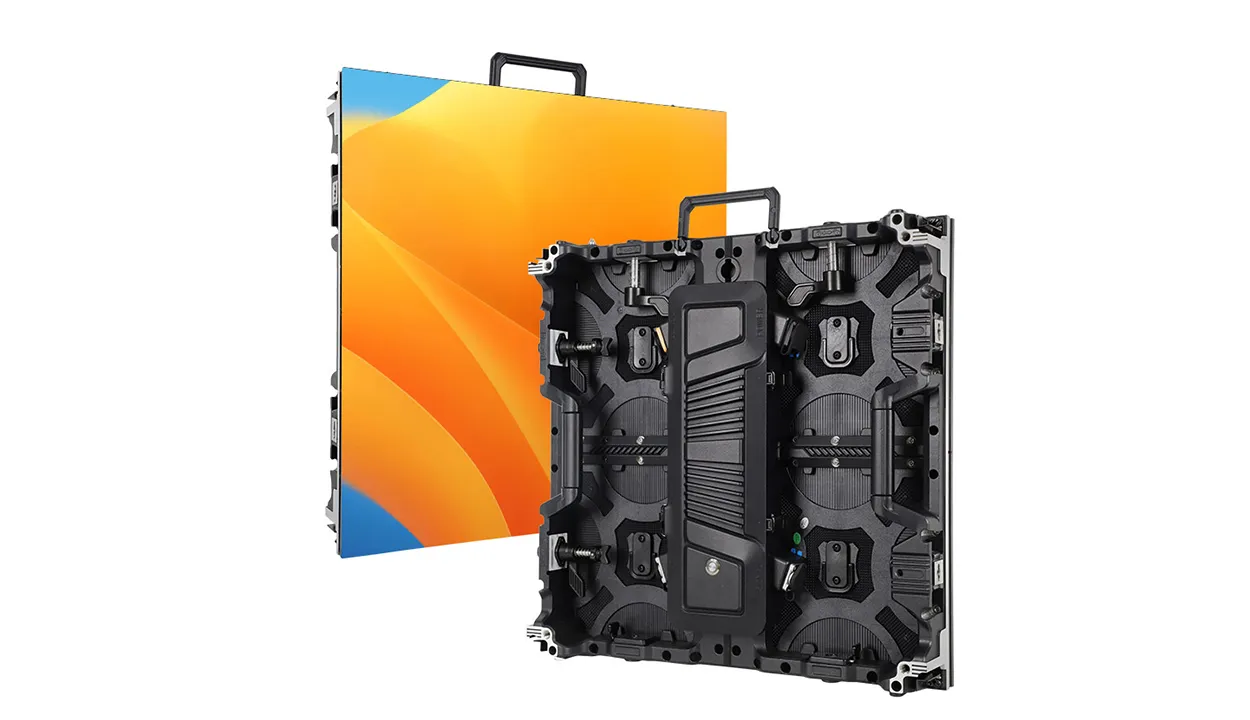
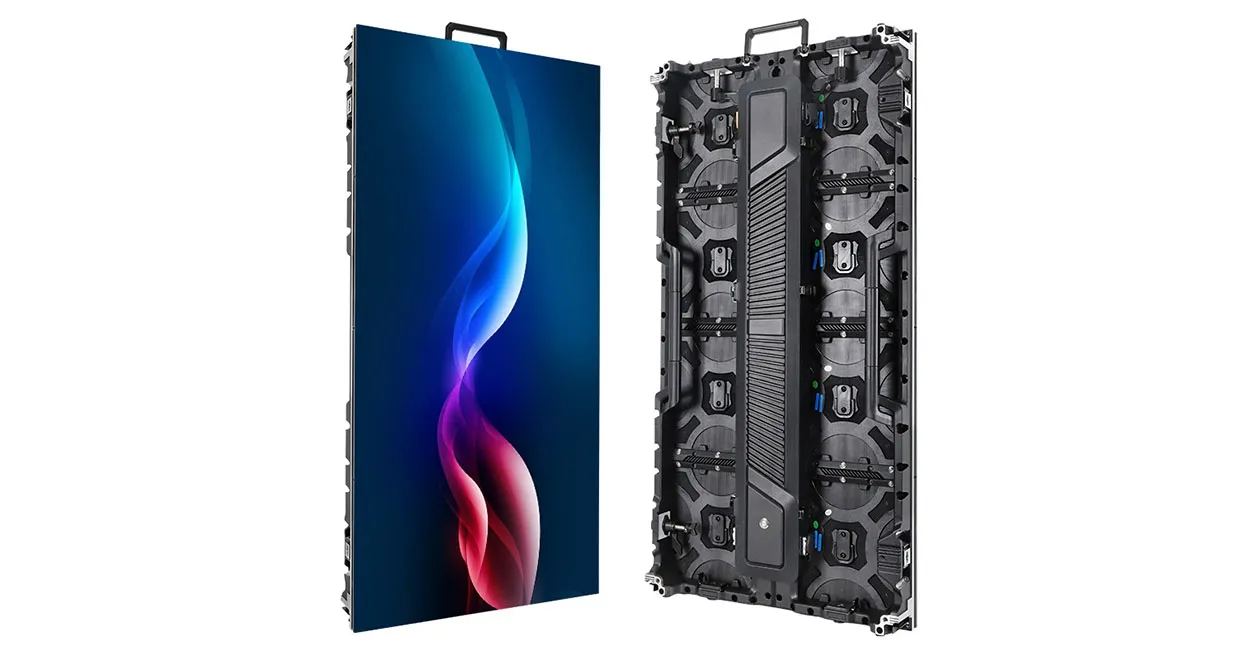
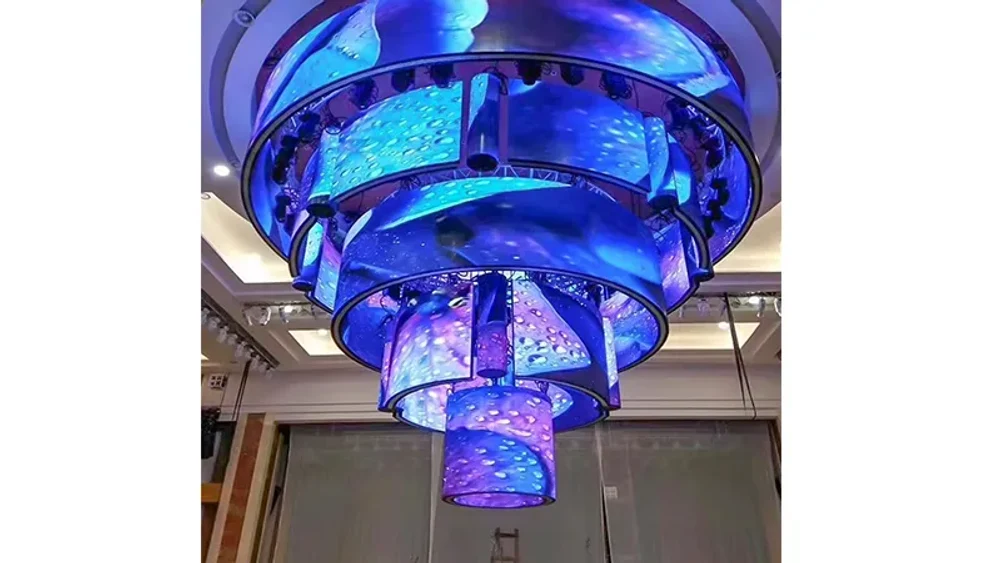
Curved volumes need consistent cabinet geometry and viewing behavior across off-axis angles. Floors and ceilings introduce load, reflection, and transition requirements. Flexible modules can help create non-flat forms; EagerLED’s EA-Flex indoor flexible LED screen illustrates how bendable modules can follow curved structures. For a production volume, the final support, flatness, calibration, cooling, and service design must still be engineered for the camera.
11. Hybrid Workflows and Practical Examples
11.1. Use LED for reflections and green for coverage
An automotive commercial may capture hero angles against an LED environment so the bodywork receives authentic moving reflections, then use green screen for a wide crane shot that exceeds the volume. A cockpit scene may use LED outside the windows while selected interior surfaces receive chroma panels for later replacement. These are production design decisions, not signs of failure.
11.2. Use LED as lighting without final pixels
The wall can display simplified color fields or low-detail environments outside the final camera view while another area is keyed or extended in post. This preserves interactive light and eyelines without forcing every background pixel to be final. The hybrid approach often gives cinematography and VFX the most control.
The official EagerLED video above demonstrates flexible indoor LED modules that can form curved display surfaces. In a virtual production design, curved geometry can improve wraparound coverage, but camera-ready performance must be validated as a complete system rather than inferred from module flexibility alone.
12. Procurement and Camera-Test Checklist
12.1. Define the shot requirements
List the closest camera-to-wall distance, widest lens, deepest and shallowest focus, frame rates, shutter angles, high-speed requirements, camera bodies, lenses, number of simultaneous cameras, tracking range, reflective objects, floor coverage, ceiling coverage, stage dimensions, and expected environment brightness. Mark which shots truly need final pixels.
12.2. Test the full signal chain
Use the production camera, lens, tracking system, render node, playback pipeline, processor, and proposed panel type. Record moire, banding, scan behavior, latency, color, near-black detail, viewing angle, seams, reflections, and calibration repeatability. Change one variable at a time and save the approved configuration.
12.3. Compare supplier scope and support
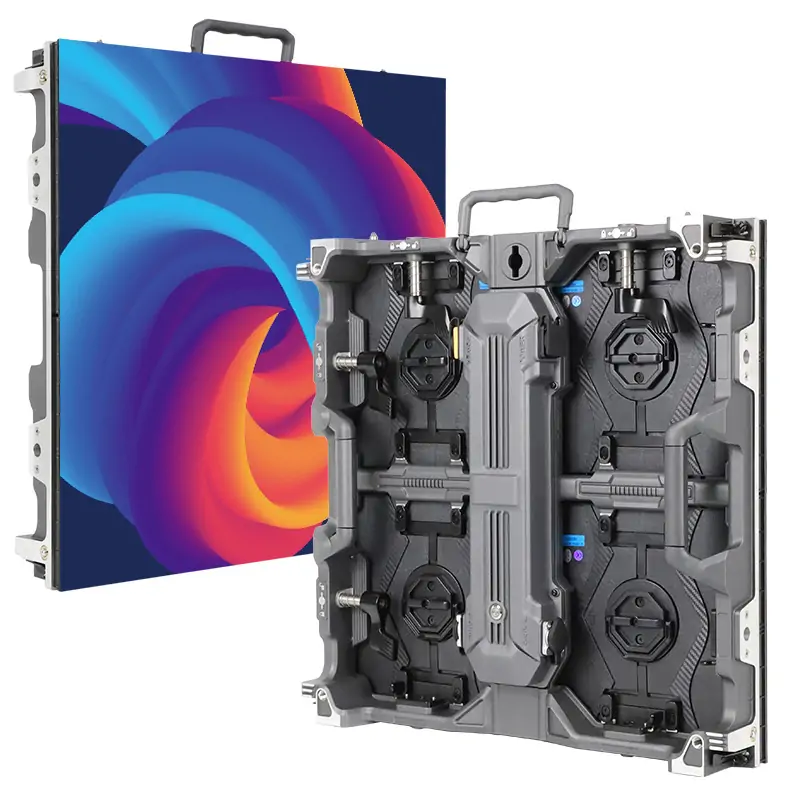
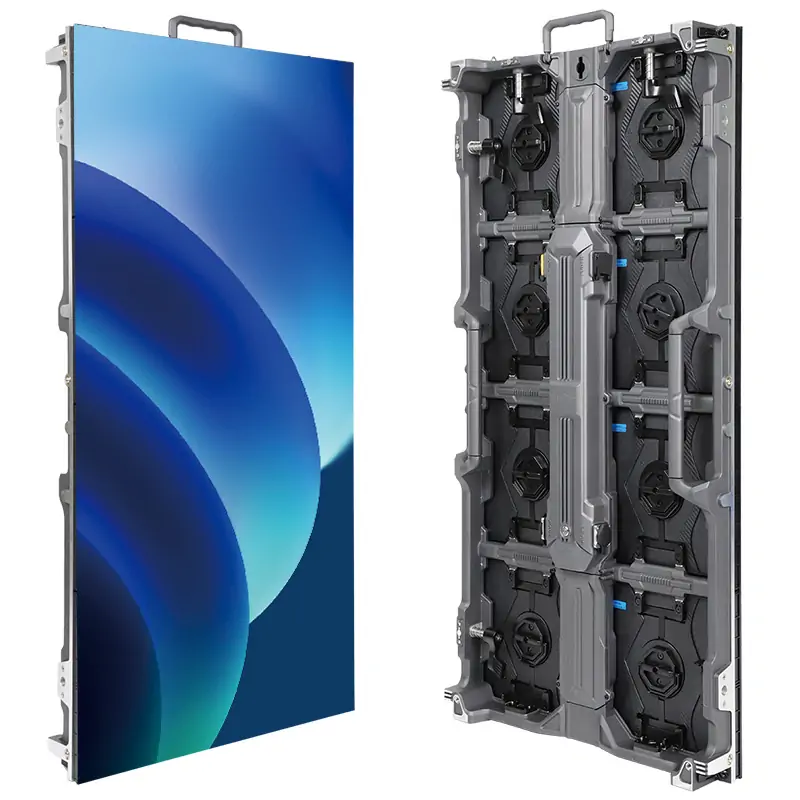
Ask each bidder to identify included processors, receiving cards, tracking interfaces, genlock, structure, power, spares, calibration, training, commissioning, warranty, on-set support, and acceptance tests. Compare like for like. EagerLED’s indoor LED screen options and rental LED screen solutions provide useful starting points for discussing stage format, pitch, cabinet design, and service access.
13. FAQs
14. Conclusion
In the LED wall vs green screen decision, LED is usually better for final-pixel virtual production, interactive lighting, natural reflections, repeatable environments, and faster on-set approval. Green screen is usually better for constrained budgets, mobile setups, large or fast camera moves, multiple viewpoints, and concepts that need extensive revision after photography.
The most reliable choice comes from a shot-level cost model and a full camera test. Define the creative requirements, test the entire signal chain, and use a hybrid workflow when different shots demand different strengths. Contact EagerLED with your stage dimensions, camera package, closest viewing distance, frame rates, and shot requirements to discuss an appropriate LED display configuration.
 LED Signs vs Traditional Signs: Which Delivers Better ROI?
Related Posts
Fill In Your Needs In Detail
Fill in the screen usage scene and size you need in “Content”.You will get a quote.