
Catetory
2026 New LED Screen Price for You
Fill in the information and get your LED screen budget immediately!
Featured Articles
Shortlist an outdoor rental LED display manufacturer for a music festival by reviewing the complete equipment and operating plan, not just a bright screen or a protection label. Ask Chinese suppliers for the exact outdoor configuration, documented operating limits, a representative daylight and camera demonstration, compatible spares and a clear handover to the local production team.
- Identify the outdoor cabinet variant and the equipment included in the quotation.
- Separate manufacturer documentation from local structural and electrical approval.
- Define who monitors conditions, decides operational changes and authorises restart.
- Agree fault recovery, spare compatibility and support during the festival schedule.
Contents — festival supplier due diligence
1. Identify the exact outdoor supply scope
Describe the festival location, dates, screen position, daytime and evening use, audience distances and camera coverage. Show whether the display is exposed on the front, rear and sides. Include the build, rehearsal, operating and pack-down periods: equipment can face different conditions before and after the public performance.
Require a model and revision-specific quotation. Ask for the cabinet’s front and rear protection details, permitted operating conditions and instructions for connections and servicing. Request supporting documents rather than accepting “waterproof” as the entire specification. An enclosure rating does not automatically describe every open connection, control unit or power component in the assembled system.
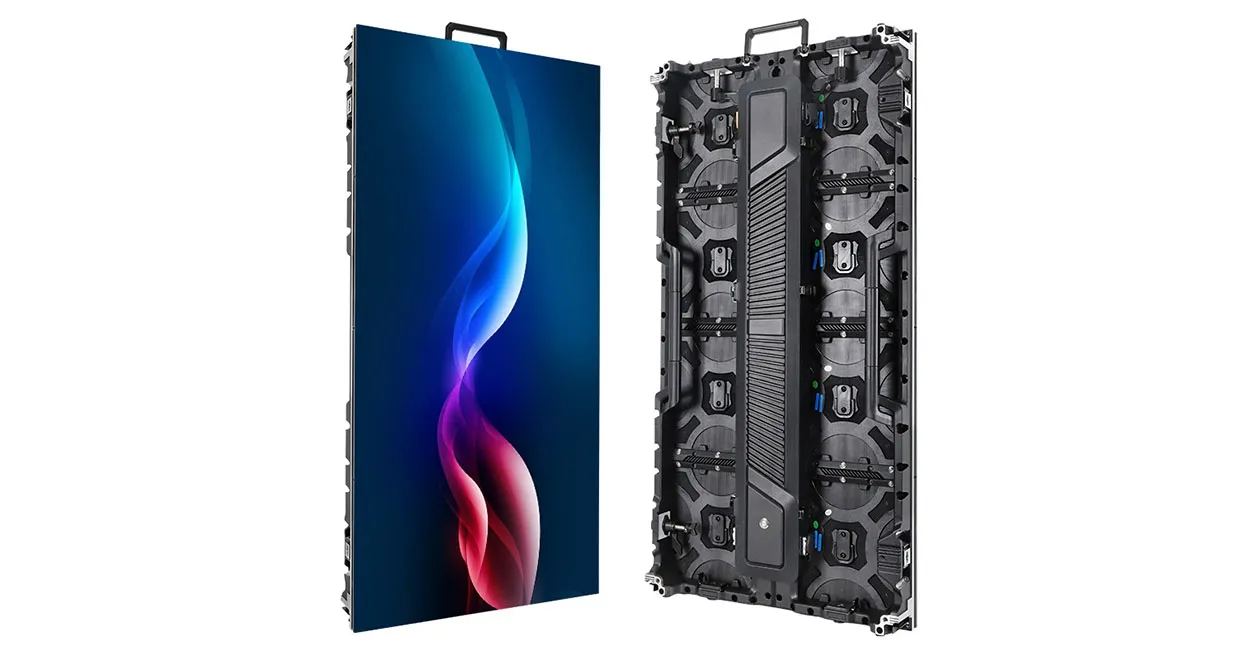
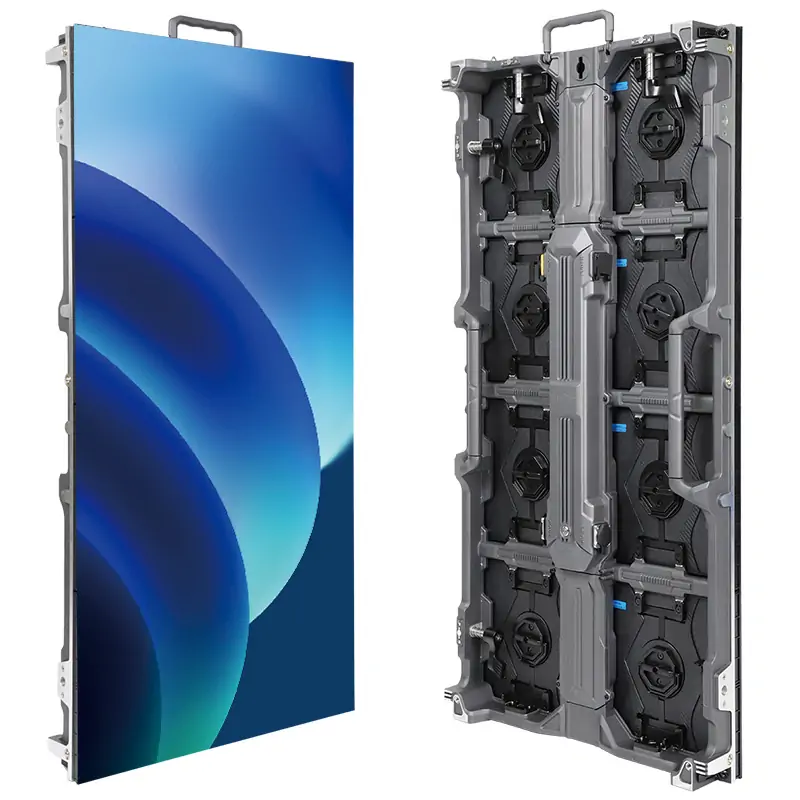
The EA1000H9 product page describes a 500×1000 mm rental cabinet with front/rear service and a detachable power box. It lists indoor and outdoor variants separately. Ask for the exact outdoor specification and current documentation for your order; do not transfer a parameter from another pitch or variant.
2. Use a responsibility and evidence matrix
A manufacturer can supply equipment records and installation requirements, while the local project team must resolve the complete site arrangement. Before selecting a supplier, use this worksheet to name the person who closes each interface. The competent project team determines the actual design and operating limits.
| Interface | Ask the supplier for | Confirm with the local project team |
|---|---|---|
| Outdoor configuration | Model, revisions, enclosure details and operating documentation | Actual exposure and whether every supplied component is suitable |
| Support system | Cabinet loads, approved interfaces and assembly instructions | Site-specific design, installation review and responsible approval |
| Power and connections | Maximum input requirements, connectors and equipment list | Distribution, protection, cable routes and environmental provisions |
| Weather response | Equipment limits and required inspection conditions | Monitoring, decision authority, actions and restart approval |
| Fault recovery | Compatible spares, configuration files and recovery procedure | Safe access, trained operators and show-control coordination |
| Support coverage | Named contacts, availability and escalation process | Local build/show hours, on-site labour and replacement logistics |
For Latin American festivals, identify the destination country and the parties handling import, local approvals and production. Confirm applicable requirements with those parties for the particular venue and installation. A certificate for a component or a different model does not settle the entire project’s compliance.
Ask the responsible qualified structural and electrical teams to approve their respective systems. Do not derive wind limits, ballast or circuit design from cabinet dimensions, screen area or marketing photographs. The event’s operating plan should name who can stop use and who authorises a return to service after an adverse condition.
3. Demonstrate daylight and camera performance
Request representative video, performer close-ups, sponsor logos and text at the intended viewing distances. Observe the proposed outdoor configuration under conditions relevant to the event. A saturated promotional scene filmed indoors is weak evidence for a daylight festival requirement.
Check the same system for evening operation. Confirm an appropriate brightness adjustment workflow and assess low-level content, colour matching and visible seams. Ask which settings are retained between rehearsals and show operation, and who can change them.
If the wall supports live cameras, test the intended cameras, signal format, processor and display settings together. Record the test conditions. A headline refresh-rate specification is a useful data point, but the acceptance demonstration must show the actual image chain. Avoid comparing supplier videos with unknown camera exposure or processing.
4. Evaluate service and fault recovery
Have the supplier demonstrate the documented procedure for replacing a representative service component and restoring its configuration. Establish which parts are replaceable on site, which require workshop attention and how replacements are identified. Keep the approved parts list and electronic configuration with the cabinet serial records.
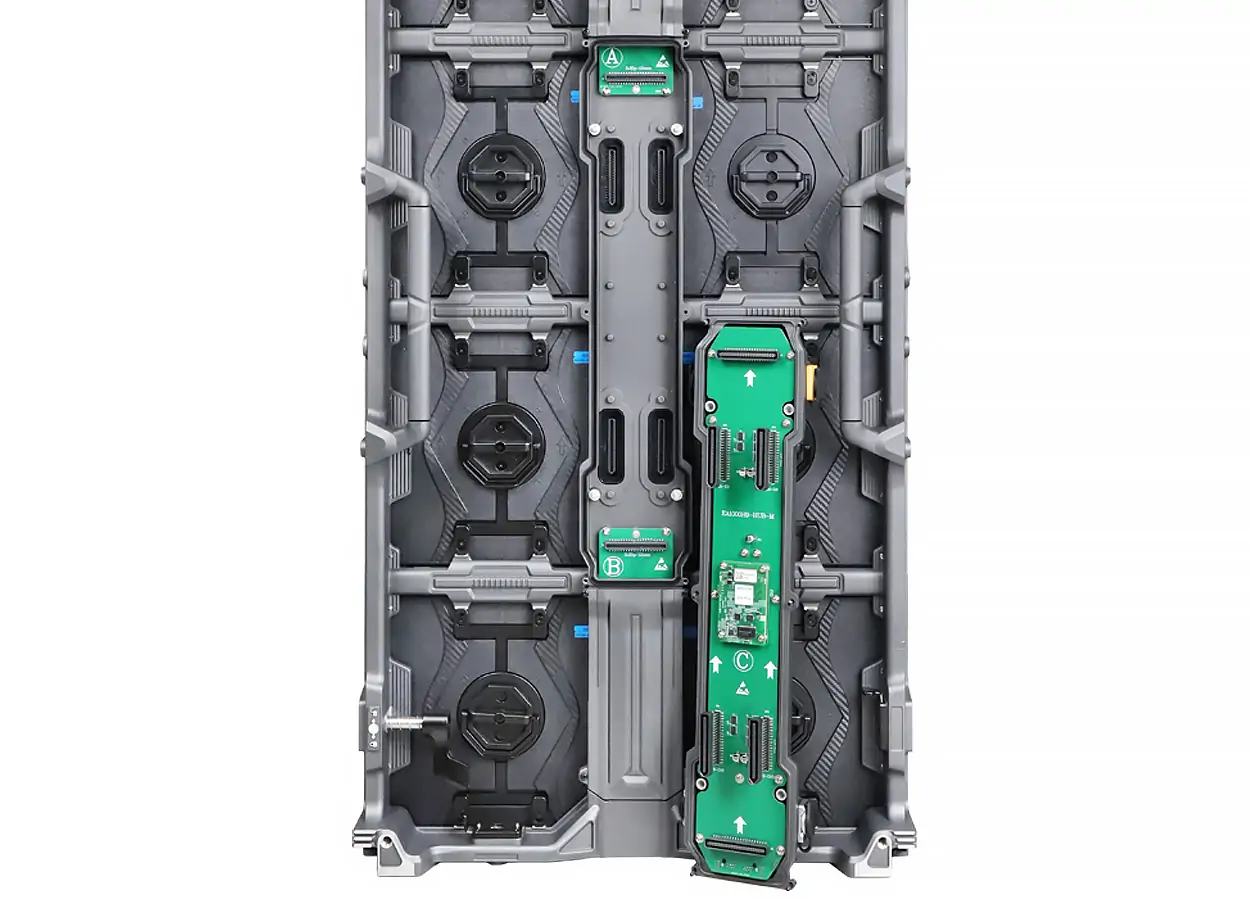
Plan service access before the screen is installed. The local production team should determine when a task can be performed safely and how it fits the show schedule. A removable power box does not guarantee immediate repair in every weather condition or supported arrangement.
Ask for spare modules, power/control components and cables matched to the production revisions, with quantities justified by the fleet and logistics plan. Confirm whether a processor or signal failure needs separate spare equipment. Written compatibility and recovery steps are more useful than an unexplained promise of “backup”.
5. Set shipment and festival handover gates
Verify the legal supplier and manufacturing role, then tie the approved sample to the final bill of materials. Request a live factory or inspection demonstration linked to the order. Require approval of substitutions and record how nonconforming items are corrected before shipment.
Before dispatch, reconcile cabinet labels, cases, accessories, spare revisions and configuration backups with the packing list. Agree shipment terms and the delivery buffer around customs, local transport and rehearsal. Avoid a schedule that assumes equipment arriving at the port is ready for the stage that same day.
At local handover, retain the equipment inventory, commissioning observations, settings, support contacts and the project team’s approvals. Confirm who checks the equipment between operating periods and who records defects. Do not treat a successful factory demonstration as evidence that the assembled festival site has passed its separate review.
Clarify warranty scope, repair freight and escalation during local show hours. Distinguish equipment manufacturing from a staffed local rental service. The rental LED display overview helps identify product families; the signed purchase scope must state which local services, if any, are included.
6. Send a complete procurement brief
Provide: festival country and site; build, rehearsal and show dates; screen dimensions; audience distances; daylight/night use; cameras and inputs; exposure; proposed support method; local engineering contacts; power availability; service access; shipping destination; and spare/support needs.
Ask EagerLED for an outdoor configuration, complete supply list, operating documentation and an acceptance demonstration matched to your project.
This is a procurement and responsibility checklist. The actual structure, electrical installation and operating limits require approval by the responsible qualified project team under the applicable local requirements. Product images are not customer festival case photographs.
Related articles
EagerLED Exciting Team Building Journey
All of EagerLED’s employees came together and embarked on an exciting team building journey.
Our journey began on the stunning waterfront where a yacht […]
EagerLED Holiday Notice 2024:Dragon Boat Festival
Dear Customers,
Thank you for your continual support and trust. The dragon boat festival is upcoming, so we will be on holiday from June 8th to June 10th, 2024. If you […]
COB vs SMD LED Display: Which is Best
The key difference in a COB vs SMD LED display comparison is how the LED chips are packaged. Chip-on-board (COB) mounts chips directly on the circuit board under a […]
GET A QUOTE
Consult us for LED display solutions