A ceiling LED screen is a direct-view LED display installed overhead to show video, graphics, or a digital sky. Choose it by checking viewing distance, brightness, structural support, approved mounting orientation, maintenance access, and total installed cost. The display and its modules must be suitable for operation above people.
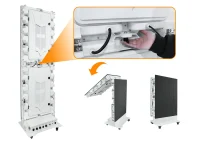
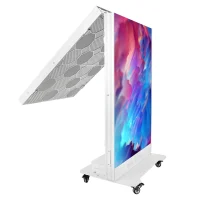
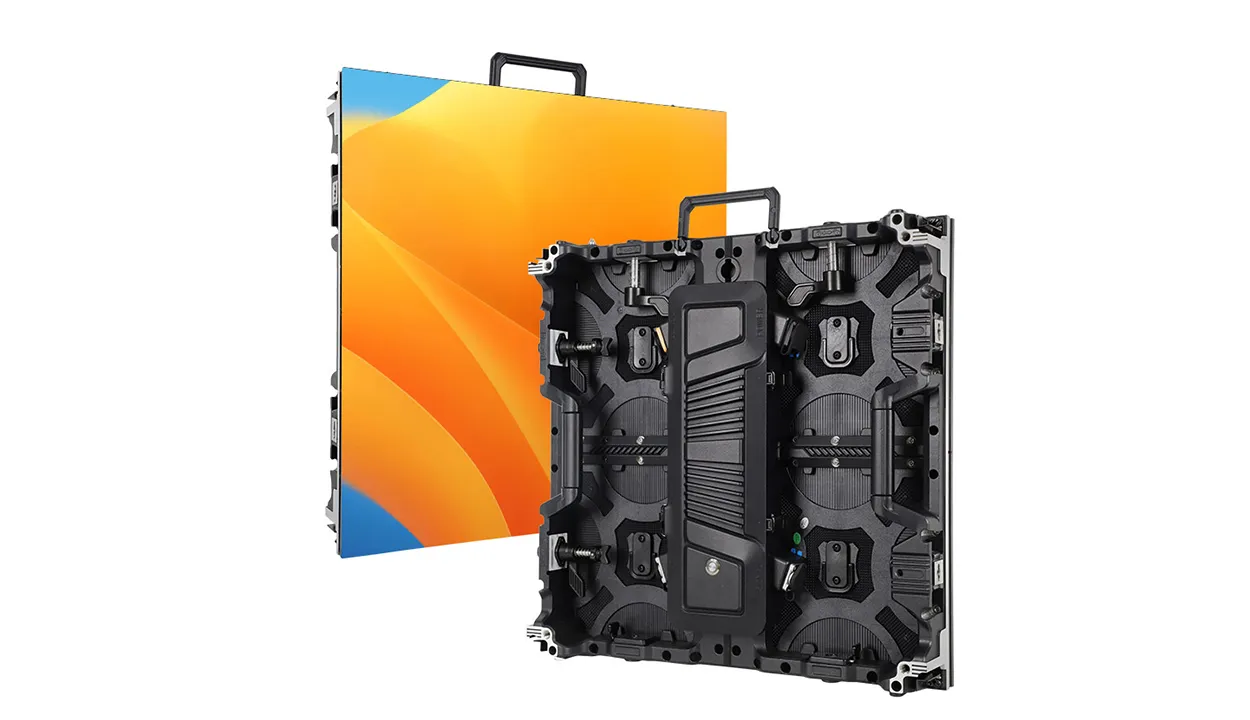
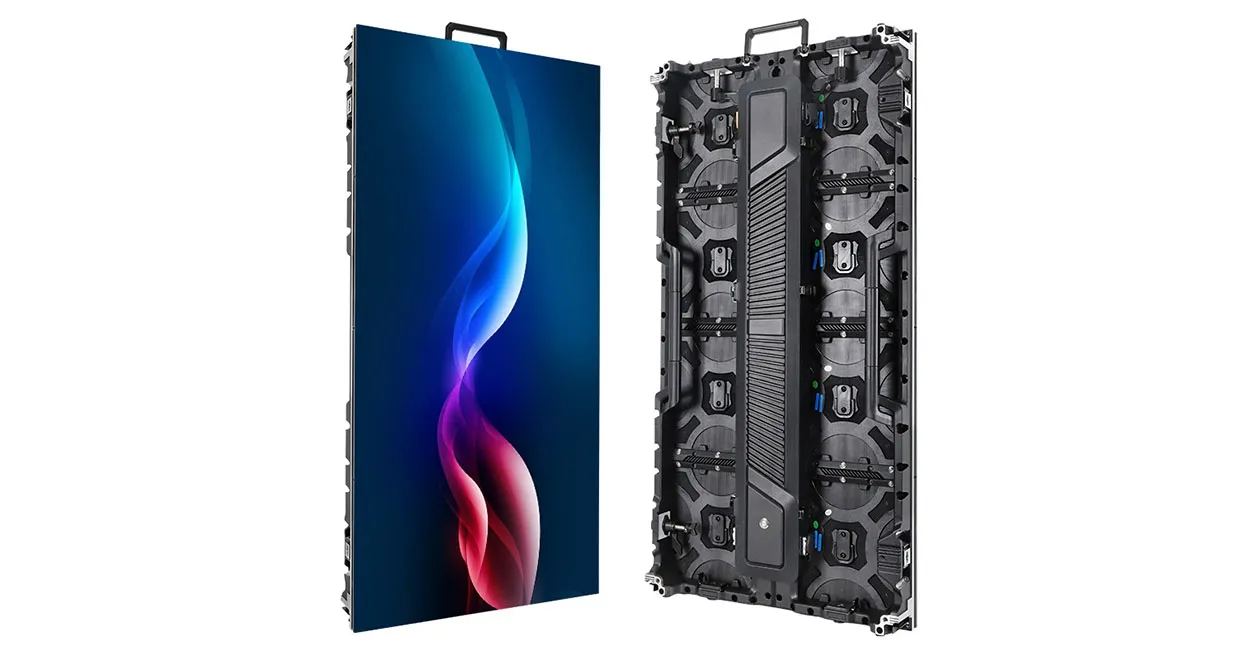
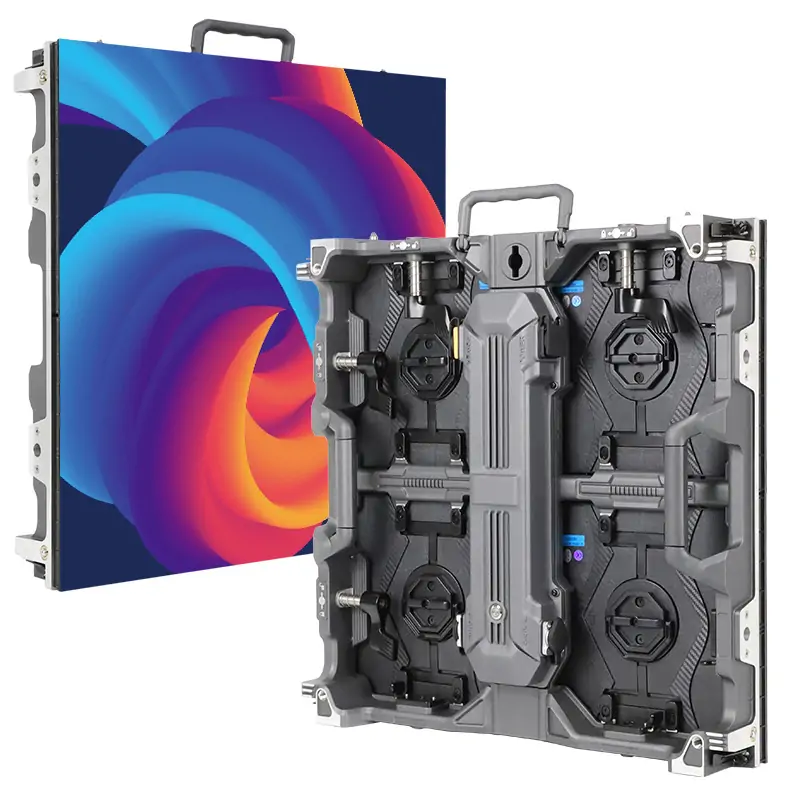
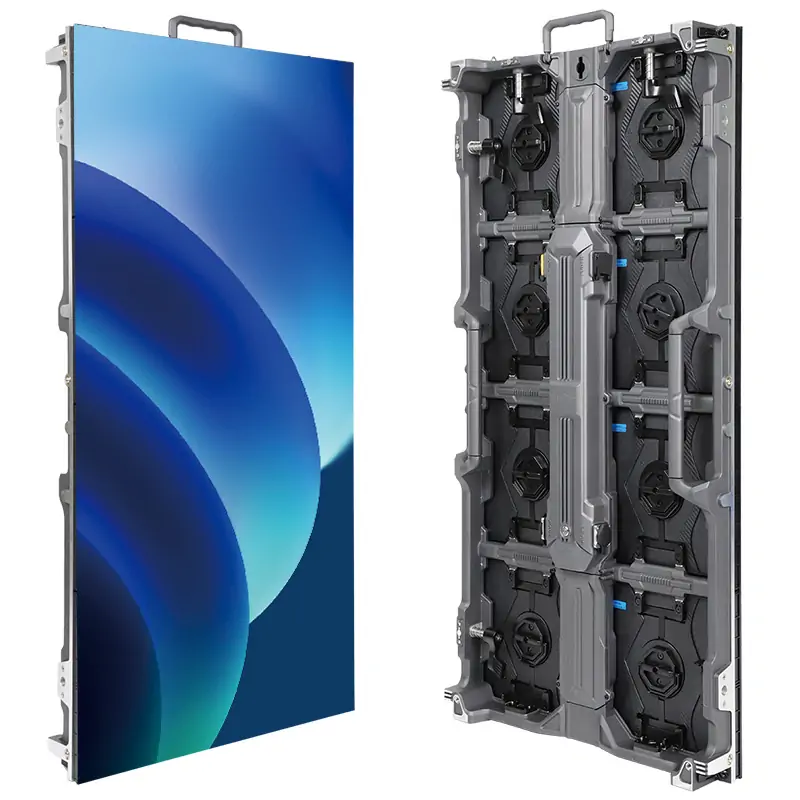
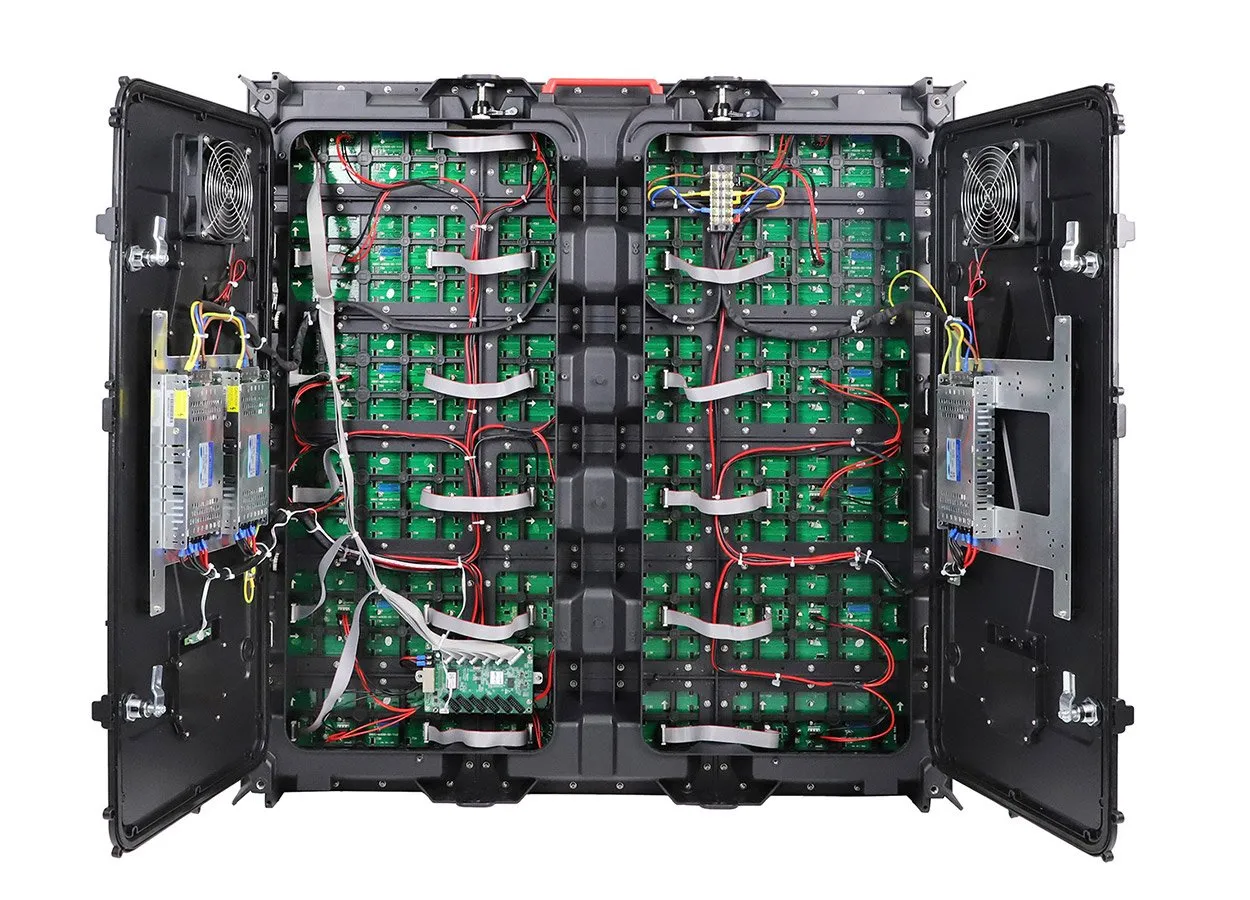
This guide compares display types, specifications, installation methods, and budgeting decisions. A right-angle rental LED wall illustrates creative cabinet layouts, but a product’s shape alone does not confirm ceiling suitability. Obtain written approval for the proposed overhead configuration before ordering.
1. What is a Ceiling LED Screen?
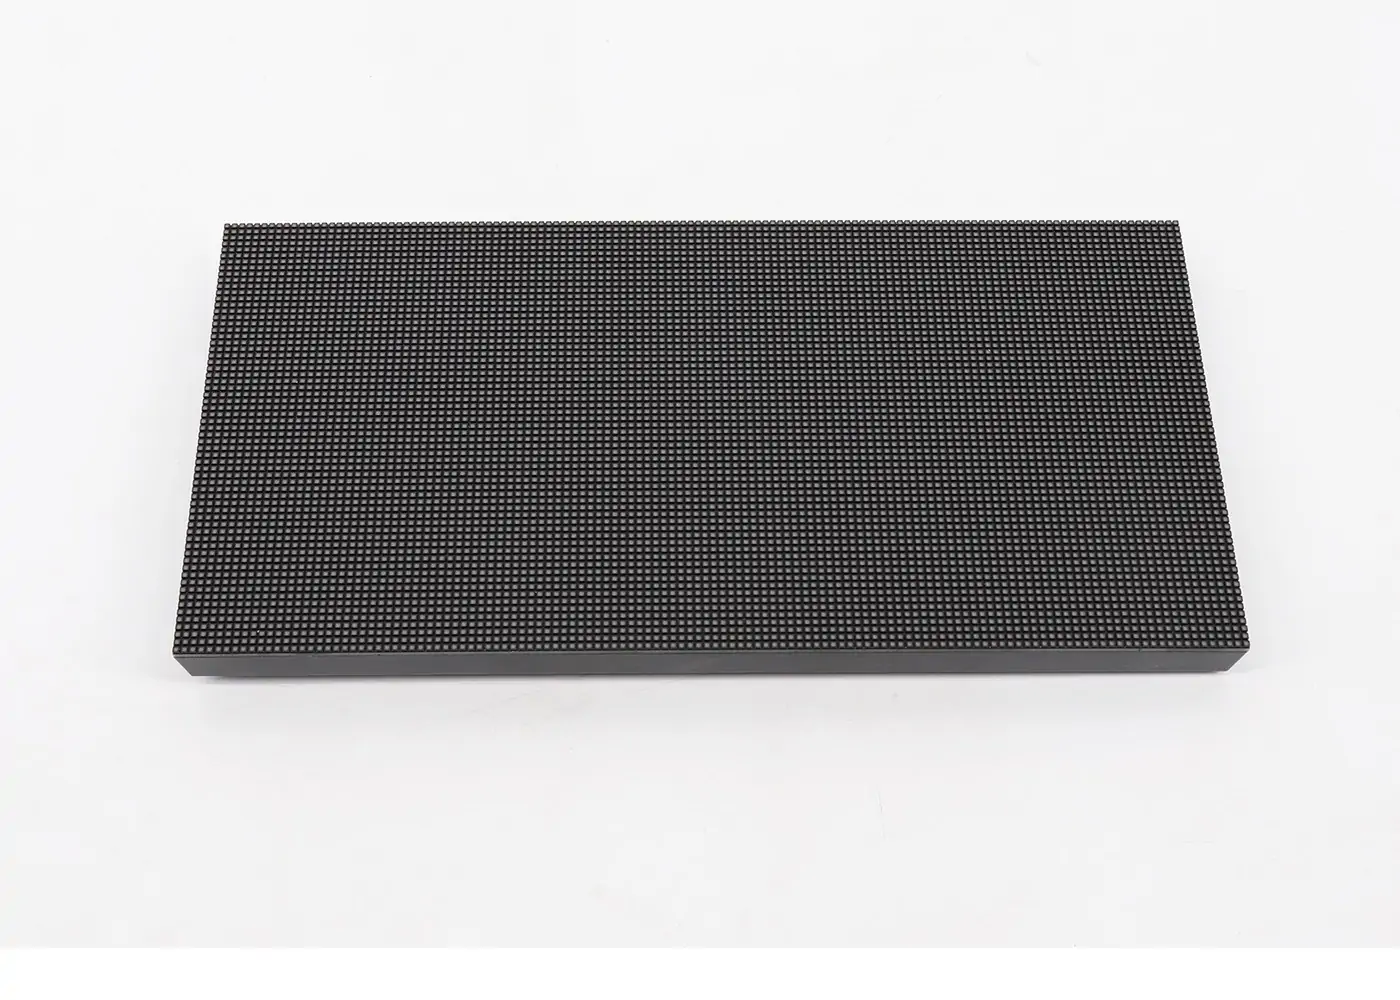
Ceiling LED displays use modular LED panels facing downward or at an angle. They produce their own light, unlike projection surfaces, and differ from decorative LED lighting panels that cannot reproduce full video. Viewers may look straight up or see the image from a corridor, balcony, or seating area.
Fixed installations integrate into an engineered frame or canopy. Suspended installations hang below the building structure on a designed support system and may be permanent or temporary. An ordinary suspended ceiling grid should not be assumed capable of carrying the display.
The imaging principles resemble indoor LED displays, but overhead installation changes the mechanical and servicing requirements. Specify approved cabinet connections, module retention, ventilation, and safe access. ROE Visual’s Graphite brochure is an example of a product explicitly describing ceiling configurations; approval is model-specific.
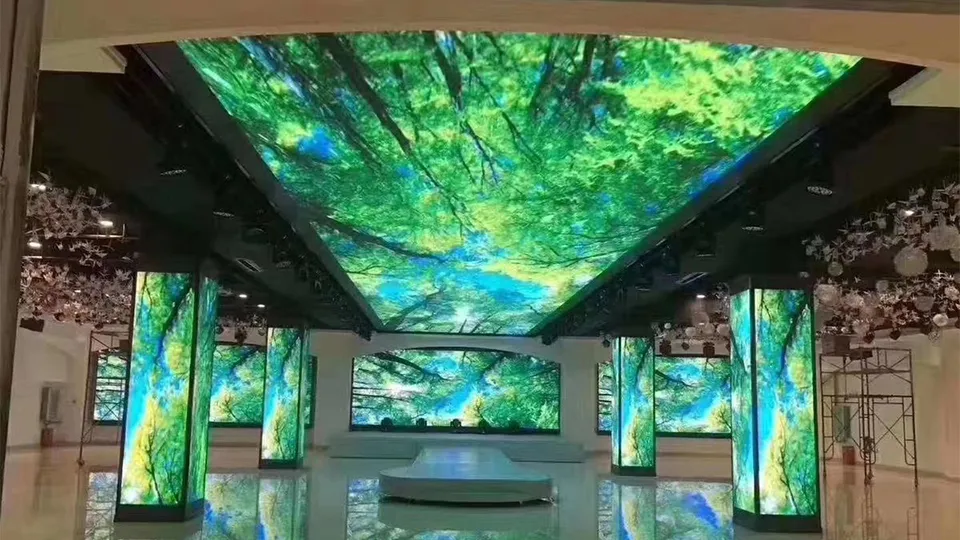
2. Types of Ceiling LED Screens
2.1 Fixed ceiling LED displays
Fixed ceiling LED panels fit an engineered frame, sometimes flush with the surrounding finish. They suit architectural installations in lobbies, malls, and atriums where the screen remains in place. Plan the frame depth, heat clearance, cable routes, and maintenance openings together. Front-service cabinets can help where rear access is unavailable, provided their downward-facing use and retention method are approved.
2.2 Suspended and hanging ceiling LED screens
Suspended displays hang from the building structure using a designed arrangement of rods, cables, or truss. Their finished height depends on headroom, sightlines, access, and the venue’s requirements; there is no universal mounting-height range. Exhibition halls and event venues may use this approach when a lower display position improves visibility or enables removal after an event.
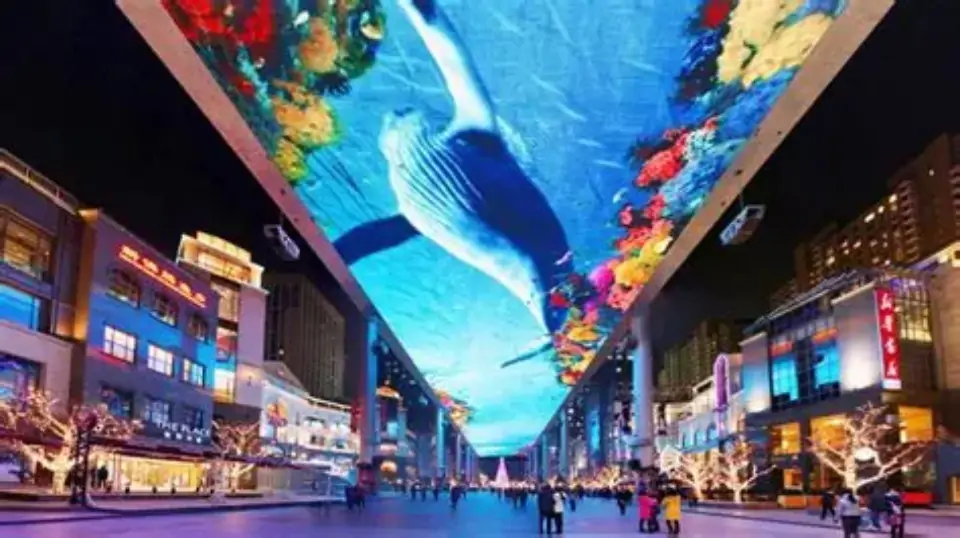
2.3 Transparent and mesh ceiling LED screens
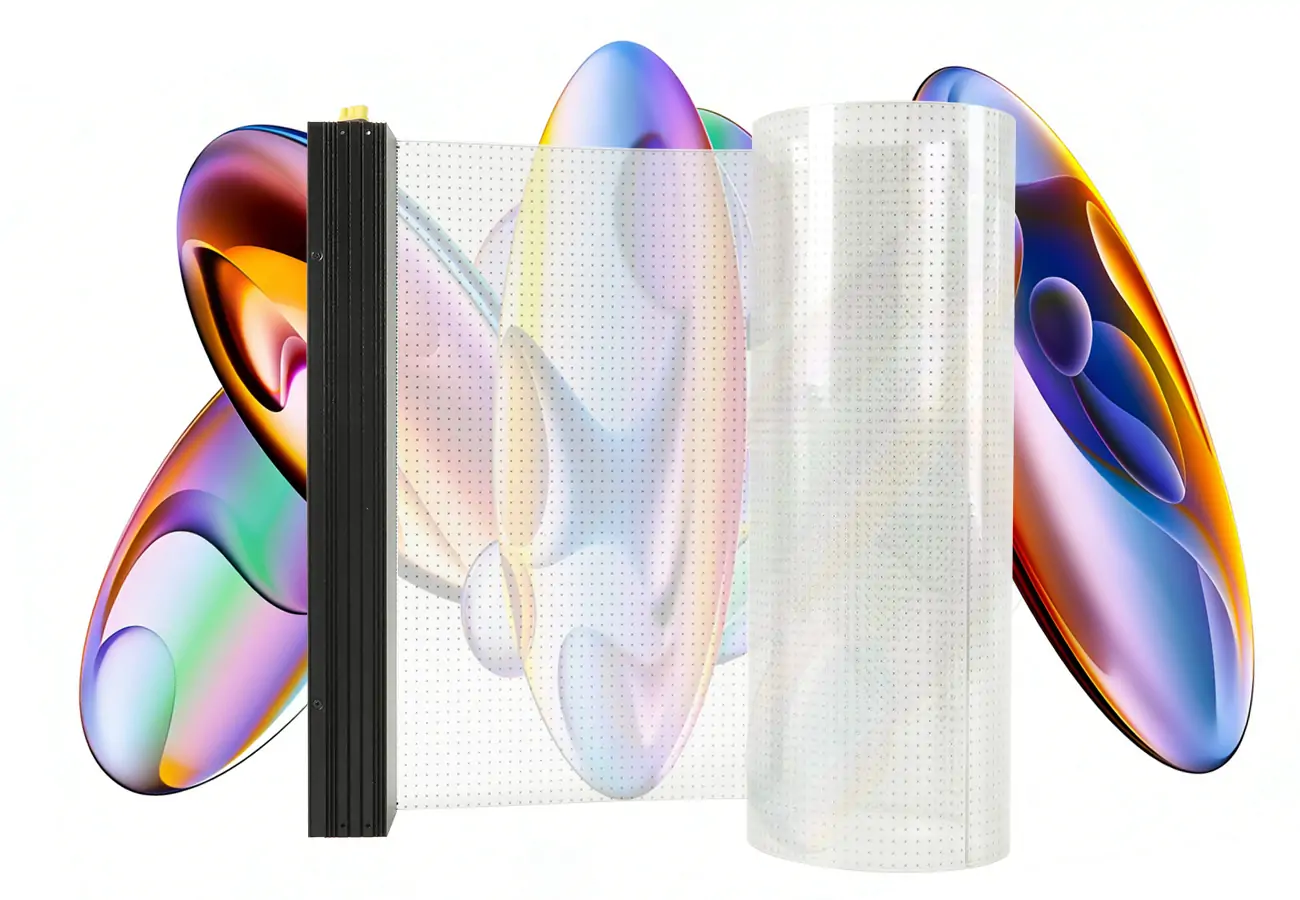
Transparent LED displays and mesh designs leave openings between light-emitting elements. This can retain some daylight and sightlines in glass-roofed atriums or walkways. Compare transparency, pixel pitch, image contrast, weight, and the actual supporting frame. Open modules do not automatically satisfy ventilation, sprinkler, smoke-control, or weather-protection requirements.
2.4 Curved and creative ceiling LED displays
Flexible LED screens and custom cabinets can form curves, waves, domes, or rings. The structure, panel bend limits, and content mapping must be designed together. For exposed canopies, compare appropriate outdoor LED modules, while separately confirming overhead mounting approval. Custom fabrication and commissioning can increase cost, but a fixed percentage premium is not reliable without a project quotation.
2.5 Kinetic ceiling LED displays
Kinetic displays physically move panels or modules using a controlled mechanical system. Their scope includes motion limits, collision prevention, cable management, emergency stopping, and specialist inspection. Animated video on a stationary canopy is different: the Fremont Street Experience canopy is an overhead video installation, not evidence that its panels move. Specify kinetic motion only when the experience justifies the additional engineering and maintenance.
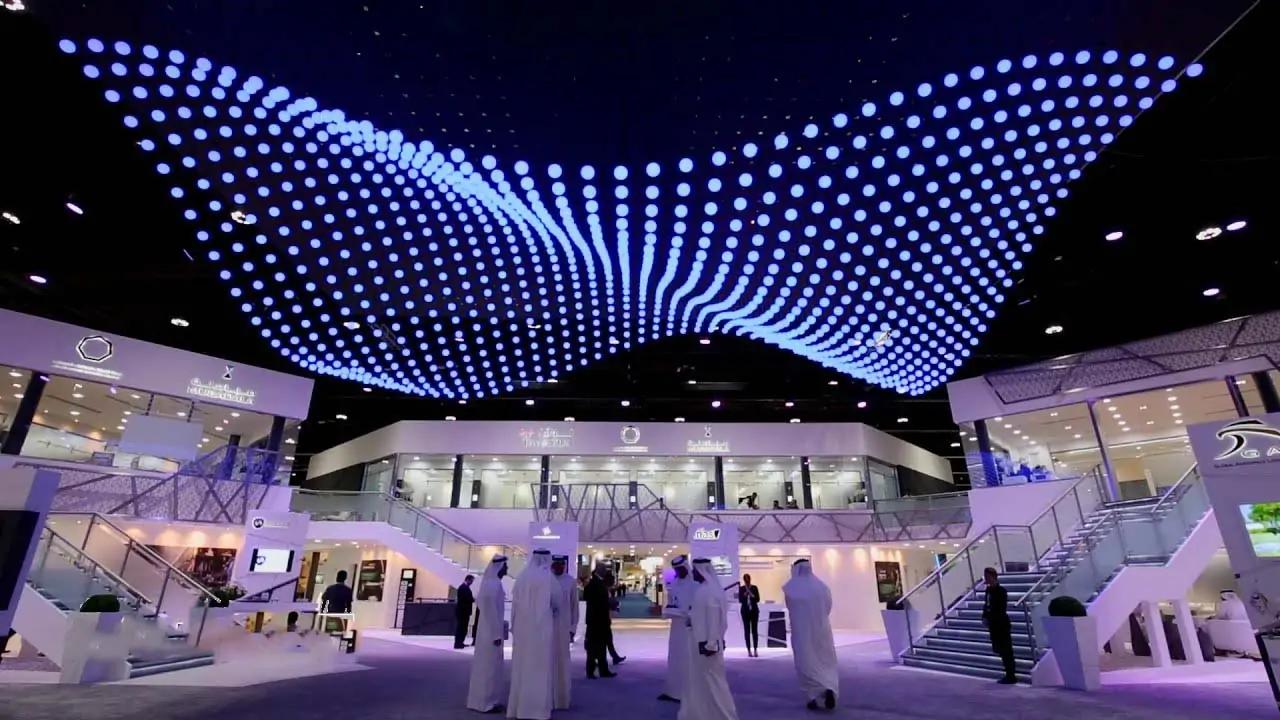
3. Key Features of a Ceiling LED Screen
3.1 Pixel pitch and viewing distance
Choose pixel pitch using the distance from the viewer’s eyes to the display, not simply the ceiling height. A screen 4 m above the floor is only 2.4 m above an assumed 1.6 m eye level directly beneath it. Horizontal offsets also affect distance and viewing angle. The ranges below are illustrative starting points for demonstrations, not guaranteed visibility limits.
| Eye-to-screen distance | Example pitch to compare | Example application |
|---|---|---|
| 2.5–4 m | P1.5–P2.5 | Retail stores, hotel lobbies, corridors |
| 4–6 m | P2.5–P3.9 | Shopping mall atriums, church sanctuaries |
| 6–10 m | P3.9–P6 | Airport concourses, exhibition halls |
| 10 m+ | P6–P10 | Large atriums, stadium canopies, outdoor plazas |
Test representative text, detailed graphics, and video at the closest and most oblique viewing positions. P2.5 and P4 do not necessarily look identical at a given distance, and their price difference varies by product. Christie’s display-wall guidance links pixel density to viewing distance. Compare samples before choosing a finer pitch solely from a specification sheet.
3.2 Brightness and viewing angle
Match calibrated brightness to daylight, reflections, viewing angle, and the intended content. An indoor front-service display requires evaluation in its actual setting; a lobby and a sunlit atrium need different operating levels. Request a demonstration at the brightest expected conditions and check dimming performance for evening use.
Inspect colour and contrast while walking around the proposed display area. Published horizontal and vertical viewing angles depend on the manufacturer’s measurement criteria and do not guarantee equal image quality everywhere. Ask for the test definition, compare shallow-angle views, and confirm the chosen cabinet orientation. Excessively bright content overhead can be uncomfortable even when the screen remains technically within its rating.
3.3 Weight and structural load
Use the exact cabinet mass and dimensions, then add frames, power equipment, cabling, and all suspended accessories. Distinguish kilograms per cabinet from kilograms per square metre. For arithmetic only, an assumed complete assembly of 25 kg/m² over 50 m² weighs 1,250 kg; this is not a product specification. The engineer must assess each connection and load path using applicable requirements, rather than applying a universal 1.5× factor.
3.4 Front-service access
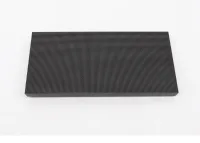
Front service allows suitable modules to be removed from the viewing side, which is below an overhead display. It does not remove the need for safe access equipment, an exclusion area, or controlled handling of parts. Confirm access to power supplies and receiving cards as well as LED modules. Check the manufacturer’s approved retention system; magnetic serviceability alone does not establish suitability for downward-facing installation. Compare lifetime service costs rather than assuming a standard price premium.
3.5 Refresh rate and camera compatibility
A quoted refresh rate of 3,840 Hz or higher does not guarantee freedom from camera artefacts. Results also depend on scan pattern, camera shutter, frame rate, synchronization, and operating brightness. Brompton’s ShutterSync guidance explains matching LED refresh timing to the camera. Test the proposed panels and processor with the actual cameras and exposure settings before acceptance; available adjustments depend on the hardware and software combination.
4. Ceiling LED Screen Applications
The following example ranges help frame supplier discussions. They are not measured market averages or prescriptions for a particular venue; validate the final specification on site.
| Application | Example size | Example pitch | Example brightness | Key requirement |
|---|---|---|---|---|
| Shopping mall atrium | 20–100 m² | P2.5–P4 | 1,200–2,000 nits | Front service, creative shapes |
| Airport concourse | 30–150 m² | P3.9–P6 | 2,000–4,000 nits | High brightness, remote CMS |
| Church sanctuary | 10–50 m² | P1.5–P2.5 | 800–1,200 nits | Camera testing, easy operation |
| Hotel lobby | 10–30 m² | P1.5–P2.5 | 800–1,000 nits | Premium finish, flush integration |
| Retail flagship | 15–60 m² | P1.5–P3.9 | 1,000–2,000 nits | Creative shapes, brand impact |
| Exhibition and event | 20–80 m² | P2.5–P3.9 | 1,000–1,500 nits | Fast rigging, rental-friendly |
| Corporate atrium | 10–50 m² | P1.5–P3.9 | 800–1,500 nits | Clean design, easy maintenance |
| Entertainment venue | 30–200 m² | P3.9–P6 | 1,500–3,000 nits | Kinetic options, show control |
The main constraint varies by site. A mall may prioritize architectural integration, an airport daylight readability and remote management, and a church camera compatibility and simple operation. Establish the intended use before selecting specifications. For detailed text, consider whether an overhead surface is comfortable to read at all, or whether a separate eye-level display should carry essential information.
5. How to Install Ceiling LED Screen?
5.1 Structural assessment
Before ordering, commission a structural assessment of the building and proposed display assembly. Review support locations, anchors, frame deflection, connections, and applicable environmental or seismic loads. Include dynamic effects for moving systems. The engineer should document the approved configuration and any reinforcement. Christie also identifies structural reinforcement as an installation consideration. Coordinate the screen with building services and local approval requirements.
5.2 Mounting methods
Flush-mounted installations align the display with the surrounding finish on a designed support frame. Reserve the manufacturer’s ventilation clearance and a workable route for servicing. A flush appearance does not mean the panels can attach to ordinary ceiling tiles or their grid.
Suspended installations place the display below the structural ceiling. The space above may help with ventilation or servicing, but it is not automatically a safe access area. Concealment should leave connections, cooling paths, and inspection points accessible.
Motorized hoists can lower an assembly for maintenance where the engineered design permits. Obtain a project-specific quote covering rated lifting equipment, controls, inspection, and operating procedures. Compare it with safe platform or catwalk access; neither an 8 m threshold nor a two-visit payback applies universally.
5.3 Power and data
Have the electrical designer use the manufacturer’s maximum input requirements, circuit limits, and applicable installation rules. Separate peak design demand from estimated average consumption. For illustration, 50 m² at an assumed average 200 W/m² consumes 10 kW; operating for 10 hours uses 100 kWh. These are arithmetic assumptions, not measurements. Plan isolation, protective measures, cable support, and heat management.
Follow the selected processor’s data-cable specifications. Brompton documents up to 100 m for specified individual 1 Gigabit connections, so 15 m is not a universal limit. Other interfaces differ. Confirm cable type, topology, fibre requirements, redundancy, and pixel capacity before closing the ceiling.
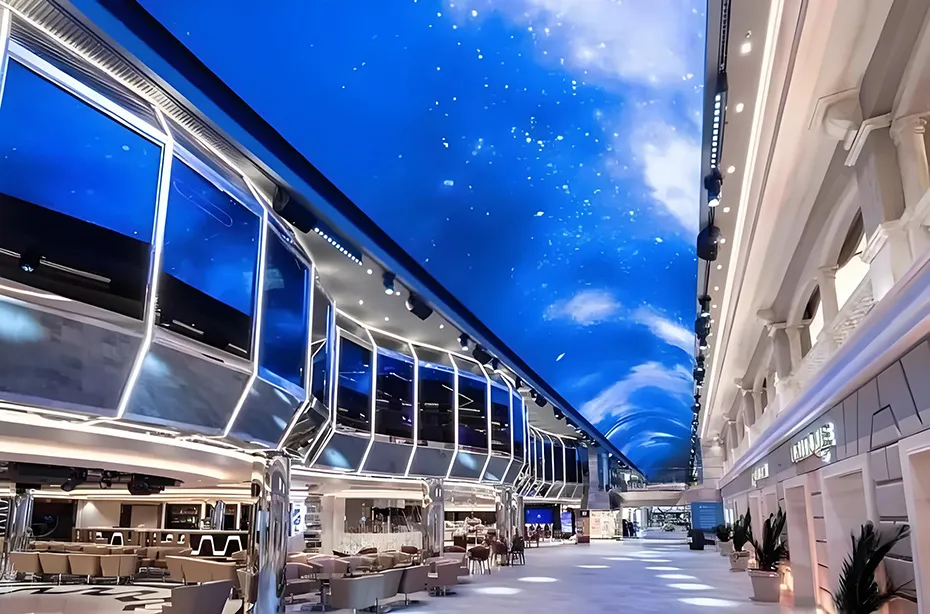
6. Ceiling LED Screen Cost: What to Budget
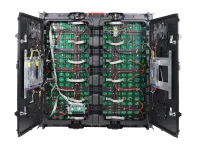
A ceiling LED screen needs a configuration-specific quotation. Pixel pitch, cabinet construction, brightness, processing, overhead approval, and warranty all affect hardware cost. Compare the same display area and native resolution across suppliers. A price for EA1000H9 rental display cabinets alone does not establish the cost or suitability of a finished ceiling installation.
Request separate line items for panels, spares, controller, structure, engineering, electrical work, installation access, transport, taxes, commissioning, and training. Curved, transparent, or kinetic designs need their own scope; avoid assuming a fixed premium. Record quotation date, currency, delivery terms, exclusions, and the party responsible for installation approval.
For arithmetic only, an assumed hardware quote of US$1,000/m² for 20 m² equals US$20,000 before other costs. This is not a current market price or installed-cost estimate. Add the actual quoted project items, then budget for content, electricity, inspections, maintenance access, and replacement parts over the intended service period.
7. How to Choose the Right Ceiling LED Screen
7.1 Start with the ceiling height
Record the finished display height, nearby balconies, seated and standing eye levels, and horizontal viewing positions. Ceiling height is a starting measurement; eye-to-screen distance determines the sample tests. Compare pitches using the actual content and native pixel dimensions. The pixel-pitch selection guide provides additional context, but an on-site demonstration should decide readability.
7.2 Assess the structural capacity
Confirm structural feasibility before fixing the display size or purchasing cabinets. Give the engineer the complete load schedule and manufacturer’s mounting requirements. If reinforcement is needed, include its cost and programme impact in the comparison. Keep the approved drawings and inspection records with the venue’s maintenance documentation so later changes can be checked against the original design.
7.3 Decide between front and rear service
Rear service requires a safe, accessible working area with adequate clearance; a ceiling void alone is not sufficient. Where that is unavailable, evaluate an approved front-service configuration and its access equipment. Ask the installer to demonstrate how each serviceable component is removed and retained. Include isolation, replacement-module handling, and the time needed to close the space below.
7.4 Match brightness to ambient light
Assess direct and indirect daylight, reflections, and evening conditions. Specify a usable calibrated brightness range and a dimming schedule, rather than a universal nit target for each venue type. Check low-brightness image quality as well as maximum output. The sample should remain readable without dominating the room or creating distracting glare for people passing beneath it.
7.5 Plan for content
Plan content for the screen’s actual shape, resolution, and viewing direction. Identify who creates, approves, schedules, and updates it. A local player may suit one location; centrally managed sites may benefit from remote scheduling and monitoring. Confirm network access controls, offline playback, licensing costs, and a fallback image. Test text size, orientation, transitions, and operating hours before launch.
8. Ceiling LED Screen FAQs
9. Conclusion
A successful ceiling LED screen combines readable content with an installation that can be supported and maintained. Viewing distance informs pixel pitch; ambient light informs brightness; the engineered structure and approved cabinet orientation establish feasibility. Plan maintenance access alongside the visual design, not after the screen is installed.
Before ordering, obtain approved drawings, a complete quotation, a content demonstration, and a documented service plan. Confirm who owns commissioning, inspections, and future repairs. These checks provide a practical basis for comparing ceiling LED displays without relying on unsupported price percentages, lifetime promises, or one-size-fits-all specifications.
 How to Choose the Best Giant LED Display for Your Programs
 Flight Information Display: A Practical FIDS Guide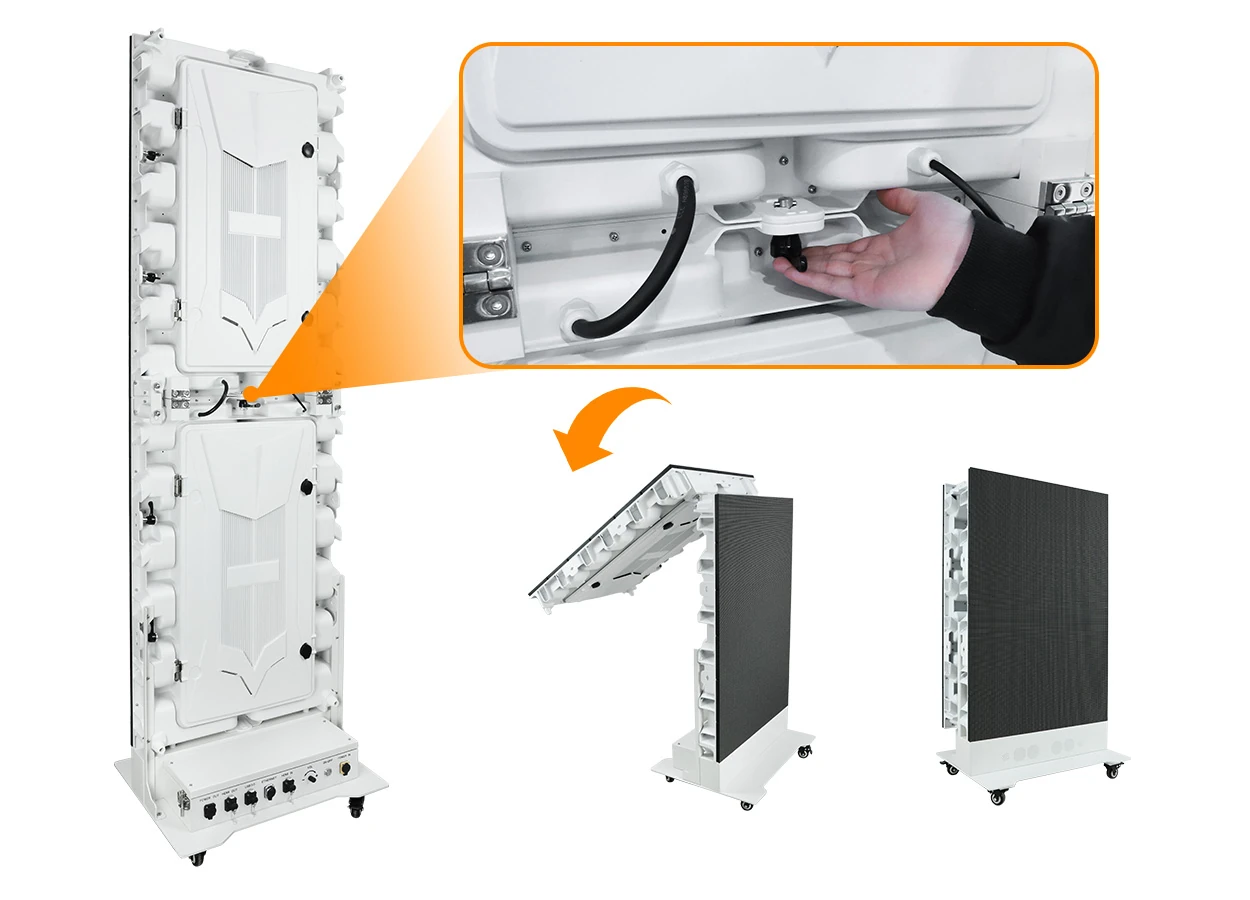
Fill In Your Needs In Detail
Fill in the screen usage scene and size you need in “Content”.You will get a quote.