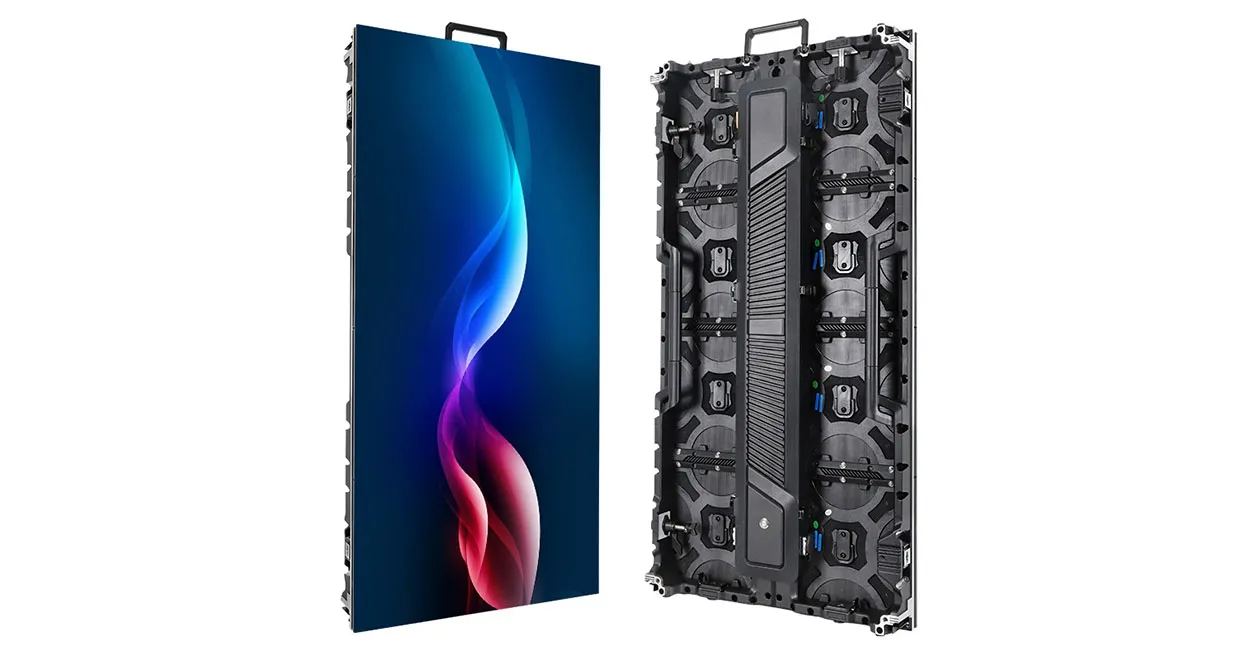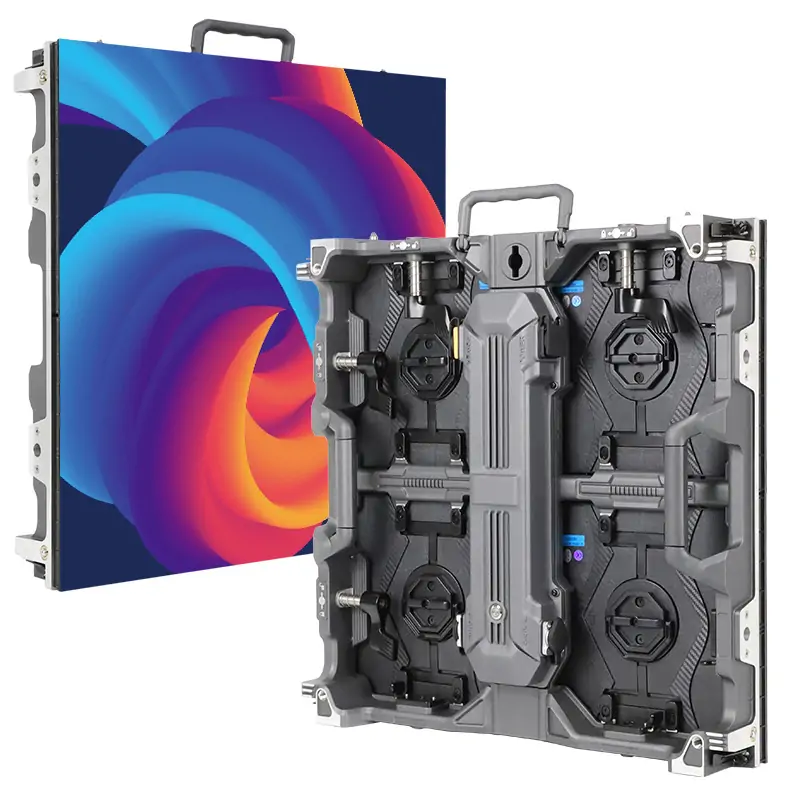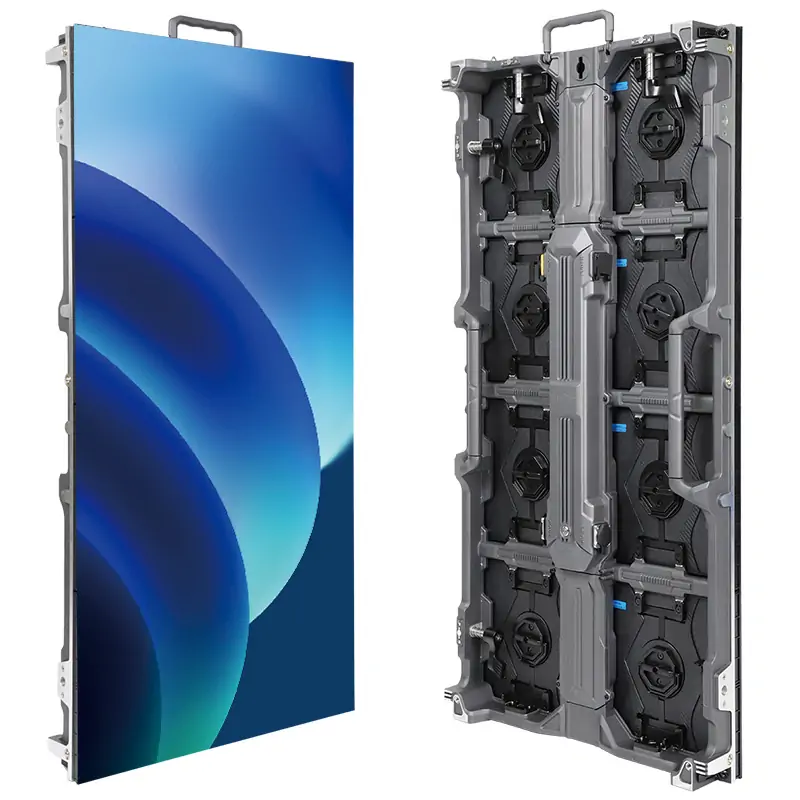
Quick answer: To create content for an LED poster display, match the screen’s pixel canvas, keep key elements inside a safe area, use large high-contrast text, build short scenes, export for the installed player and schedule the playlist. Test the final file on the physical screen before the campaign starts.
This LED poster content guide is for retailers, venue teams and designers preparing still images or video for direct-view LED signage. It covers the production workflow from artwork to playback, with an editable brief and a practical test checklist. Model-specific settings must be confirmed with the installed controller; the design examples below are clearly labeled starting points.
1. Confirm the LED Poster Display Canvas Size
The content canvas is the pixel width and height assigned to the screen, not its cabinet dimensions in millimeters. A direct-view LED poster uses an array of self-emitting LED pixels. Its native resolution depends on the active display area, pixel pitch and module layout. A portrait orientation does not automatically mean a 9:16 canvas.
Ask the installer for the model, native pixel dimensions, orientation, player model, software version and supported media limits. Also confirm whether the player expects one full-screen asset or a larger input with a mapped output region. Save this information with the editable design file.
1.1. Calculate Pixels, Then Verify the Controller
For an illustrative 640 × 1920 mm active display at P2.5, the calculation is 640 ÷ 2.5 = 256 pixels wide and 1920 ÷ 2.5 = 768 pixels high. That is a 1:3 aspect ratio. EagerLED’s EA1920iP5 NovaStar system tutorial demonstrates a 256 × 768 solution. Use that resolution only when it matches your unit.
Do not calculate exact resolution from a rounded pitch label alone. Module pixel counts and the installed screen map are authoritative. Exporting a 1080 × 1920 social-media design into a 256 × 768 screen can stretch the image, crop important content or introduce empty bands. The screen aspect ratio guide explains the fit-versus-fill tradeoff.
1.2. Rebuild the Canvas for Joined Posters
If three 256 × 768 posters form one continuous row, the combined native canvas is 768 × 768 pixels, assuming no gaps or mapping offsets. Create one composition for that complete canvas and configure each unit’s region. Starting three independent videos at approximately the same time does not guarantee synchronized playback.
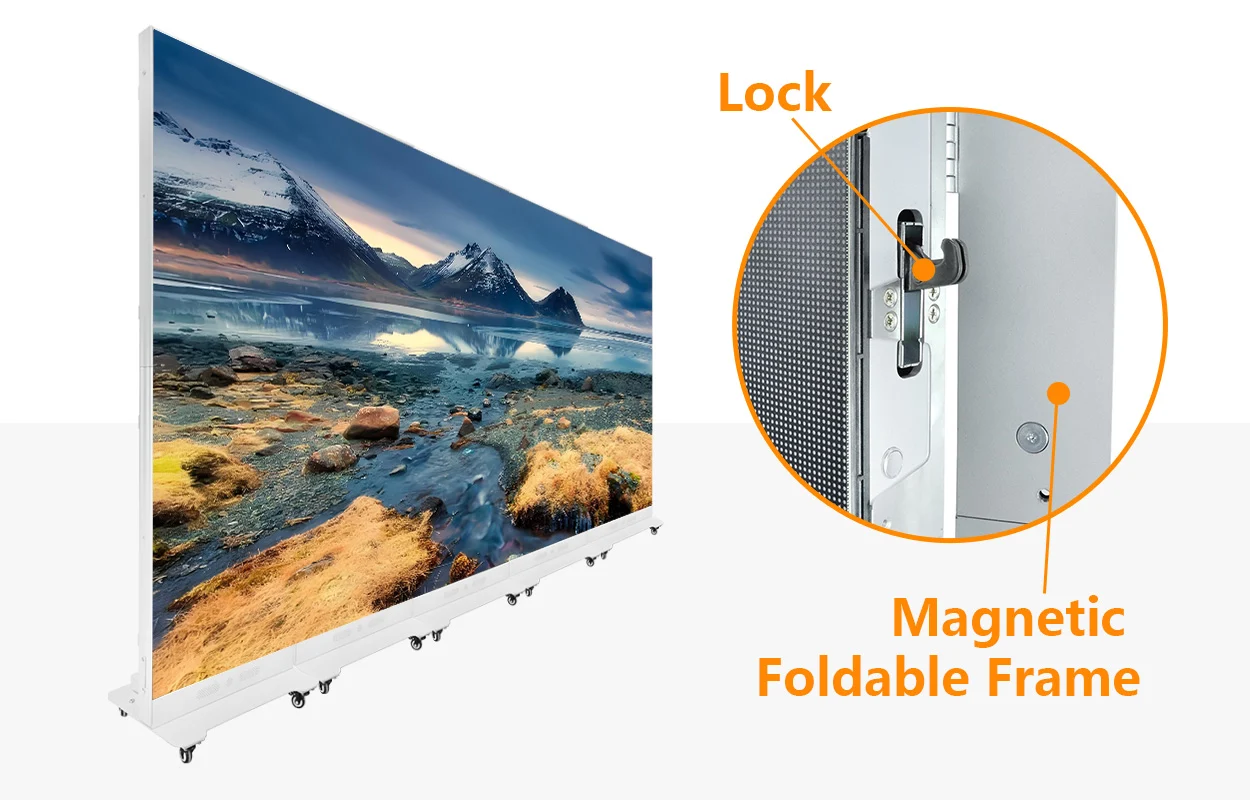
For separate posters around a venue, repeat the complete message on each screen. For a joined display, keep prices, faces and QR codes away from joins until alignment and mapping have been tested. Confirm the supported splicing arrangement in the EA1920iP5 product specifications.
2. Set Safe Zones and a Clear Content Hierarchy
Build each scene around one message: a product, a price, a direction or an event. A viewer should understand the offer before reading supporting detail. A useful order is headline, main visual, essential detail and one call to action.
2.1. Keep Important Elements Inside a Safe Area
Start with a 5% margin on every side for critical text, logos and calls to action, then adjust after the on-site test. This is a design recommendation, not a universal LED standard. On a 256 × 768 canvas, rounding upward gives 13 pixels at each side and 39 pixels at the top and bottom, leaving approximately 230 × 690 pixels for essential content.
Background images can extend to the edges. Keep the key message above any area blocked by furniture or passing people. If a media player adds a ticker or overlay, reserve space for it explicitly instead of letting it cover the artwork.
2.2. Design for the Actual Viewing Distance
Use a bold or medium-weight sans-serif font, short lines and generous separation between elements. Avoid thin strokes, condensed paragraphs and one-pixel decorative rules. Judge the exported file at native resolution: a polished design enlarged on a laptop can hide lettering that becomes broken or unreadable on the LED grid.
Test from the farthest useful viewing position and while walking past the screen. If a headline cannot be understood quickly, shorten it and enlarge it. Moving detailed terms to a landing page is often more effective than shrinking them to fit, but any essential offer conditions must remain clear.
3. Make Text, Images and QR Codes Easy to Read
Strong foreground-background contrast matters more than adding effects. Use a quiet background behind text, one dominant product image and a restrained accent color. Keep enough brightness for the room without making the poster uncomfortable to look at.
3.1. Use Contrast Benchmarks Carefully
The World Wide Web Consortium’s WCAG contrast guidance specifies at least 4.5:1 for normal text and 3:1 for large-scale text in web content. These are useful artwork checks; they are not LED hardware contrast specifications or proof that a physical sign is accessible. Ambient light, pixel pitch and viewing distance still require an actual screen test.
Place text on a solid panel if the photograph contains changing colors or highlights. Do not rely on red versus green alone to communicate status. Use words or recognizable symbols as well. Test bright and dark scenes at the normal operating brightness, because increasing brightness cannot recover detail missing from a low-resolution asset.
3.2. Give QR Codes Enough Pixels and Time
DENSO WAVE’s QR Code guidance requires a quiet zone four modules wide on every side. A QR module is one small square within the code; it is not an LED cabinet module. Preserve that border and avoid stretching, blurring or animating the code.
For example, a Version 3 QR code contains 29 × 29 modules. Including its quiet zone gives 37 × 37 modules. At an illustrative four display pixels per QR module, it needs 148 × 148 pixels. That uses much of a 256-pixel-wide poster, so keep the destination URL short and the layout simple. This calculation is a sizing example, not a scanning guarantee.
Keep the code still for the full scene and provide a readable alternative such as a short URL or desk location. Test several phones at the intended distance, viewing angle and room brightness. If scanning fails, enlarge the code or remove it from the screen rather than assuming a longer playback time will solve the problem.
4. Choose Scene Duration and Motion
Set duration from the time people actually spend near the display. As an initial test, try 6–10 seconds for a simple promotional scene and 10–15 seconds for a scene that asks viewers to read details or scan. These are editorial starting points, not measured performance claims. Increase the duration only when people stay long enough to benefit.
| Location | Content approach | What to test |
|---|---|---|
| Walk-by retail entrance | One offer and one strong image; start around 6–10 seconds | Can a moving viewer identify the offer before leaving? |
| Reception or waiting area | Short sequence; start around 10–15 seconds per information scene | Can someone arriving mid-loop understand each scene independently? |
| QR response point | Static code and clear benefit throughout the scene | Can a phone complete a scan before the content changes? |
4.1. Keep the Message Visible During Animation
Use motion to reveal the product or emphasize one detail. Avoid rapid flashing, constant zooming and several moving zones competing for attention. The headline and call to action should remain readable; do not spend most of the scene on a logo animation and show the offer only at the end.
A three-scene playlist of 8, 10 and 12 seconds lasts 30 seconds. Someone who stays for five seconds will not see the whole story. Make every scene self-contained, or keep the essential offer visible throughout the loop. Design for silent playback unless the venue has explicitly planned audio.
5. Export Content for the Installed Media Player
Use the controller’s supported export settings. PNG or JPEG is a practical starting point for still artwork, and MP4 with H.264 is a common video delivery option when supported by the installed player. MP4 describes the container; codec, profile, bitrate, resolution and frame rate also affect compatibility. A filename ending in .mp4 is not sufficient evidence that a file will play.
5.1. Use a Repeatable Export Checklist
- Match the approved pixel canvas and orientation.
- Use the codec, frame rate and bitrate limits documented for the exact player.
- Use an SDR workflow unless the entire playback chain is confirmed for HDR.
- Check the first frame, last frame and loop transition for black gaps or unintended fades.
- Use a clear filename, such as
store-a-autumn-offer-256x768-v03.mp4. - Keep the editable source, exported file and a still-image fallback together.
For typical signage motion, 25 or 30 frames per second is a sensible test when supported. Do not confuse video frame rate with the LED panel’s refresh rate in hertz: a 3,840 Hz display does not require 3,840 fps content. If playback stutters, check decoder limits and file encoding before changing the creative.
5.2. Follow the Correct Software Workflow
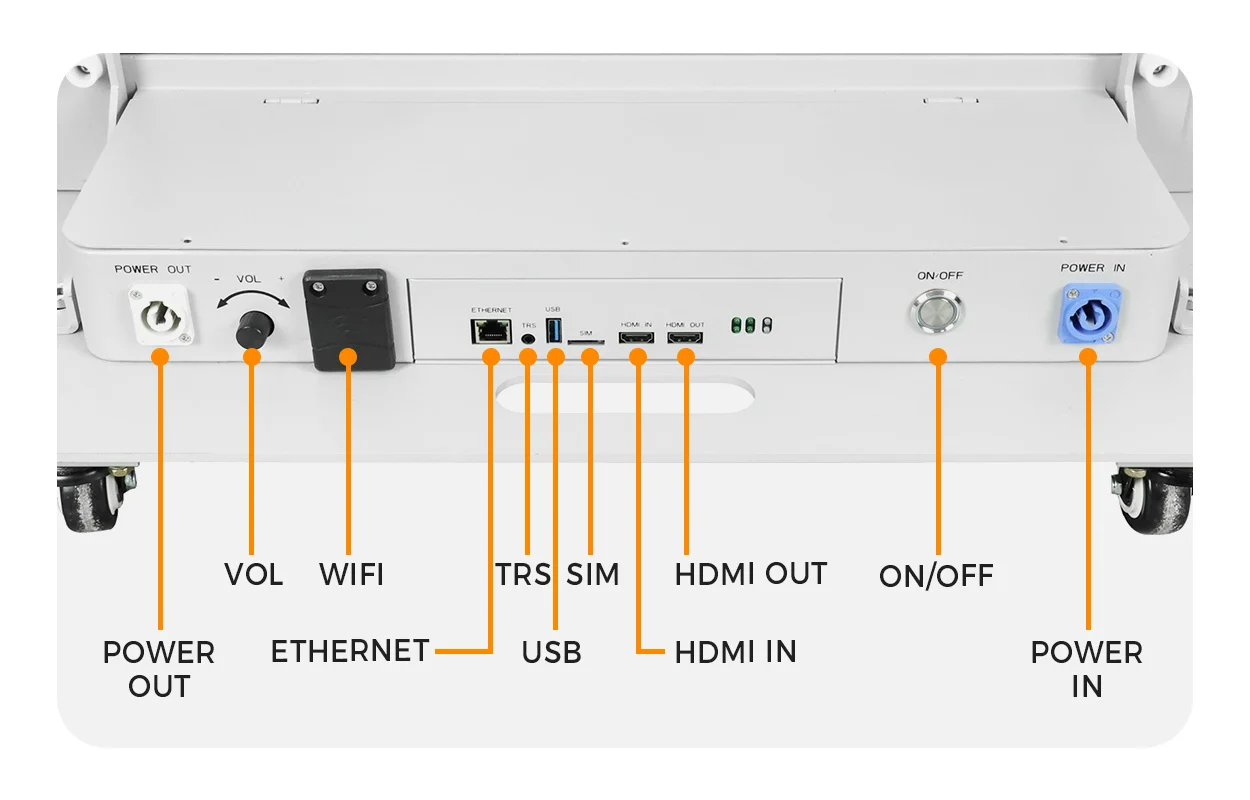
For the compatible NovaStar setup demonstrated in EagerLED’s official tutorial: connect the computer to the device network, open ViPlex Express, create a regular-screen solution, enter the confirmed resolution, add a full-screen media window, select the file and publish to the intended device. Wait for the transfer to finish and inspect the physical display.
The tutorial also demonstrates creating a USB playback package in ViPlex Express. Copying a raw video onto a USB drive is not equivalent to exporting the player’s required package. Menu names vary by version. Use the NovaStar software download guide and the documentation for your player; Huidu and other control systems use different tools.
Official EagerLED tutorial: ViPlex solution creation, device publishing and USB playback. Its 256 × 768 example is configuration-specific.
6. Schedule the Playlist and Check Expiry Dates
LED poster content scheduling should specify where, when and for how long each message appears. Give every campaign an owner, start date, end date and fallback. Check the player’s local time, time zone and any daylight-saving setting before relying on a calendar schedule.
6.1. Build a Simple Daypart Schedule
| Time window | Illustrative message | Fallback |
|---|---|---|
| Opening–11:00 | Breakfast offer at the entrance | Current opening hours |
| 11:00–15:00 | Lunch menu with one price | General menu highlight |
| 15:00–closing | Afternoon offer or next event | Brand and location information |
These time windows illustrate dayparting; use the venue’s actual opening hours and offer availability. Remove expired campaigns from both the active schedule and any default loop. If a cloud update fails, the screen may keep playing the last locally stored content, so choose an evergreen fallback that remains accurate.
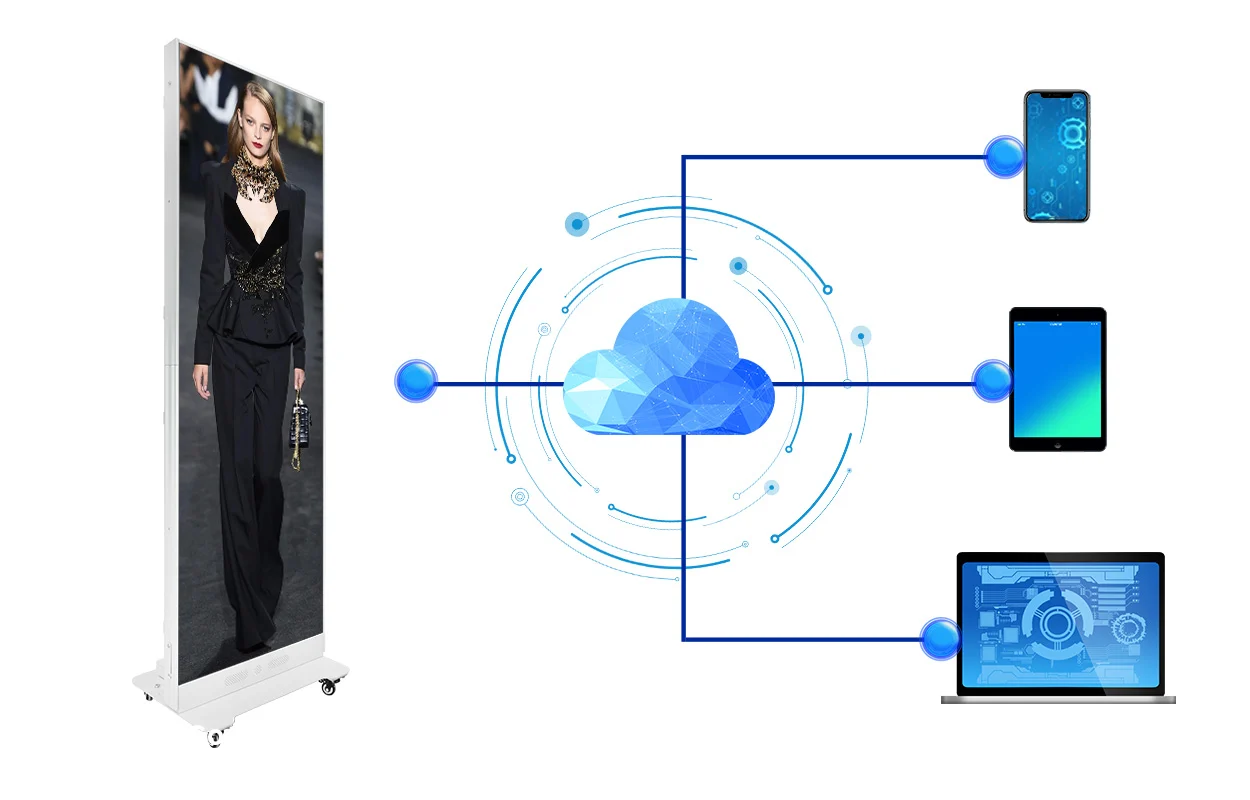
The EagerLED ViPlex Express guide describes solution management, page scheduling and preview functions. Verify how your software handles overlapping schedules, priority and offline playback before rolling the campaign out to multiple locations.
7. Use This LED Poster Content Template
This reusable brief turns the design decisions into a production handoff. The filled values below are an illustrative single-screen campaign, not a universal EagerLED preset. Replace the resolution and timing with your approved configuration.
| Field | Example or instruction |
|---|---|
| Campaign and purpose | Autumn product launch; direct visitors to the demonstration desk |
| Screen and canvas | One portrait poster; confirmed 256 × 768 pixels |
| Safe area | 13 px left/right; 39 px top/bottom as an initial 5% design margin |
| Headline | Meet the New Collection |
| Main visual | One licensed product photograph, composed vertically |
| Essential detail | Live demos today |
| Call to action | Visit the demo desk |
| Scene and loop | 10-second scene; three independent scenes in a 30-second loop |
| Delivery | Player-approved still or video format; retain an evergreen fallback |
| Schedule and ownership | Actual campaign dates, venue time zone, named approver and expiry review |
Keep the headline, key detail and call to action as editable text in the source file. Replace the photograph without moving the safe area or changing the canvas. Export a new version, compare it with the approved proof and update the campaign record. A consistent template makes routine updates faster while reducing accidental cropping and stale information.
8. Test the Screen and Fix Common Content Problems
A successful upload confirms file transfer, not display quality. Review the screen at its real location, during normal operating hours and from the intended viewing distance. Use a test pattern containing a circle, a border and readable text to reveal stretching or cropping before judging the campaign.
| Symptom | Likely content or setup issue | First check |
|---|---|---|
| Stretched faces or circles | Canvas and screen aspect ratios differ | Use matching dimensions and an intentional fit or fill setting |
| Missing edges | Cropping, an oversized window or incorrect mapping | Compare solution dimensions and mapped screen region |
| Soft or broken text | Small lettering, thin strokes or repeated scaling | Enlarge text and inspect the native-size export |
| Video will not play | Unsupported encoding or decoder limits | Re-export to the exact player specification |
| Old offer remains visible | Wrong device, failed transfer or schedule priority | Check target device, transfer completion, clock and active playlist |
| Joined screens drift apart | Independent playback without adequate synchronization | Confirm the controller’s supported synchronization workflow |
Before launch, check the headline, offer terms, QR destination, audio behavior, loop transition, scheduled changeover and fallback. Test a restart when the venue can accommodate it and confirm the correct playlist resumes. For a multi-location rollout, approve one pilot screen before sending the same package to the remaining devices.
9. FAQs
10. Conclusion
To create content for an LED poster display, establish the correct pixel canvas first, give the message a readable hierarchy, protect important elements with safe margins and export for the installed player. Short, self-contained scenes and a checked schedule are more useful than a complex animation that viewers cannot finish.
Review EagerLED’s LED poster display options for hardware context. For an existing unit, send EagerLED your model, controller and canvas details to confirm the playback workflow before preparing a full campaign.
 How to Start a Mobile Billboard Business: Equipment List
 3D Billboard Cost: Hardware, Content and Installation
Related Posts
Fill In Your Needs In Detail
Fill in the screen usage scene and size you need in “Content”.You will get a quote.