The correct LED screen brightness is not the highest number on a specification sheet. It is the lowest operating luminance that keeps content clear under the site’s worst realistic ambient light. For most projects, that means roughly 600-1,500 nits indoors, 2,500-5,000 nits for window-facing or transparent displays, and 5,000-8,000 nits for outdoor screens exposed to open daylight.
Those ranges are procurement starting points, not universal limits. Screen orientation, glass, shade, stage lighting, content, viewing time, camera exposure and local night-time restrictions can move the answer. This guide shows how to choose LED screen brightness by application and how to verify a supplier’s claim before purchase.
1. What Is LED Screen Brightness?
LED screen brightness is the luminance emitted from the display surface in a particular viewing direction. It is normally stated in nits; one nit equals one candela per square metre, or 1 cd/m2. The NIST explanation of photometric quantities provides the underlying SI unit context.
Brightness is not the same as total light output. Lumens describe luminous flux from a source, while nits describe luminance from a surface. For a direct-view LED wall, nits are the useful comparison because the viewer sees the display surface, not the total light emitted in every direction.
1.1. Maximum, typical and operating brightness
A quotation may use maximum brightness, calibrated brightness, typical brightness or normal operating brightness as though they were interchangeable. They are not. Maximum brightness is a ceiling under defined test conditions. Operating brightness is the level used for real content after calibration, color-temperature adjustment and site dimming.
Ask the supplier to state the measurement conditions: full-white test pattern or normal video, color temperature, viewing angle, module temperature, drive current and whether the figure is measured before or after calibration. A display that reaches 6,000 nits only with a cool white point and aggressive drive current is not equivalent to one that sustains the required luminance after calibration in hot weather.
1.2. Ambient light and perceived contrast matter more than the headline number
A bright screen can still look washed out when sunlight strikes the LEDs or reflects from protective glass. Conversely, a 1,500-nit indoor wall can be uncomfortable in a dark room. The selection target is usable image contrast at the viewer’s position, not a race for the highest specification.
2. Recommended Nits for Every Application
Use the following ranges to create a shortlist. Then demonstrate the proposed module at the site, or recreate the site’s worst-case lighting during factory acceptance. Do not approve a display from a showroom reel alone.
| Application | Practical shortlisting range | What should determine the final setting |
|---|---|---|
| Broadcast studio, control room or dark presentation space | 500-800 nits | Camera exposure, black level and low-gray detail |
| Meeting room, auditorium or corporate lobby | 600-1,000 nits | Room lighting, viewing distance and daily operating hours |
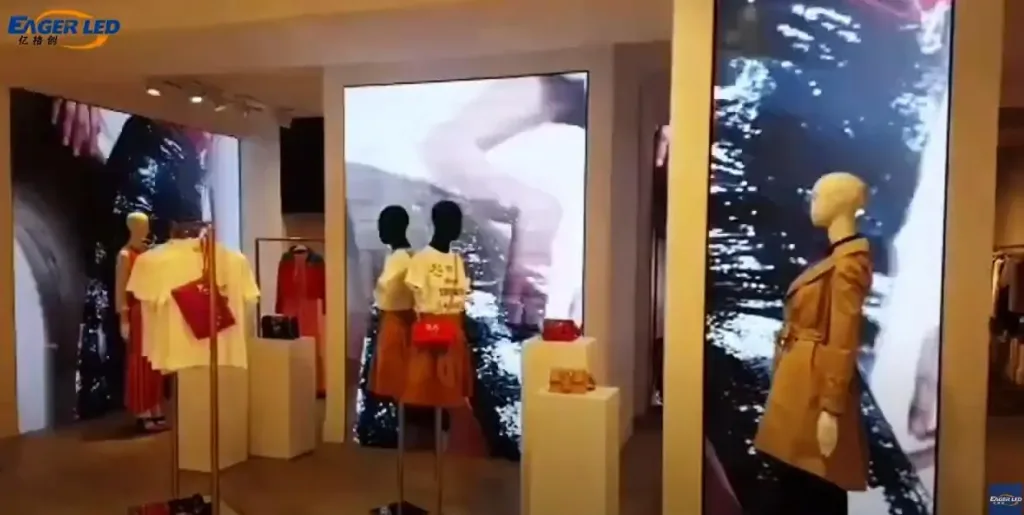
| Retail interior, house of worship or exhibition hall | 800-1,500 nits | Spotlights, windows, content contrast and viewer comfort |
| Indoor stage or rental event | 1,000-2,000 nits | Stage-light intensity, camera settings and black-level performance |
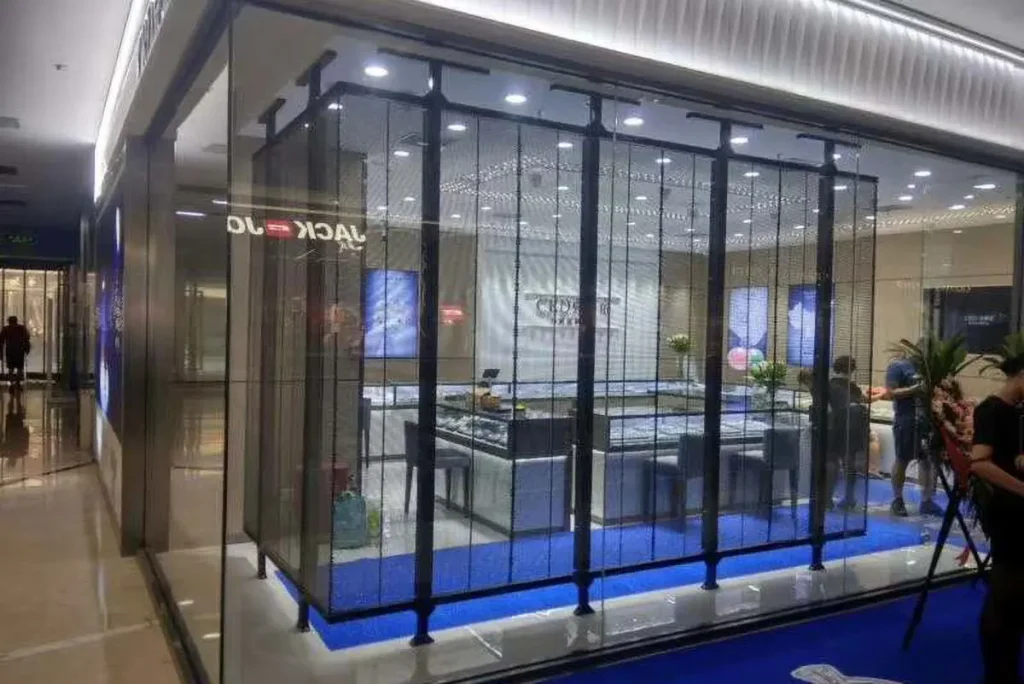
| Window-facing or indoor transparent LED display | 2,500-5,000 nits | Glass reflection, window orientation and time of day |
| Shaded outdoor facade or covered transport area | 3,500-5,000 nits | Sky exposure, shade stability and night dimming |
| Outdoor billboard or stadium screen in open daylight | 5,000-8,000 nits | Direct sun, orientation, climate and viewing distance |
| Severe direct-sun location | 7,000-10,000 nits only after testing | Measured worst-case light plus power and thermal design |
Important: these figures are not an industry standard and should not replace a lighting survey. A north-facing shaded screen and a west-facing screen hit by low afternoon sun may need different designs even when both are described as outdoor.
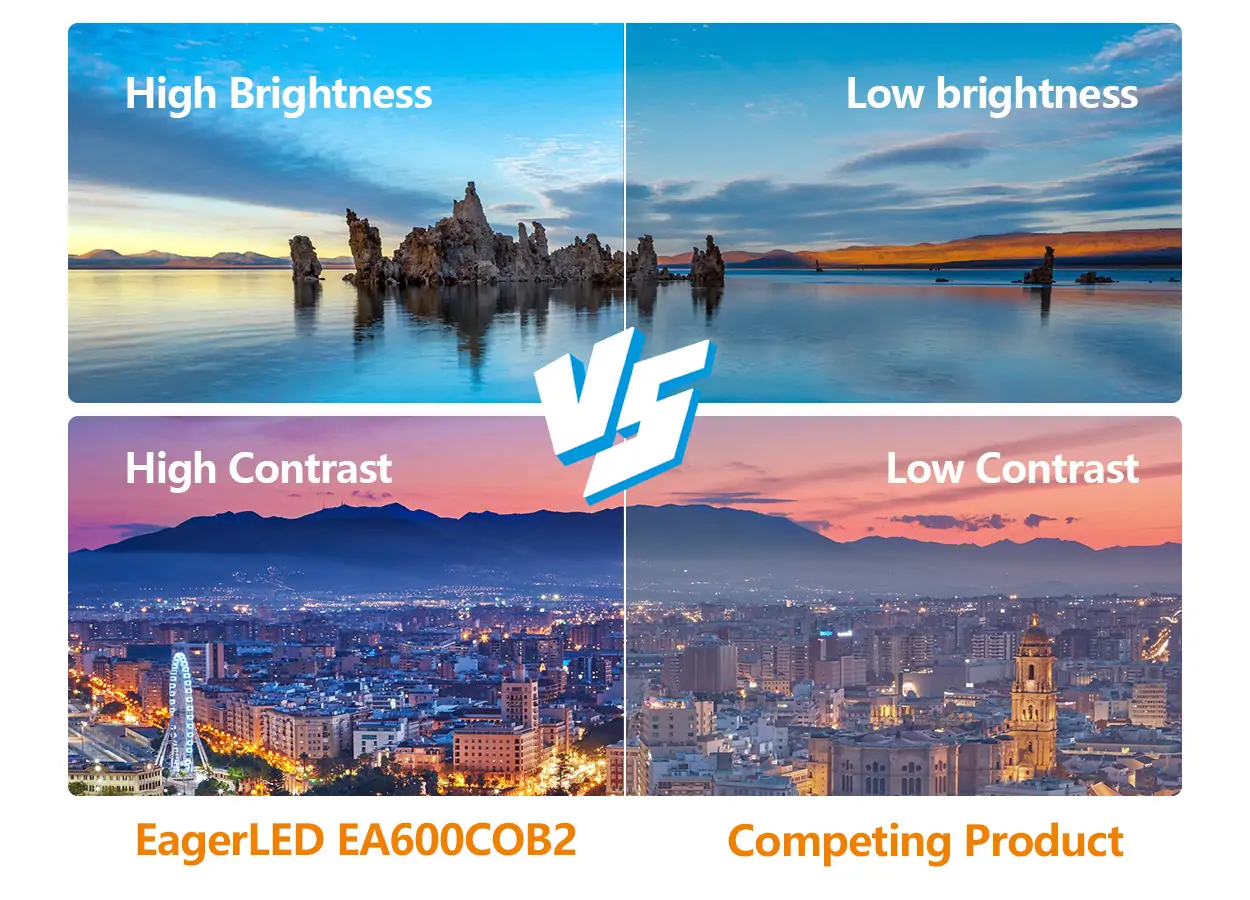
3. How to Choose LED Screen Brightness for Indoor LED Screens
For indoor LED screens, start with comfort and image quality. The screen should overcome room light without turning dark scenes gray, flattening skin tones or causing eye fatigue. Many indoor walls are specified at a higher maximum than they use day to day, which leaves adjustment headroom for events or strong window light.
3.1. Survey the room at the brightest operating time
Measure or document the room when daylight, overhead lighting and stage lighting are all in their normal positions. Record windows, spotlights aimed toward the wall, reflective floors, glazing and the nearest viewer. A reading taken after hours can understate the actual requirement.
- Meeting and control rooms: begin around 600-1,000 nits and prioritize low-brightness grayscale.
- Retail interiors and worship spaces: begin around 800-1,500 nits when spotlights or windows are present.
- Indoor stages: evaluate 1,000-2,000 nits, but test with the real lighting plot and cameras.
- Long-duration viewing: select a comfortable operating level rather than leaving the wall near maximum.
3.2. Match brightness to content and viewing time
High-contrast promotional graphics tolerate more luminance than dashboards, subtitles or faces viewed for hours. A corporate lobby may need extra daytime headroom, while a control room needs stable dark tones at a lower setting. Specify at least two presets – a normal mode and a brighter event or daylight mode – rather than one fixed value.
3.3. Test grayscale and cameras at the intended operating level
Some LED systems look excellent near full output but lose low-gray detail when dimmed. During evaluation, show gradients, dark video, neutral gray, skin tones and small white text. If the wall will be filmed, test every regular camera and shutter configuration at the actual operating brightness. A high refresh rate helps, but it does not by itself eliminate scan lines, moire or color mismatch.
For a fixed installation, compare an indoor front-service LED display with the room’s access, pixel-pitch and maintenance requirements. For temporary venues, review the broader rental LED display options.
4. How to Choose Brightness for Outdoor LED Screens
Outdoor brightness must be selected for the screen’s orientation and the sun’s path, not from the word outdoor alone. Open daylight usually puts 5,000-8,000 nits on the shortlist. Stable shade may reduce that requirement; severe direct sun may justify more, but only when the power system and thermal design support it.
4.1. Map direct sun, sky exposure and seasonal change
Photograph the proposed screen plane in the morning, at solar noon and in late afternoon. Repeat the assessment for the season with the highest solar load if the project schedule allows. A west-facing billboard can be hardest to read when low sun strikes the face directly, even if noon appears acceptable.
Also assess surface treatment, louver design, module mask, viewing angle and contrast. A well-designed 6,000-nit screen with a dark mask can outperform a nominally brighter panel that reflects more ambient light.
4.2. Require automatic day and night dimming
An outdoor screen sized for noon should not remain at that output after dark. Specify a light sensor, scheduled profiles, manual override and sensible minimum and maximum limits. Commission the control logic at dusk and after dark, then document who can change it. This reduces glare, power demand and unnecessary thermal stress.
4.3. Verify the complete outdoor system
Brightness is only one outdoor requirement. Confirm ingress protection, corrosion resistance, drainage, ventilation, electrical distribution, structural loading and service access. Ask for measured maximum and typical power per square metre, not just a power-supply rating.
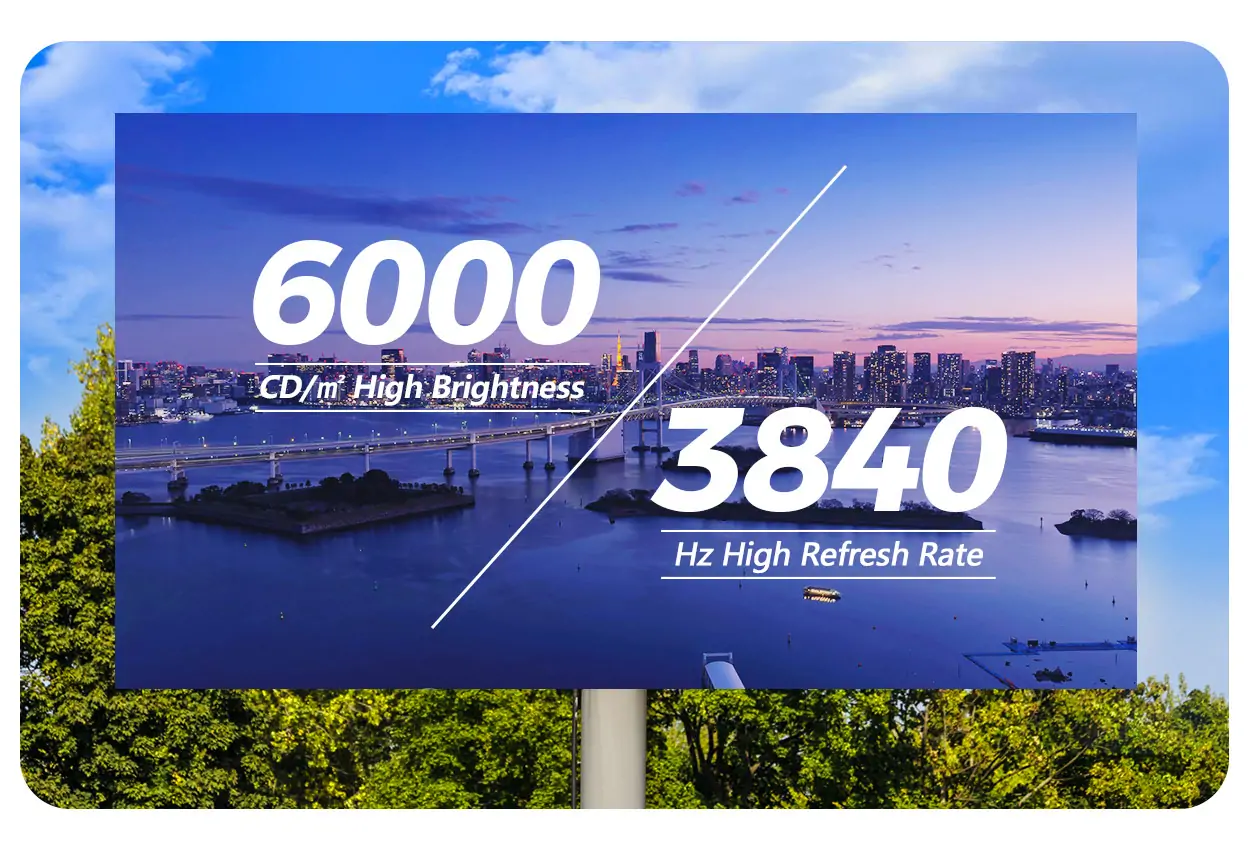
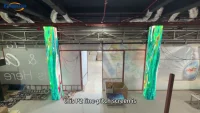
The following official EagerLED video shows an outdoor advertising screen designed for high-brightness, high-refresh operation. Use the footage to understand the cabinet format, then request a site-specific daylight demonstration before approving brightness.
5. LED Display Brightness for Window and Transparent LED Displays
Window and transparent LED displays are a separate optical problem. The viewer sees emitted content together with daylight, reflections and the scene behind the glass. As a result, a window-facing installation often needs 2,500-5,000 nits even though the hardware is physically indoors.
5.1. Test through the actual glazing
Glass transmission, tint, coatings, double glazing, curvature and reflections all change the result. Test from the public viewing side with the display in its proposed position. A demonstration performed without the project glass can overstate usable contrast.
Installation side also matters. A display behind glass avoids direct rain and dust, but the glass can add reflection and absorb light. A screen mounted outside removes that layer but requires a suitable weatherproof design and a different service plan.
5.2. Balance transparency, pixel density and brightness
Higher transparency usually means more open area and fewer light-emitting elements across the same surface. Increasing drive current is not a free replacement for pixel density because it affects power, heat and LED aging. Compare products at the required transparency and viewing distance, then judge real text and video rather than a saturated demo loop.
5.3. Commission daytime and night presets
A transparent shop-window display can need high daytime output and a much lower evening setting. Create presets for direct sun, overcast daylight, evening trading and closed hours. Check that dimming preserves gray detail and color consistency.
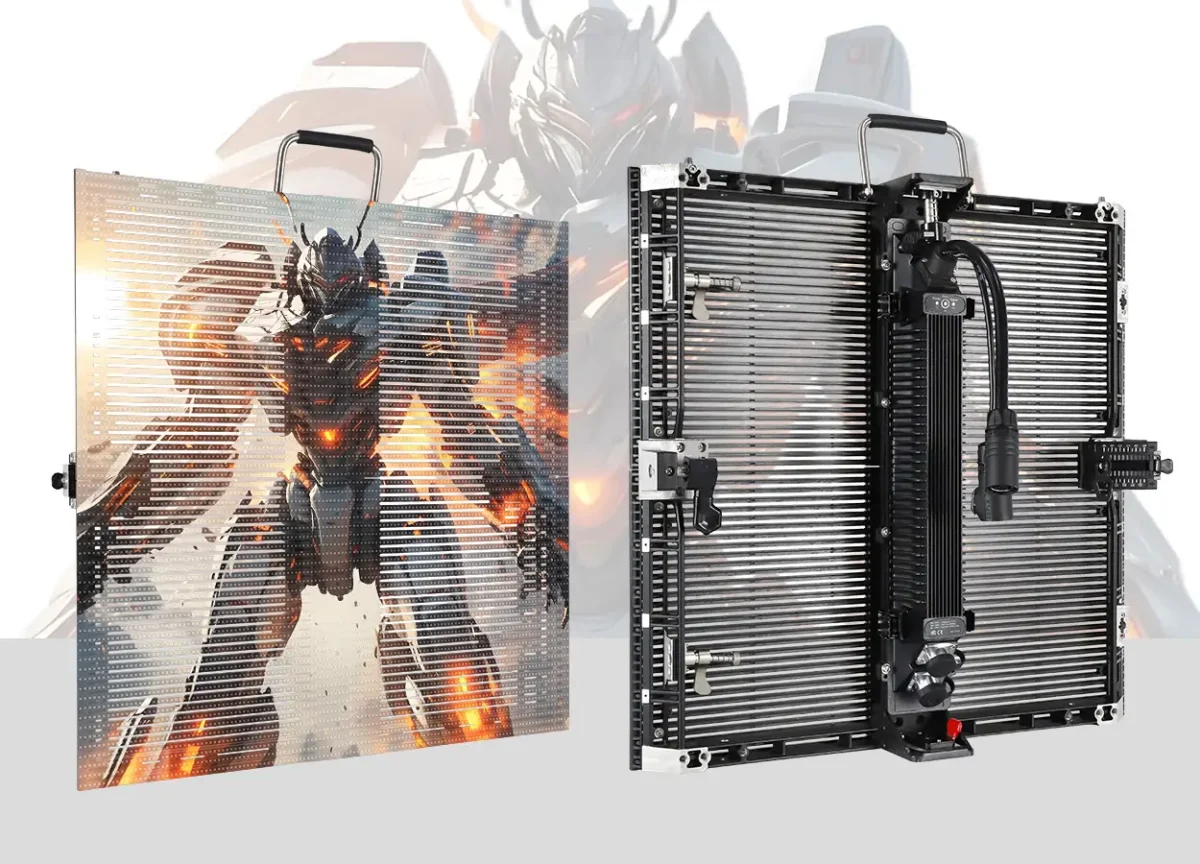
EagerLED’s transparent LED display range shows several structures for retail windows, glass facades and rental use. For high-output fixed transparent installations, the EA1000TiF2 indoor fixed transparent LED wall is a useful specification reference.
6. LED Display Brightness vs Power, Heat and LED Lifespan
More brightness generally requires more LED drive current, so power consumption and heat rise as output increases. The exact relationship is not linear across every design because LED efficiency, power supplies, scan mode, calibration, content and thermal conditions differ. That is why a single maximum-watt figure is not enough for electrical planning.
6.1. Ask for maximum and typical power
Maximum power supports cable, breaker and cooling design. Typical power estimates operating cost, but it is meaningful only when the supplier states the brightness setting and test content. Request watts per square metre at several calibrated levels, such as 30%, 60% and 100%, using the same white point.
6.2. Treat heat as a system constraint
Heat affects LEDs, driver ICs, power supplies and receiving electronics. Outdoor cabinets in direct sun may face high internal temperatures before the LEDs are driven hard. Confirm the rated ambient range, cabinet ventilation path, derating policy and whether the quoted brightness is sustainable at the project’s maximum temperature.
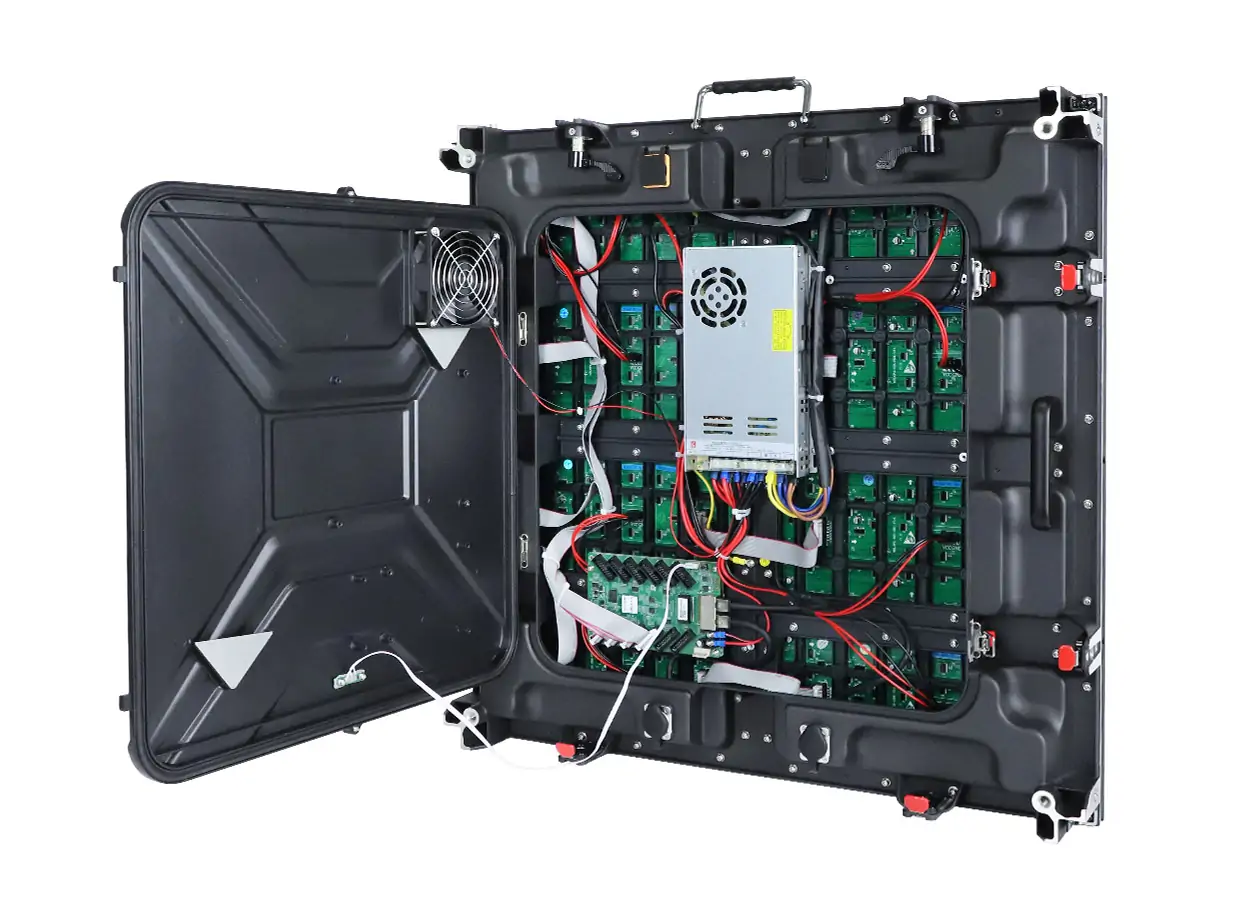
6.3. Define lifespan and brightness depreciation
LED life should not be treated as a guarantee that the screen will look unchanged for a fixed number of hours. Ask what end-of-life threshold is used, such as a percentage of initial luminance, and what drive current, junction temperature and duty cycle support the claim. Operating below maximum when conditions allow generally reduces thermal stress and preserves adjustment headroom.
The practical rule is simple: buy enough brightness for the worst realistic condition, then operate at the lowest comfortable level. That approach supports readability without paying a continuous penalty in power, heat and wear.
7. Buyer Checklist: Ask the Supplier These Questions
A reliable brightness proposal is measurable and testable. Send the same questions to every shortlisted supplier so the answers can be compared on one basis.
- What does the quoted nit figure represent? Maximum, typical, calibrated or sustained brightness?
- How was it measured? State the pattern, white point, viewing angle, ambient temperature and calibration status.
- What is the expected operating level? Provide separate daytime, night-time and indoor presets where relevant.
- What power is required at those levels? List maximum and typical W/m2 with the test content identified.
- How does the screen perform when dimmed? Demonstrate gradients, dark video, skin tones and small text.
- Can the brightness be controlled automatically? Confirm light sensor, scheduling, override and failure behavior.
- What happens in high ambient temperature? Explain thermal derating and sustainable luminance.
- How is depreciation specified? Define the lifetime threshold, test temperature, drive current and warranty remedy.
- Will you run a site or factory acceptance test? Record measured luminance, uniformity, color and power at agreed settings.
7.1. Put acceptance values in the contract
Do not leave brightness as a brochure reference. The purchase specification should list the required calibrated luminance range, uniformity tolerance, color temperature, test pattern, measurement method, ambient condition and allowed thermal derating. It should also identify the meter, test positions and remedy if the screen misses the acceptance value.
7.2. Compare complete systems, not isolated modules
Processor settings, receiving cards, calibration, power distribution, cabinet cooling and protective glass can all change the installed result. Require a test of the proposed module and signal chain. For outdoor and transparent projects, include the project glass, louver or protective layer whenever practical.
8. FAQs
9. Conclusion
To choose LED screen brightness, begin with the application and the hardest real lighting condition. Use about 600-1,500 nits as an indoor starting range, 2,500-5,000 nits for many window-facing or transparent displays, and 5,000-8,000 nits for open-daylight outdoor screens. Then adjust for orientation, glass, content, cameras, operating hours and viewer comfort.
The strongest purchase specification does more than name a maximum nit value. It defines calibrated operating levels, automatic dimming, grayscale performance, power, thermal behavior, measurement conditions and acceptance tests. Share the site orientation, photos, operating schedule and required viewing positions with EagerLED to build a brightness specification that can be demonstrated before shipment.
 How to Choose Front-Service vs Rear-Service LED Displays
 LED Screen Power Consumption Guide: Formula, Cost & Savings
Related Posts
Fill In Your Needs In Detail
Fill in the screen usage scene and size you need in “Content”.You will get a quote.