Share This Post
Do you know the most complete LED display assembly process? Today’s video will help you realize the full steps of installing the EA1000C6 rental LED screen.
Below we will explain the detailed installation steps:
- Place 8pcs LED modules in the frame and install waterproof rubber rings
- Place the LED cabinet frame on top of the LED module and align it
- Use stainless steel screws to fix the LED cabinet frame
- Install the power and signal sockets to withstand high power consumption and ensure stable signal transmission
- Assemble the LED display test key and power line socket
- Install the power supply into the power box and connect the power cords
- Assemble the LED receiving card on the back of the LED modules
- Connect one end of a power cord to the power interface of the LED
- Use the other end to connect the power system
- Use the signal cable to connect the LED receiving card to the external signal socket
- Adopt cable ties to keep all wires neat and tangle-free and ensure the wiring is correct
- Splice the LED cabinets into the EA1000C6 rental LED screens for a 72-hour aging test
After watching this video, you should understand the whole assembly process. If you still have any questions, contact our salesperson for more information.
Previous How to Choose the Best LED Screen Factory for Your Needs
How to Choose the Best LED Screen Factory for Your NeedsNext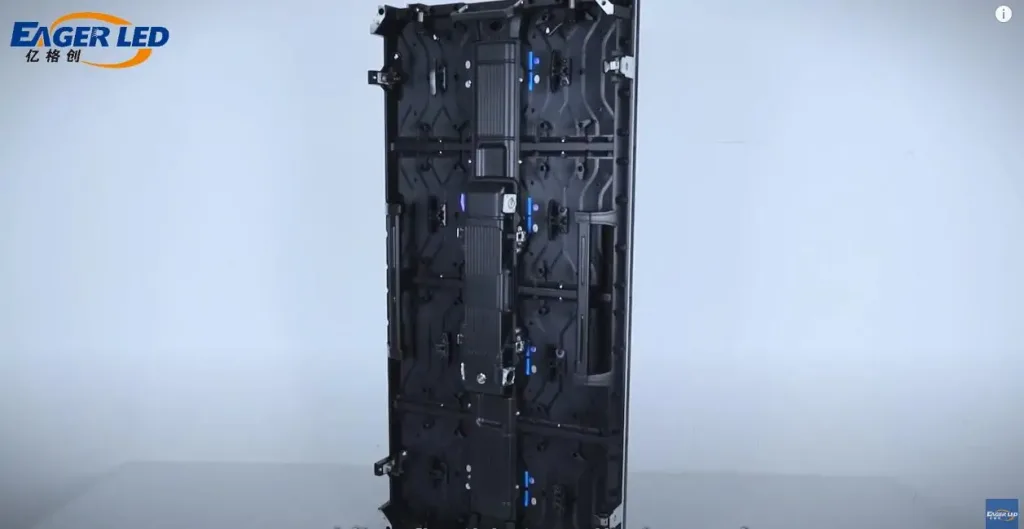 EagerLED New EA1000H8 Rental LED Billboard 2025
EagerLED New EA1000H8 Rental LED Billboard 2025Related Posts


Fill In Your Needs In Detail
Fill in the screen usage scene and size you need in “Content”.You will get a quote.
Average Reading Time
Total Views: 799Daily Views: 1


