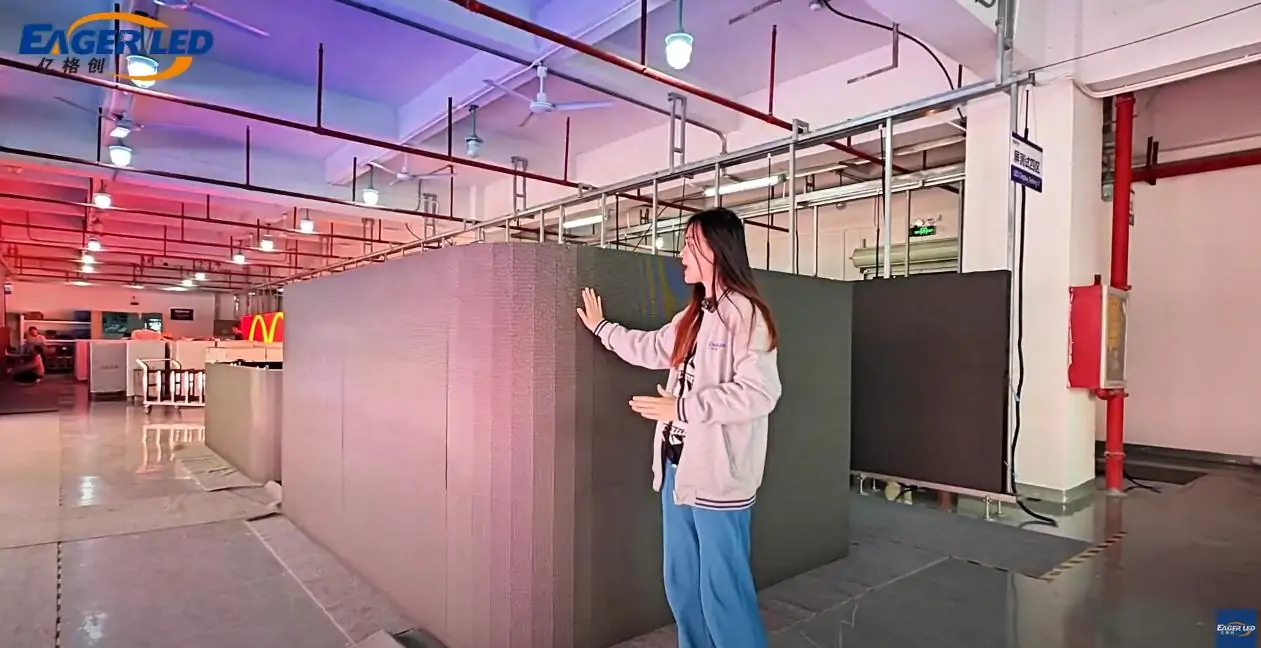
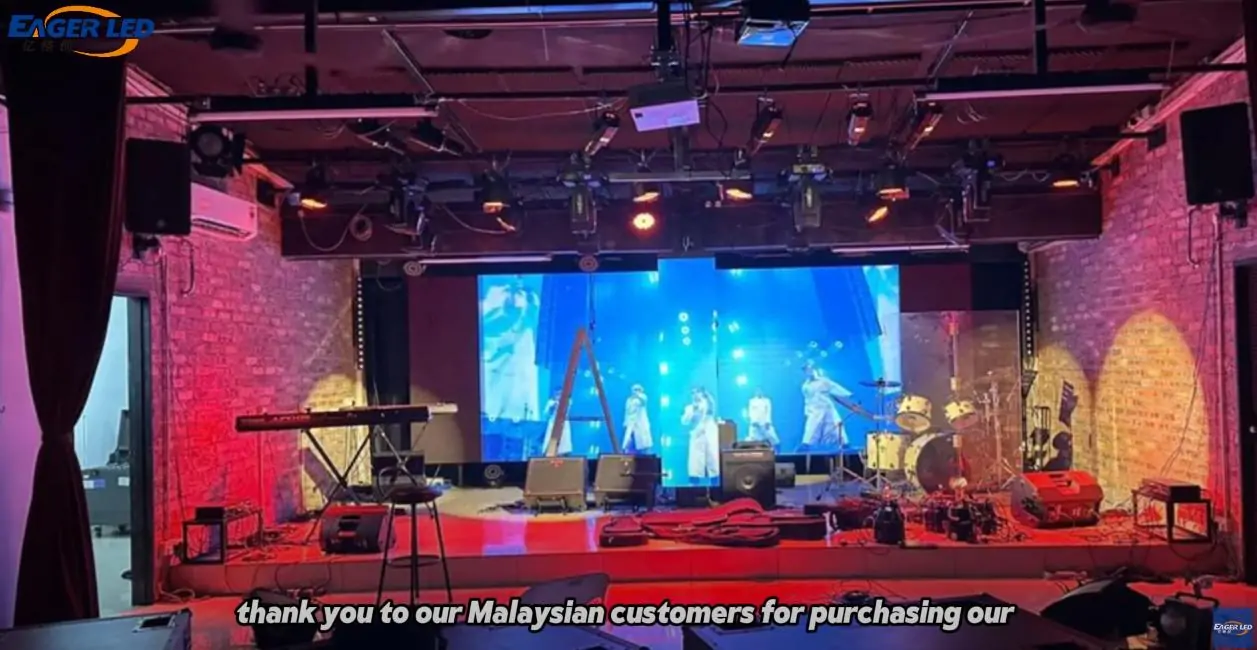
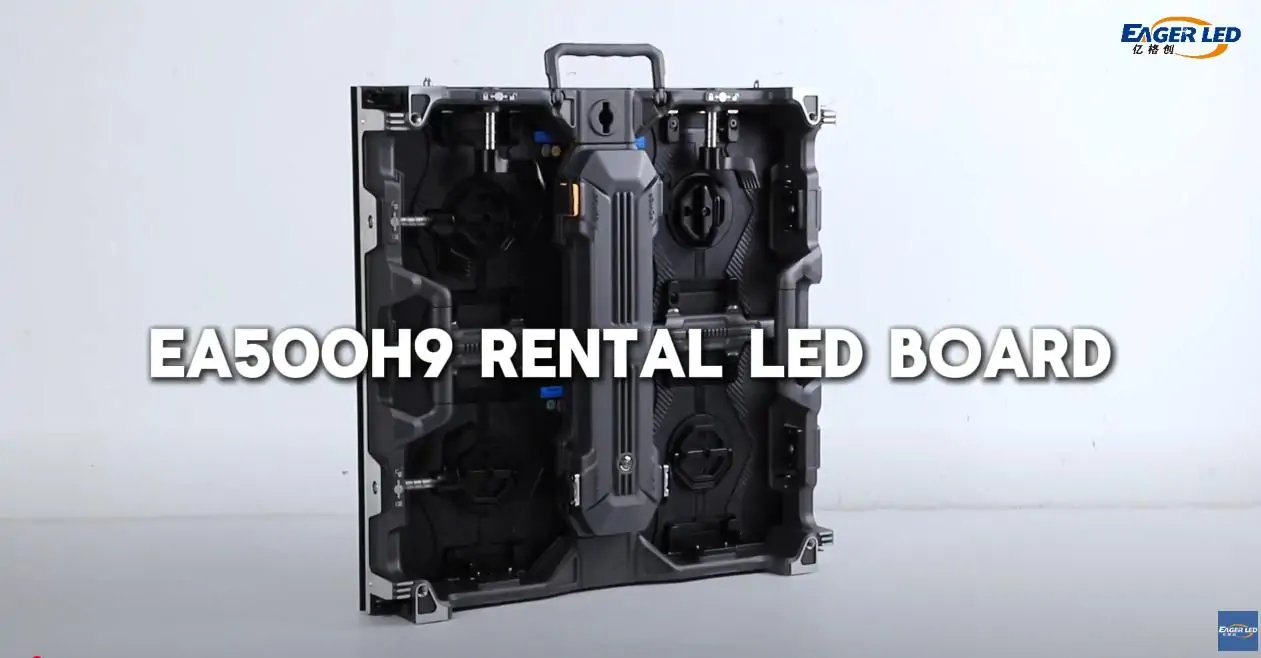
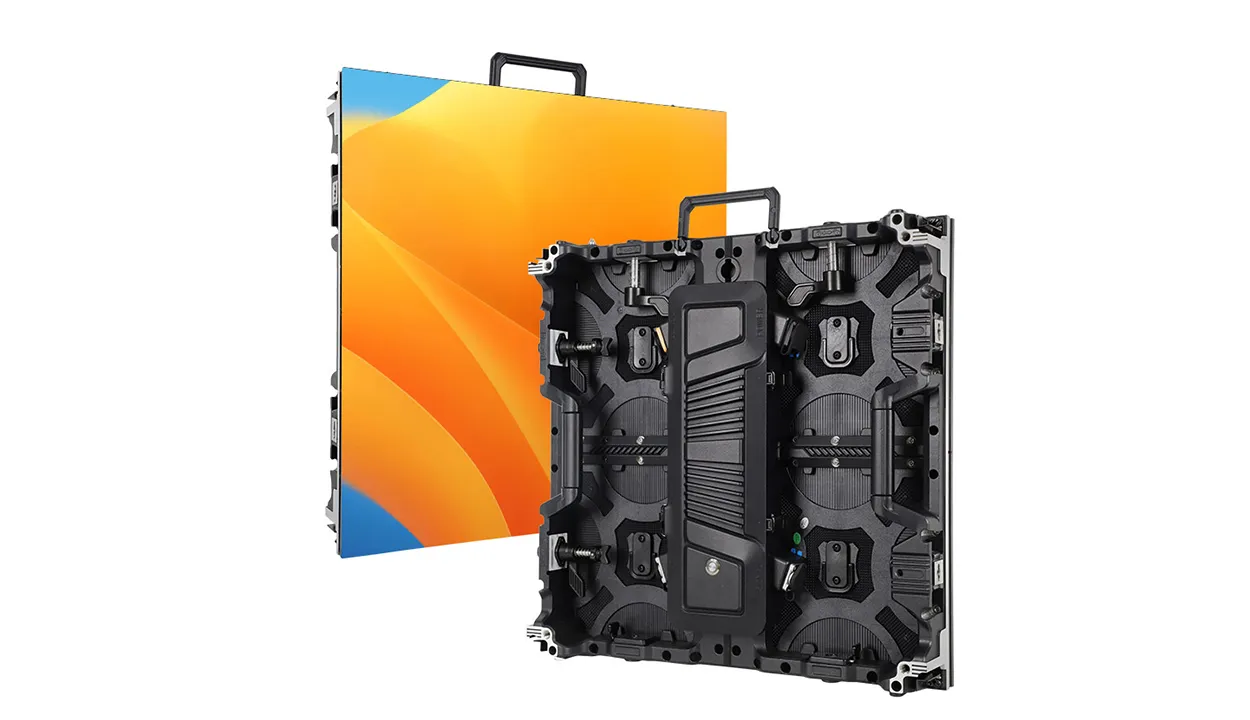
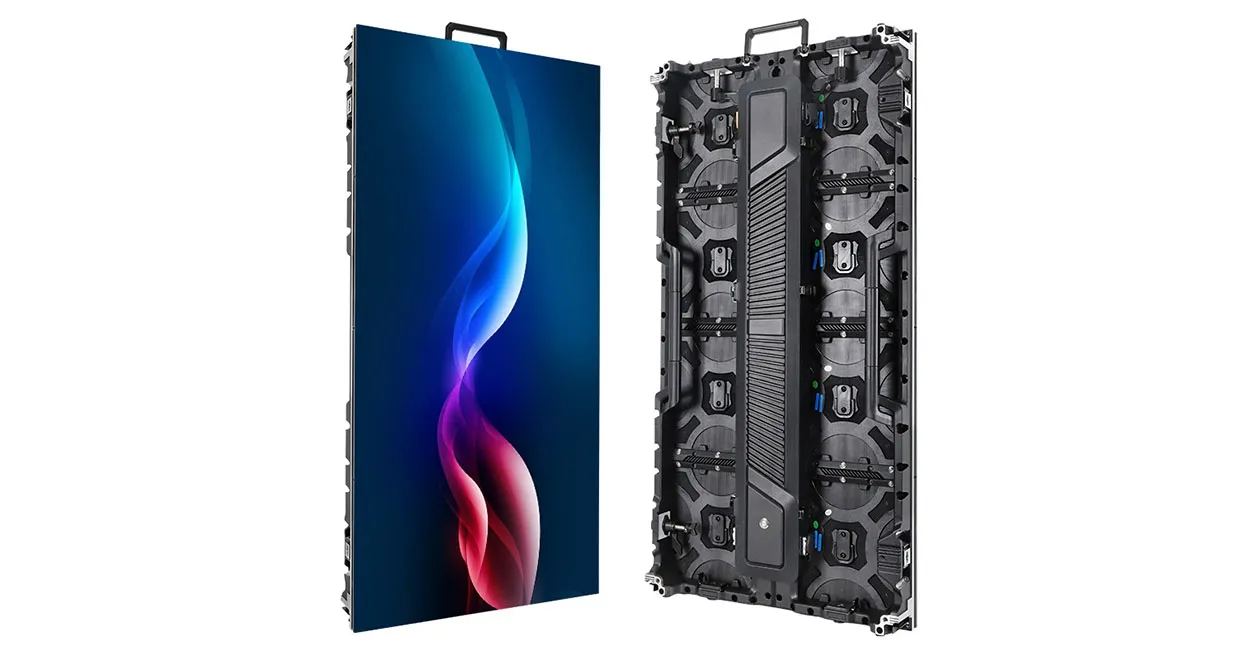
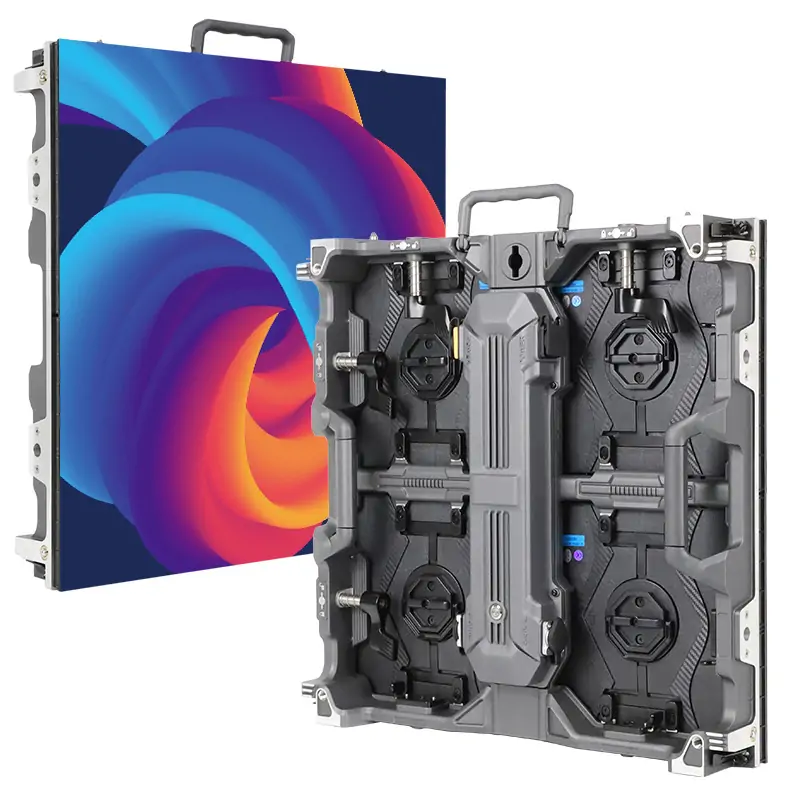
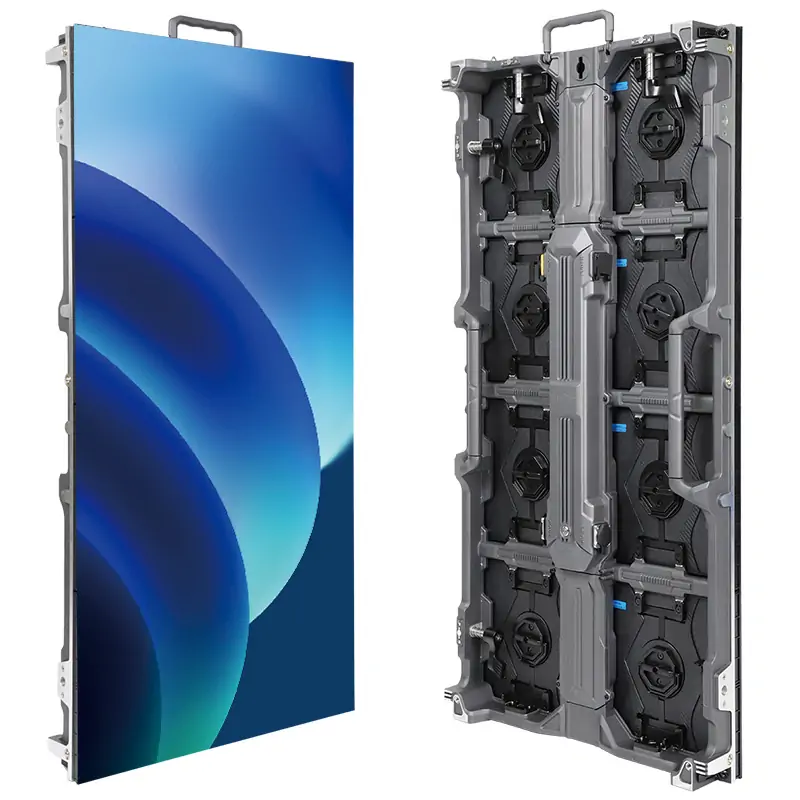
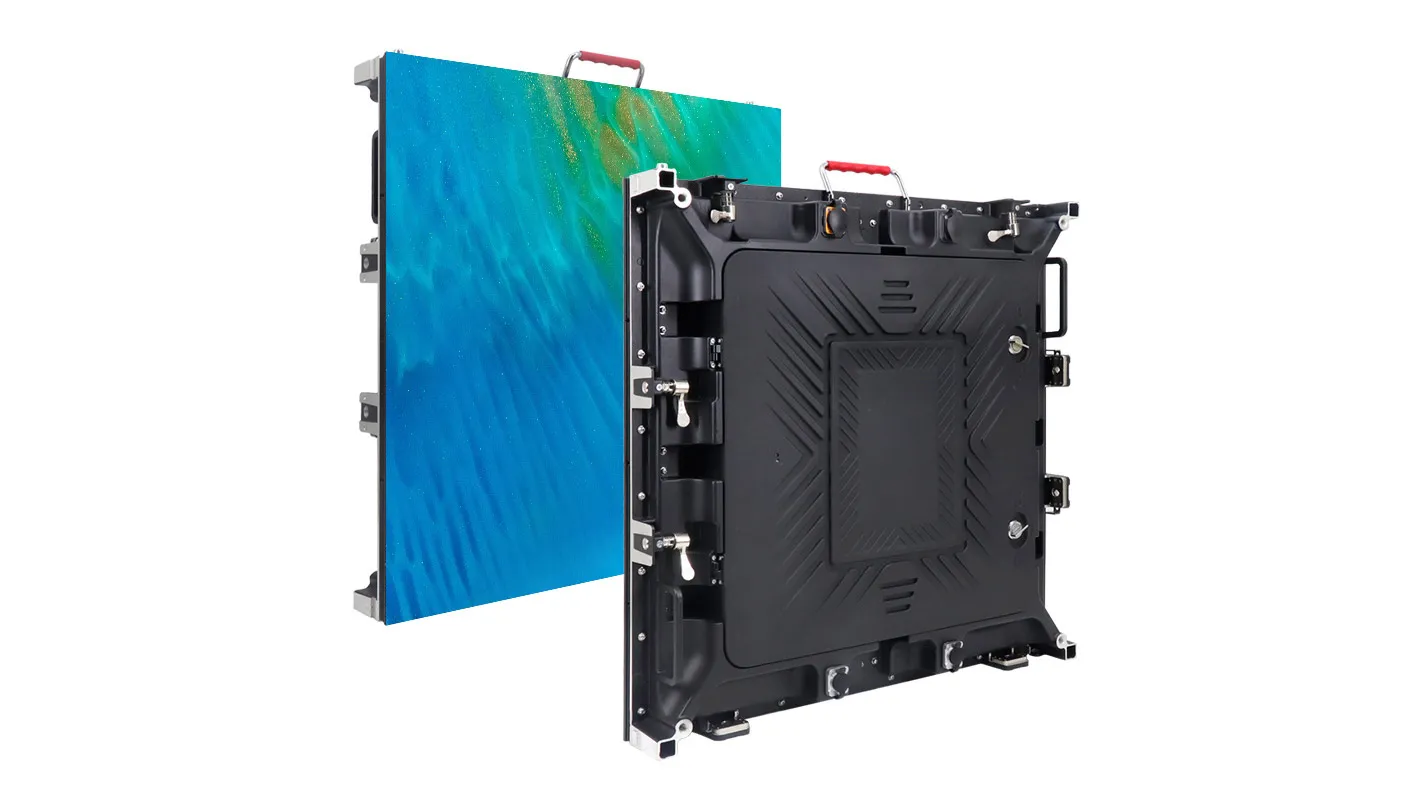
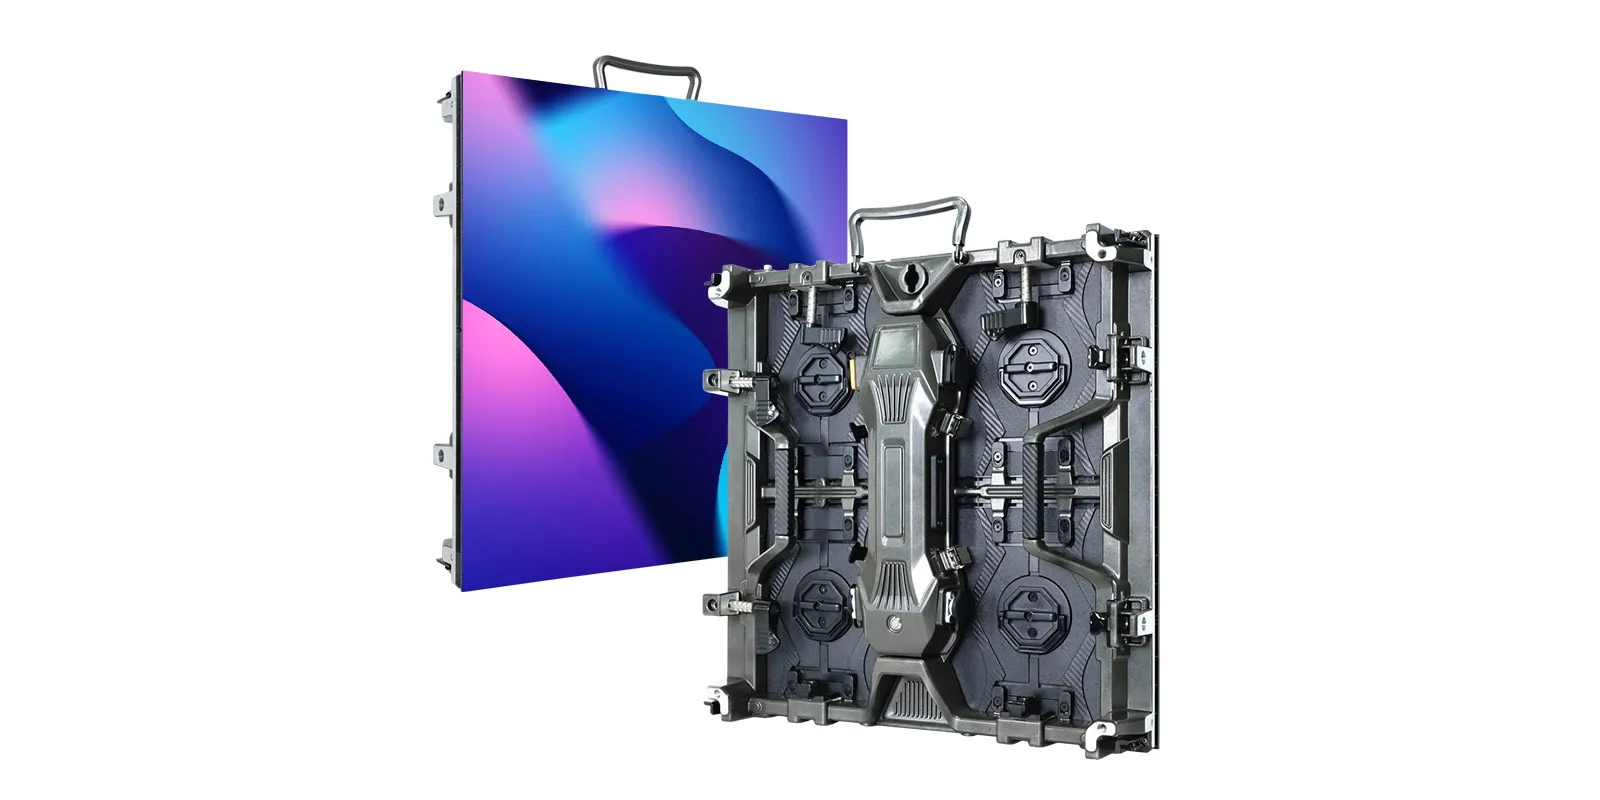
Do you know how to quickly install various sizes of rental LED displays. If you have questions about rental LED display installation, this video will give you detailed guidance.
Here are eight main installed procedures for LED rental displays:
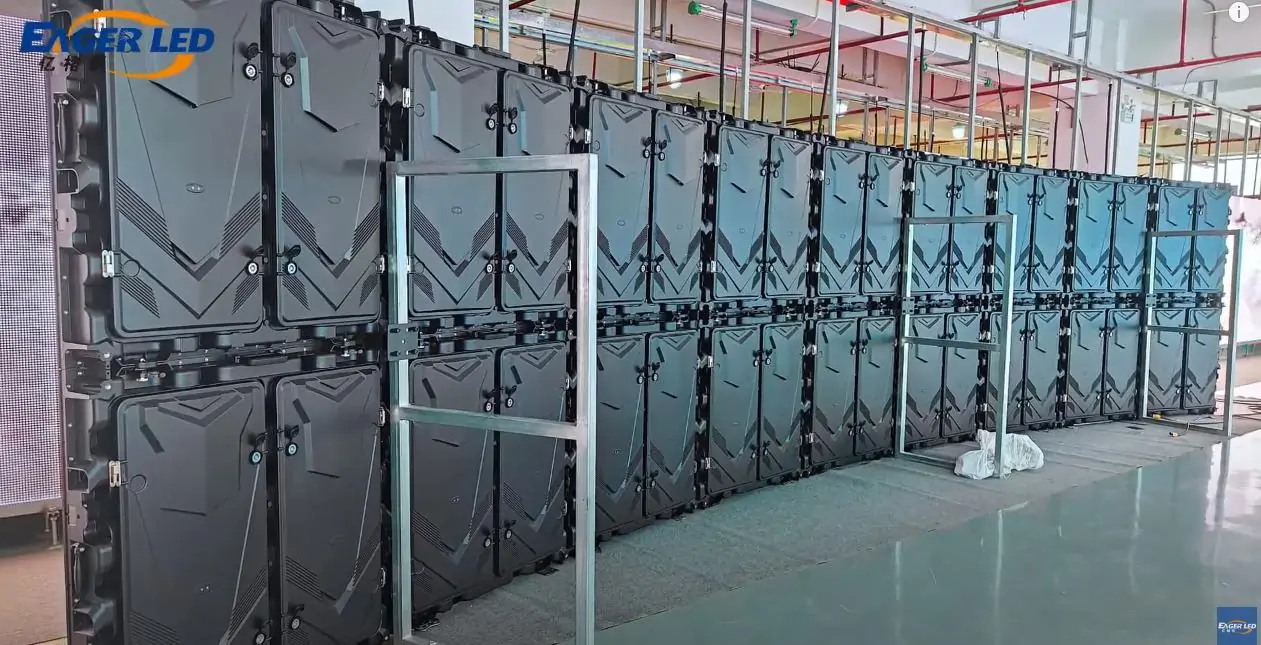
1. Align the two holes under the connection plate with the holes on the LED box, screw in the connection plate screws and tighten with a spanner. Repeat the above steps to complete the first row of boxes.
2. Once aligned, lock the bottom and side quick locks, screw in the attachment plate screws, and mount it to the rear bracket. Repeat this process to complete the second row.
3. Continue to install the third row of LED lightboxes, securing them to the second tier of brackets in the same way.
4. Plug the signal cable into the lower interface of the LED cabinet and connect them, connect the power cord plug to the corresponding interface.
5. Insert the signal cable on the right side and connect the second and third rows in series. Connect the main signal cable to the first and second rows to the video processor.
6. Connect the second and third rows of power cables in series and connect the main power cable to the first and second rows. A green light indicates a successful power connection.
7. Open ‘NovaLCT’ software, click synchronisation, use the default password to log in, enter the display settings, receiver card, load the pre-prepared configuration file, connect the screen body.
8. Adjust the size ratio of the receiver card to make it consistent with the ratio of the box. Reset all settings, configure each row of ports, turn on mapping, send to HW, configuration is complete.
Related Posts
Fill In Your Needs In Detail
Fill in the screen usage scene and size you need in “Content”.You will get a quote.

