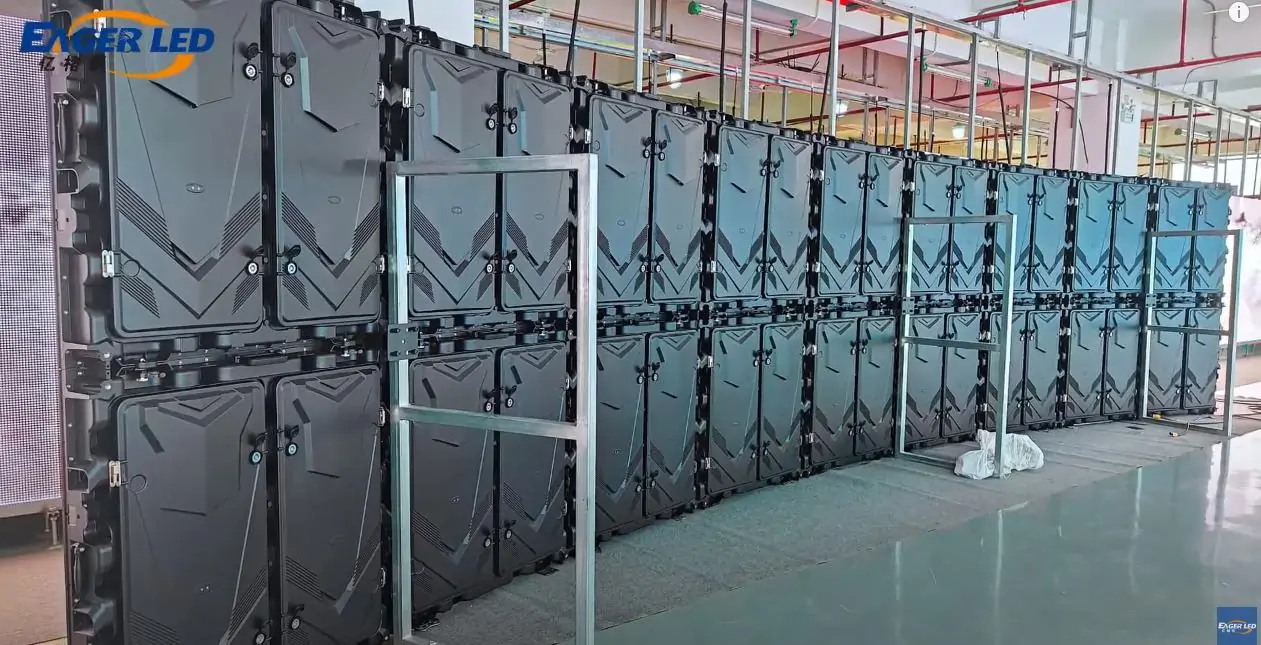
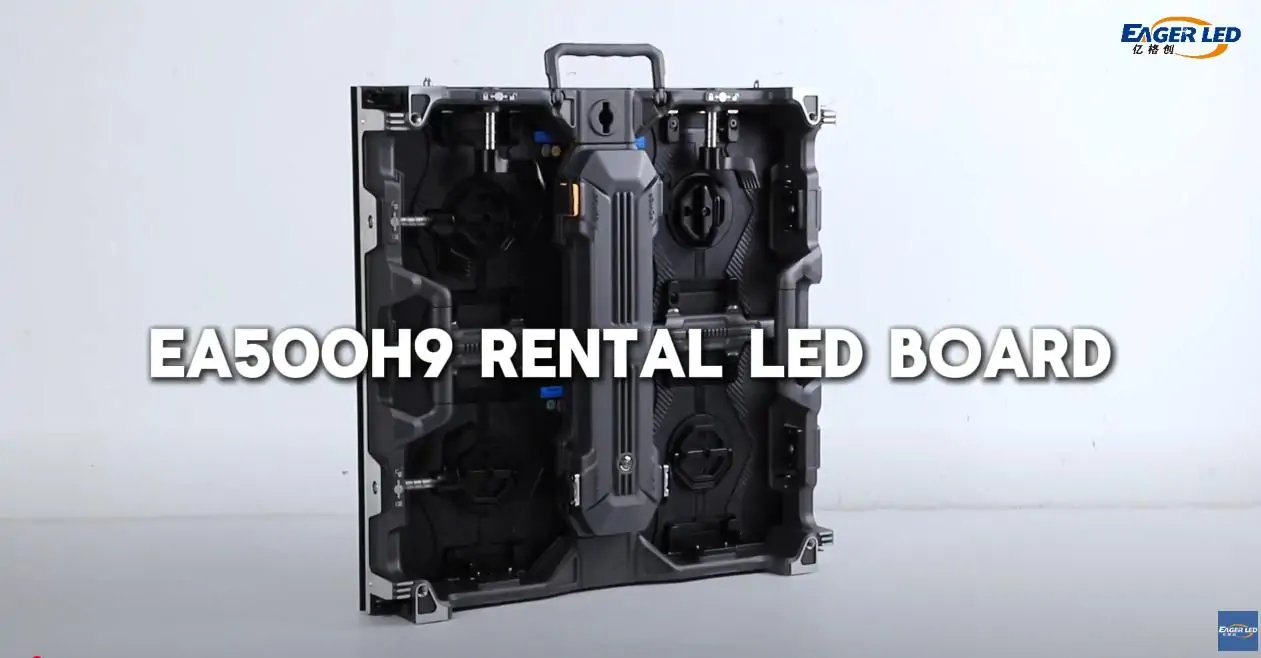
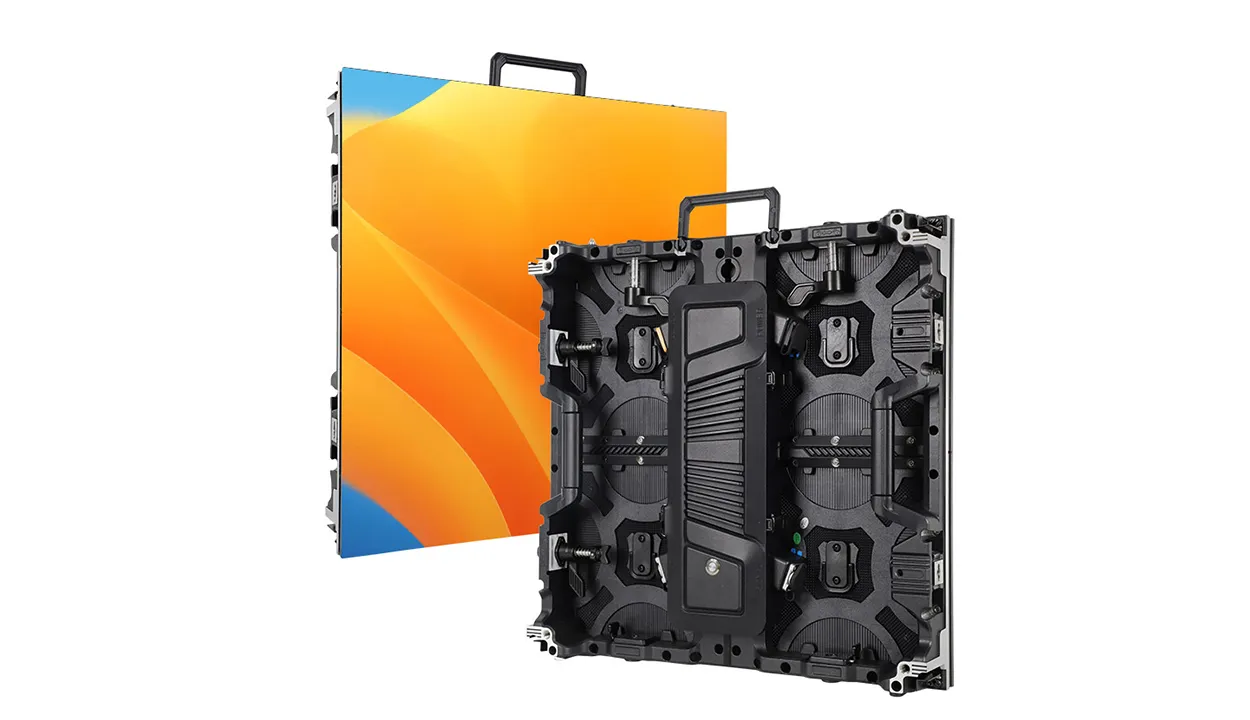
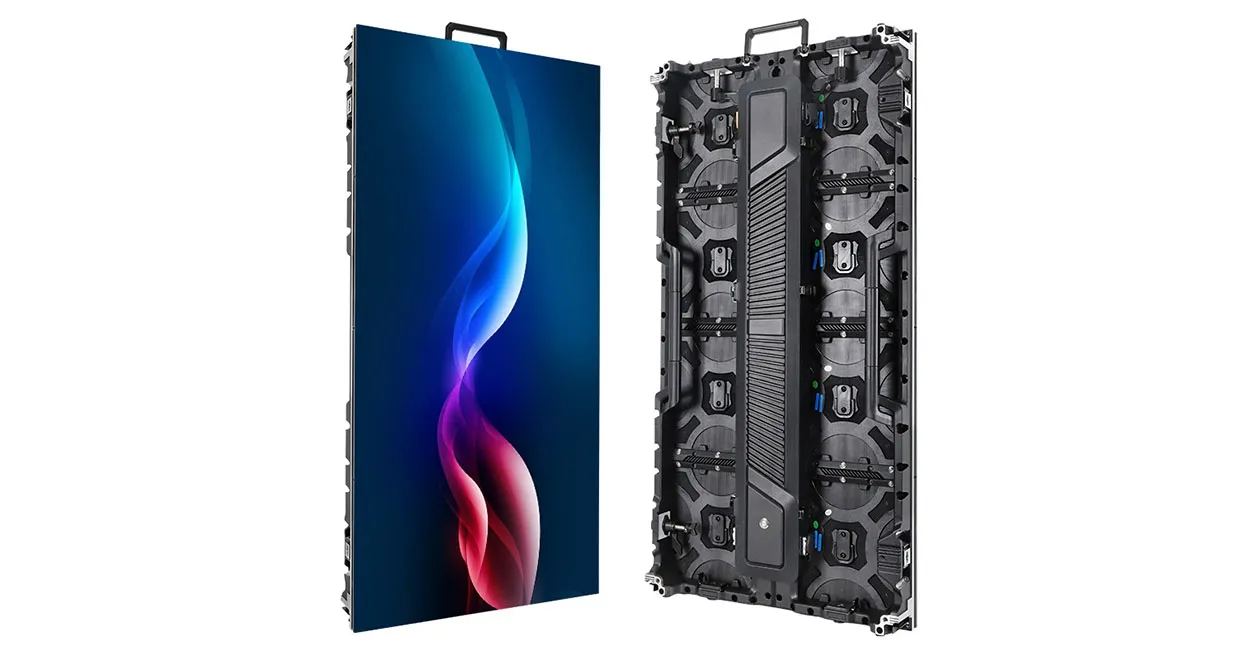
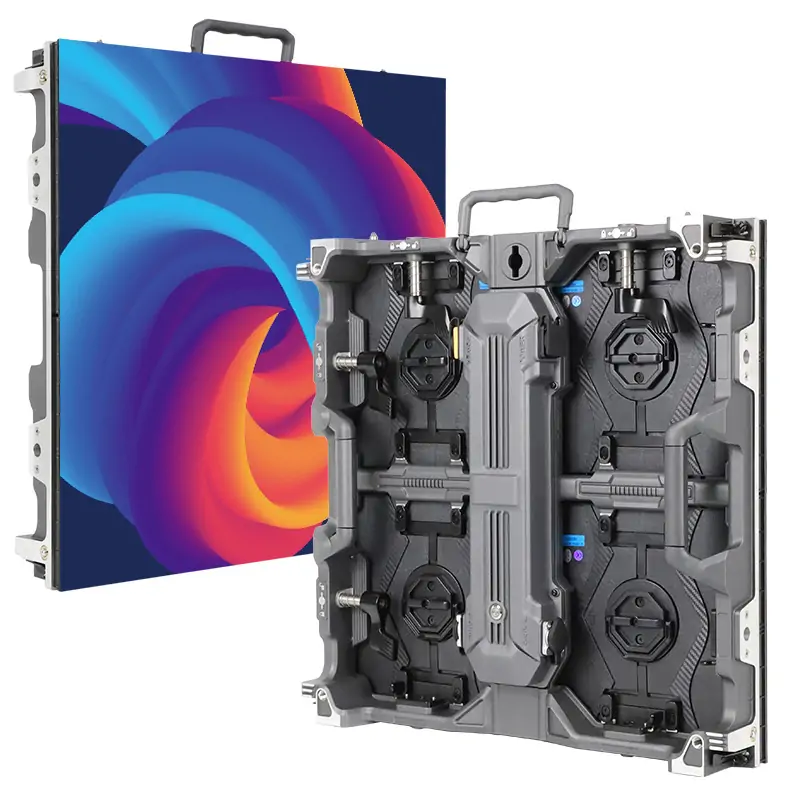
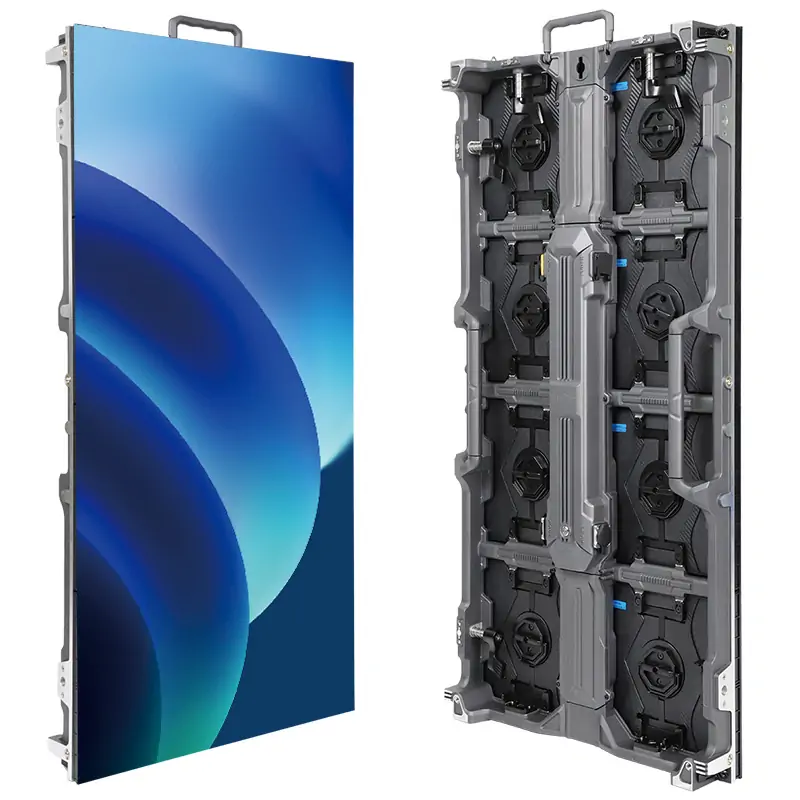
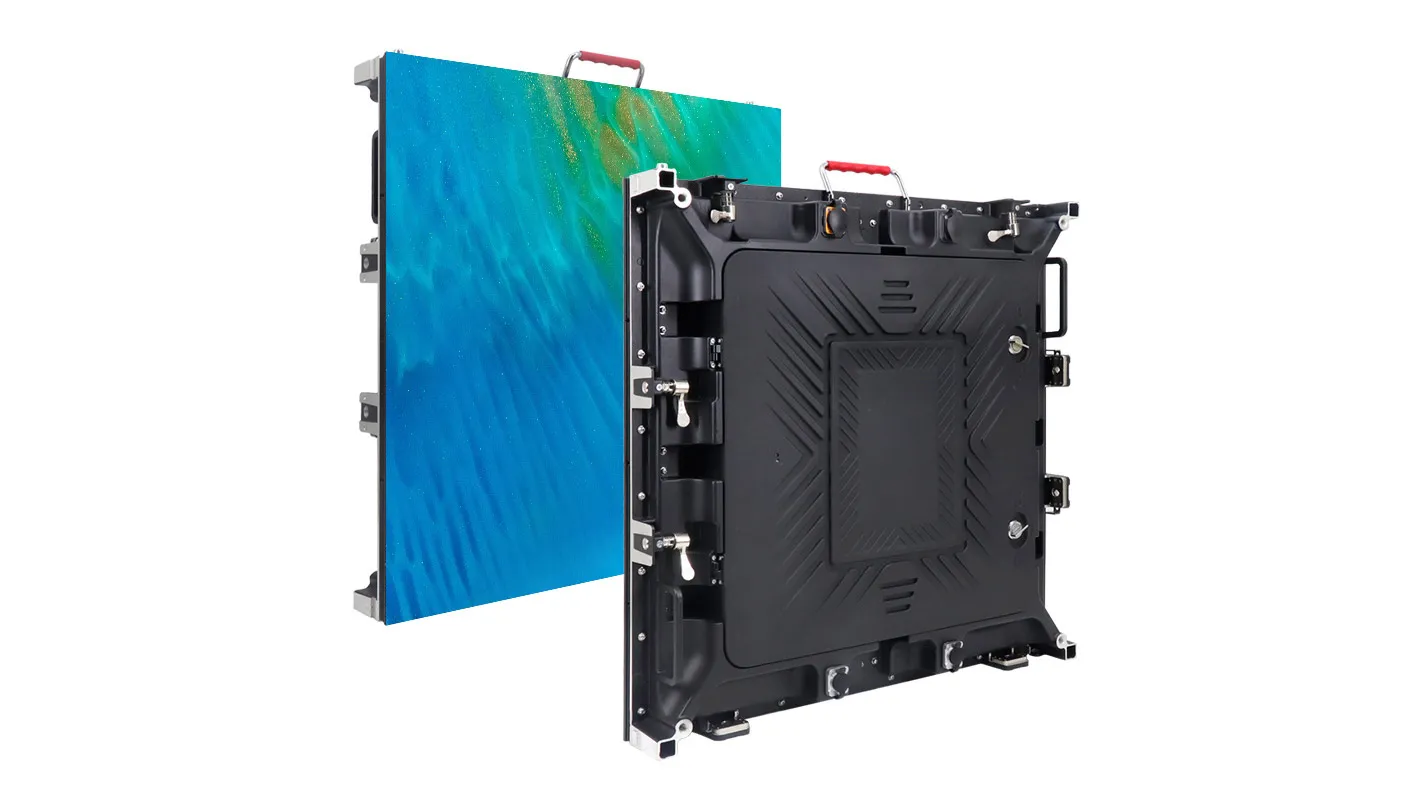
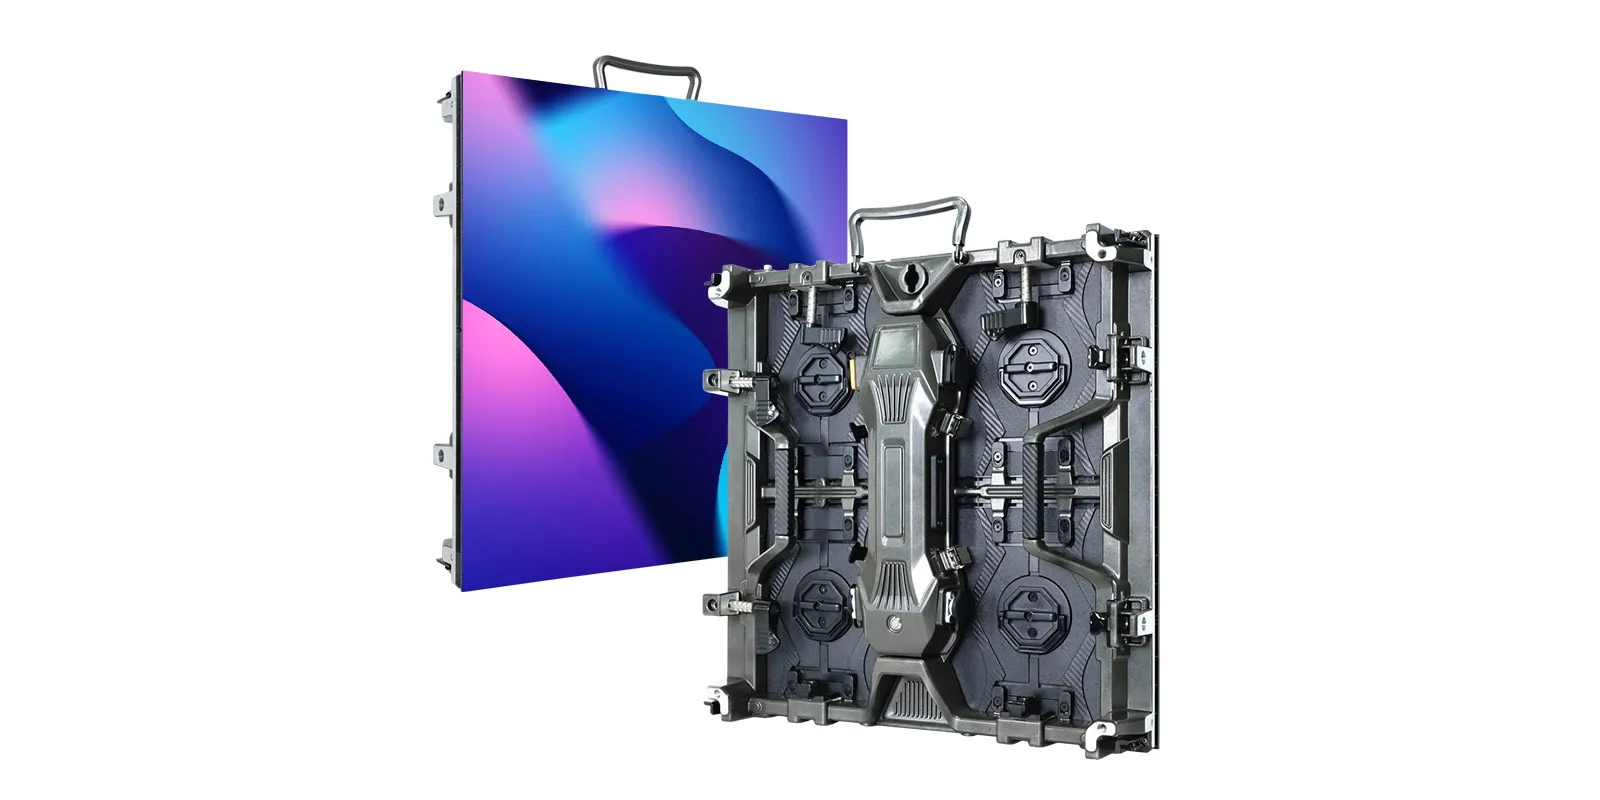
If you don’t know exactly how to install EA169F2 indoor LED screen. This video will show you detailed installed steps to help you quickly install the indoor LED display.
Step 1: Install the support structure for EA169F2 LED video wall
- Use the support bracket to mark the position where you need to drill holes
- Use electric drill to drill holes on the wall, place the support bracket on the marked position
- Put the expansion bolts into the holes and hammer the nails into the holes
- Prepare the connecting iron piece that connects the two support brackets
- Fix it to the inner end of the support bracket with screws and tighten it with an electric drill
Step 2: Install the cabinet to the support bracket
- Install screws into the screw holes and place the cabinet on the support bracket
- Align the screws with the lifting holes of the support bracket. Ensure that the cabinet is firmly fixed on the support bracket.
- Connect and fix the adjacent cabinets, and then install the second row of brackets, aligning the lifting holes of the brackets with the screws.
Step 3: Install the cable
- Connect the power cable through the reserved holes between the two cabinets.
Step 4: Install the LED display
- Adjust the cabinet flatness to achieve completely flat.
Step 5: Power on test
- Power on and test whether the LED power indicator and LED receiver card indicator work normally.
Step 6: Install LED module
- Start to install the LED module according to the direction of the arrow inside the module.
Related Posts
Fill In Your Needs In Detail
Fill in the screen usage scene and size you need in “Content”.You will get a quote.

