Share This Post
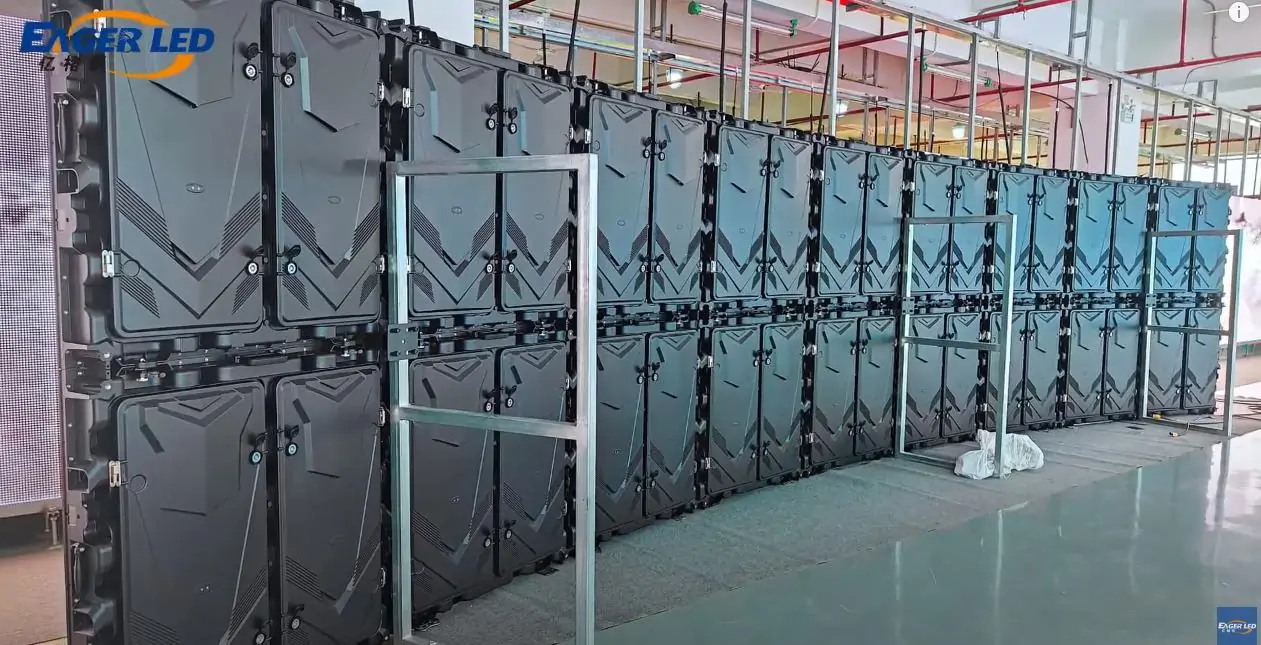
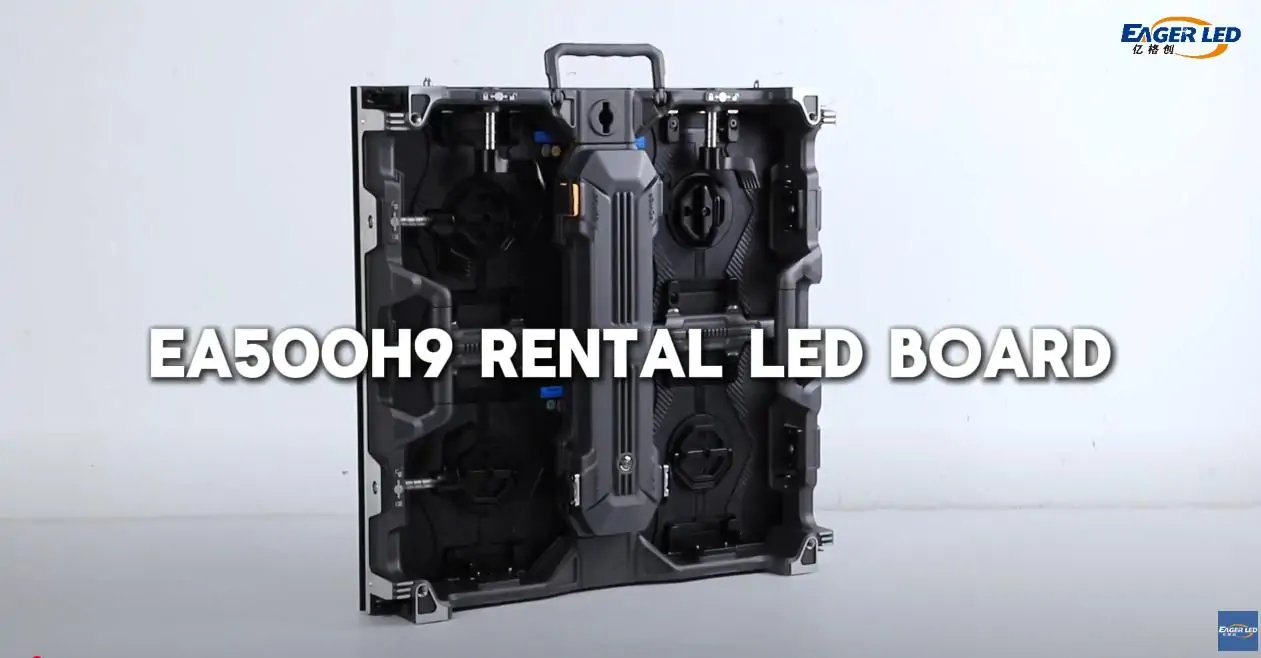
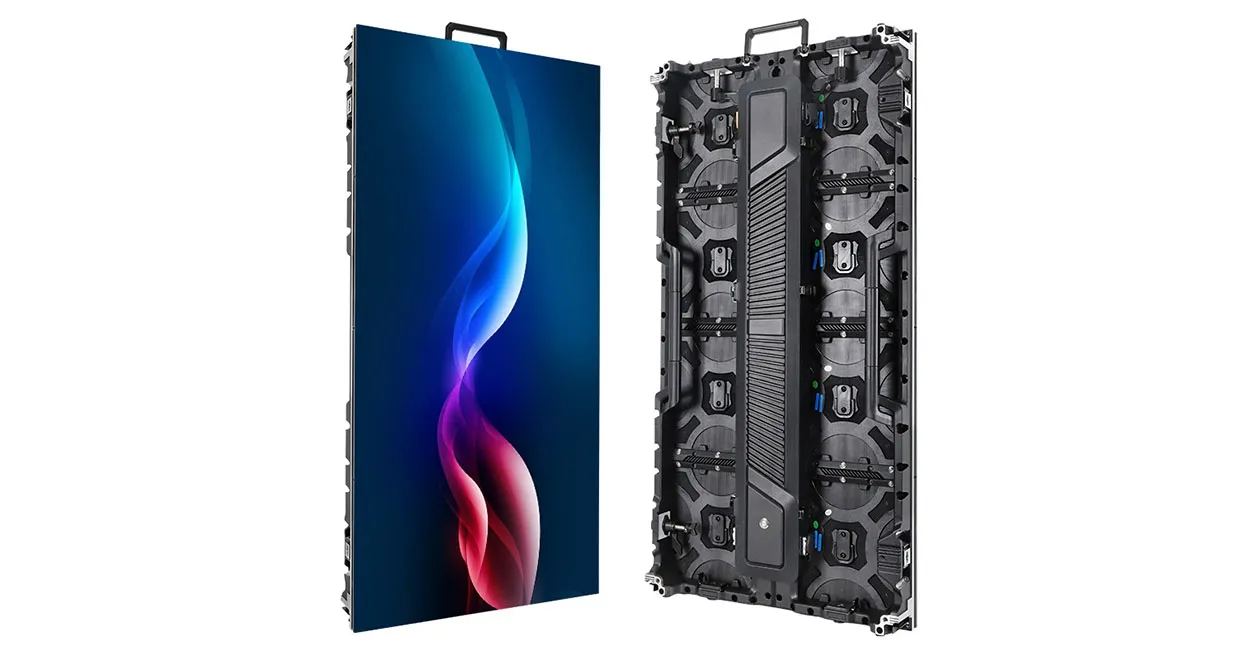
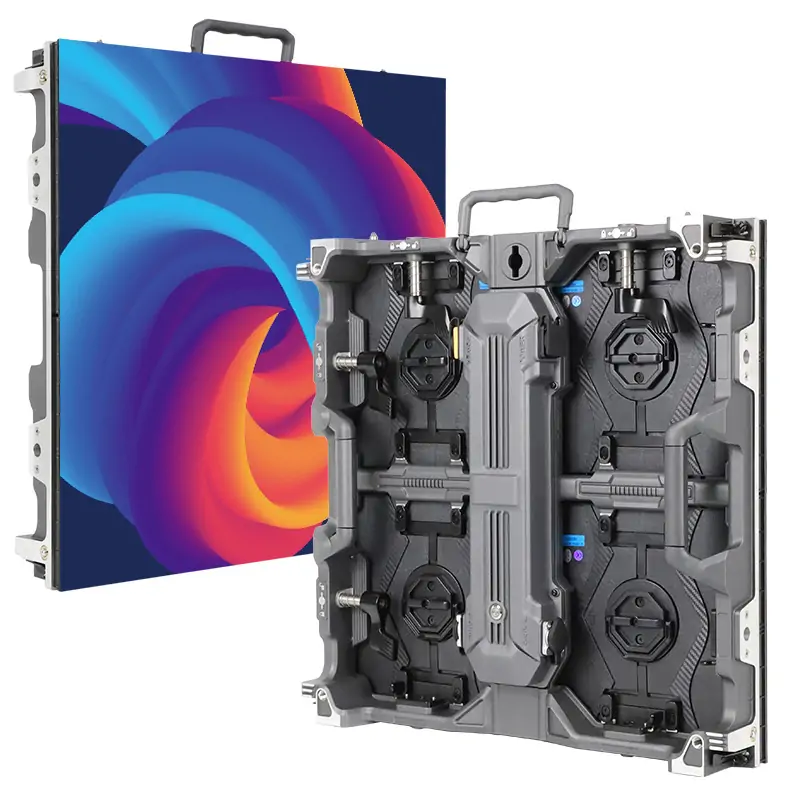
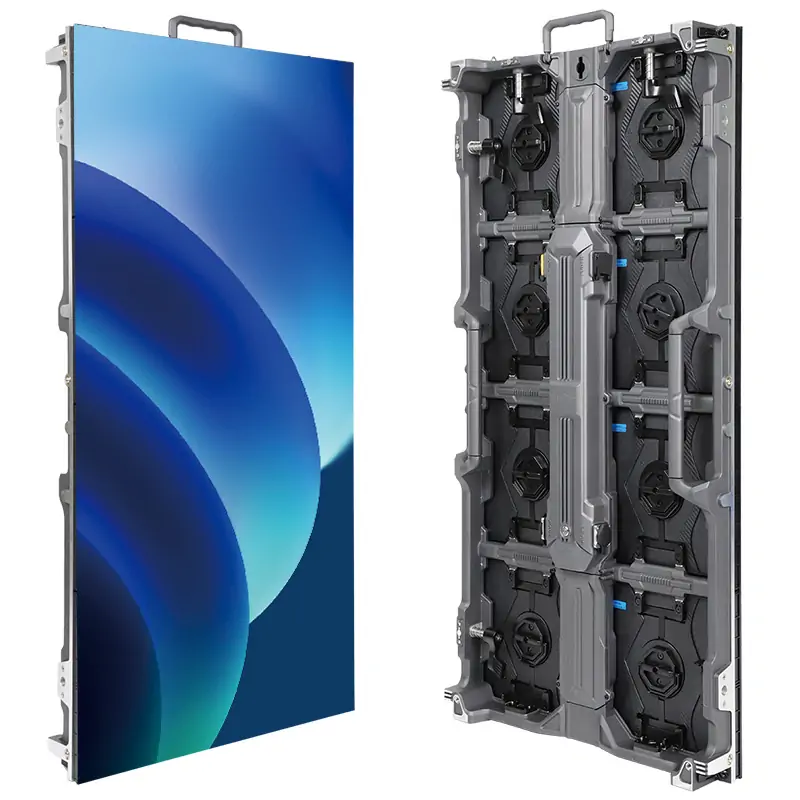
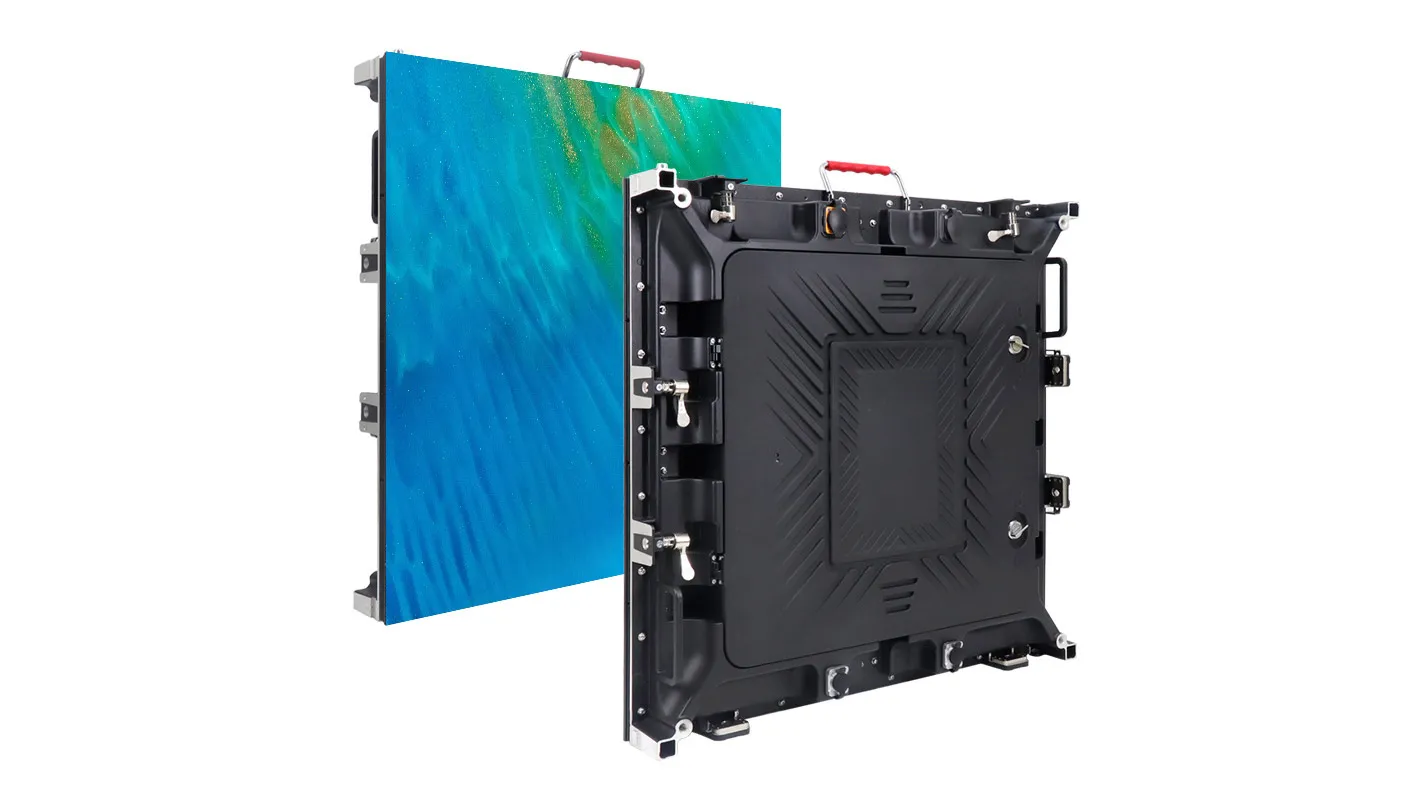
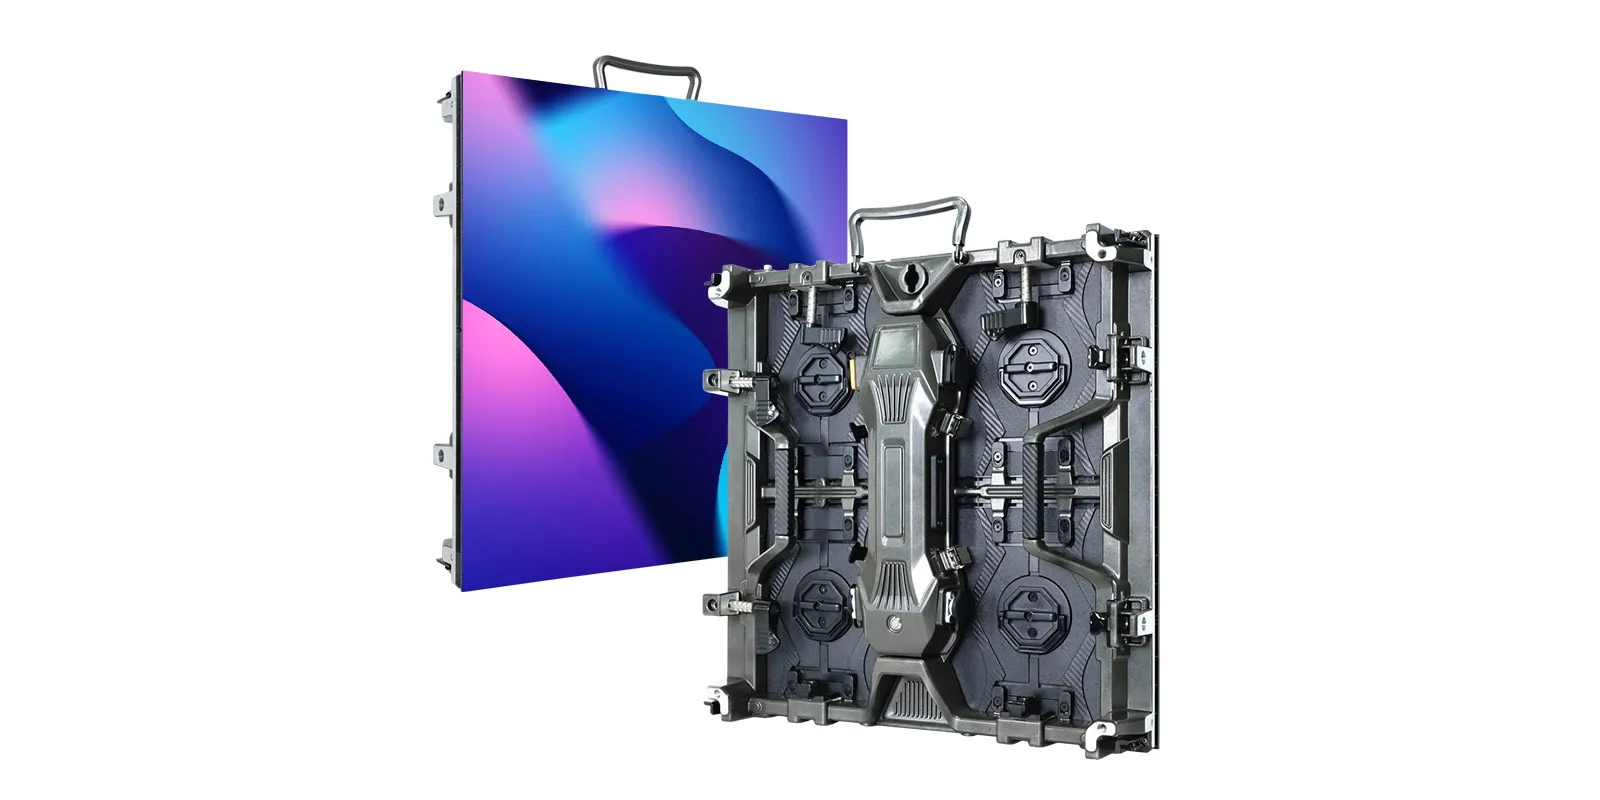
Assembling an LED cabinet involves several critical steps to ensure proper alignment, stability, and functionality. The following is a basic guide:
- Preparation
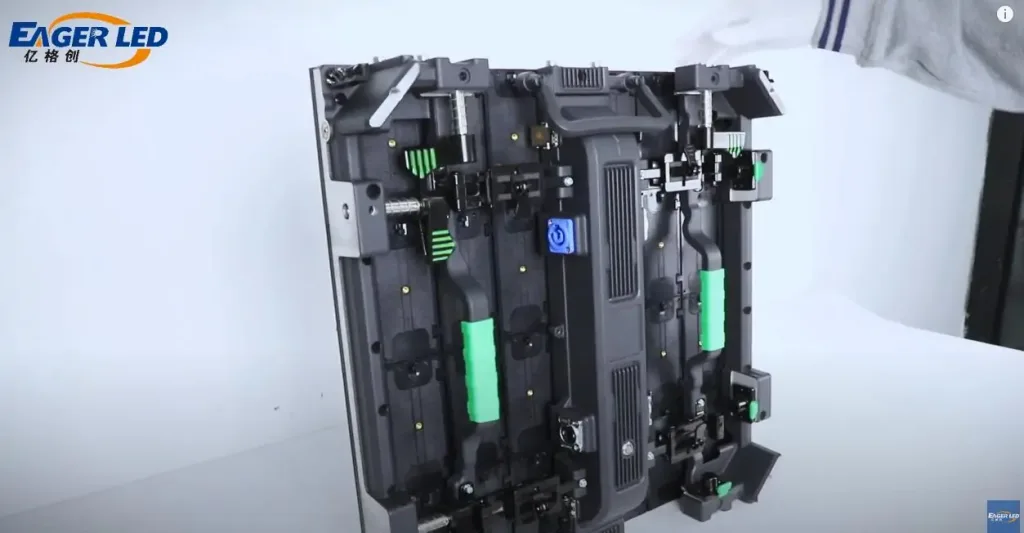
- Prepare the LED accessories: receiving card, power supply, screws, LED cabinet frame, LED modules
- You will need tools such as spanners, screwdrivers, levels and screws.
- Unpack and Inspect All Components
- Carefully unpack the LED cabinet and inspect all components to ensure that all parts are intact, including the frame, LED module, power supply, and cables.
- Check for any visible damage, especially to the LED modules and screens.
- Assemble the LED Cabinet
- Install the power supply and fix the cables in the right position.
- Install the receiving card and use screws to fix the receiving card.
- Use screws to tighten all connections to ensure the frame is stable and square.
- Mounting LED Modules
- Place the LED modules (panels with actual LEDs) into the frame one at a time. Ensure that the modules are aligned with the connectors in the frame.
- Securing the Modules: Lock or screw the modules into place using the mechanism provided (e.g. quick locks or screws). Ensure they are secure and flush with the frame.
- Installing the Power Supply Unit (PSU)
- Install the PSU: Install the power supply unit in the cabinet, usually on the rear panel or in a designated compartment.
- Connecting Power: Connect the power cord from the PSU to the LED module. Double check voltage and current specifications to ensure compatibility.
- Connecting Data Cables
- Connect the data cable from the controller or previous module to the next module. Make sure the connectors are plugged in properly to ensure seamless communication between modules.
- Secure the cable to the side or to a designated cable path to avoid tangling or damage.
- Test Assembly
- POWER UP: Once the cabinet is fully assembled, plug it in and switch on the system.
- Test the display: Check for bad dots or any faulty components. Ensure that all LED modules are functioning properly and displaying the correct image or colour.
- Adjust settings: Fine-tune brightness, colour calibration and refresh rate settings if necessary.
- Final Inspection and Testing
- Perform a final check to ensure that all connections are secure, the cabinet is properly aligned, and all modules are working as intended.
- If necessary, clean the screen surface and ensure that the components are free of dust or debris.
Related Posts
Fill In Your Needs In Detail
Fill in the screen usage scene and size you need in “Content”.You will get a quote.
Average Reading Time
Total Views: 396Daily Views: 1

