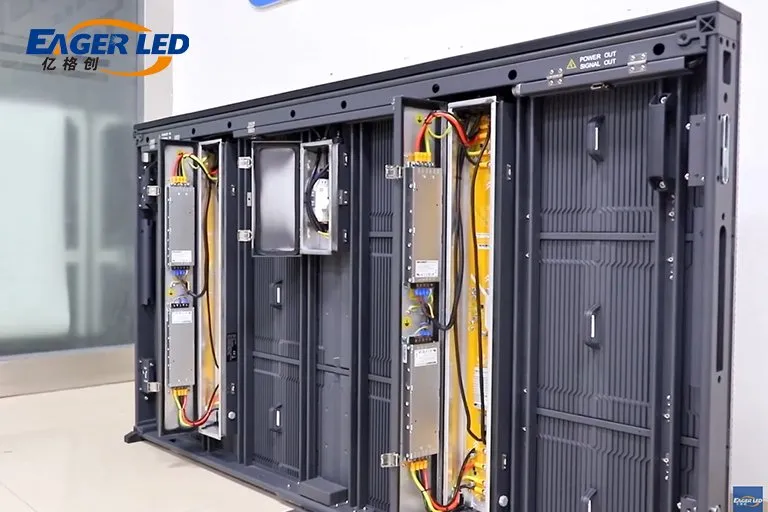
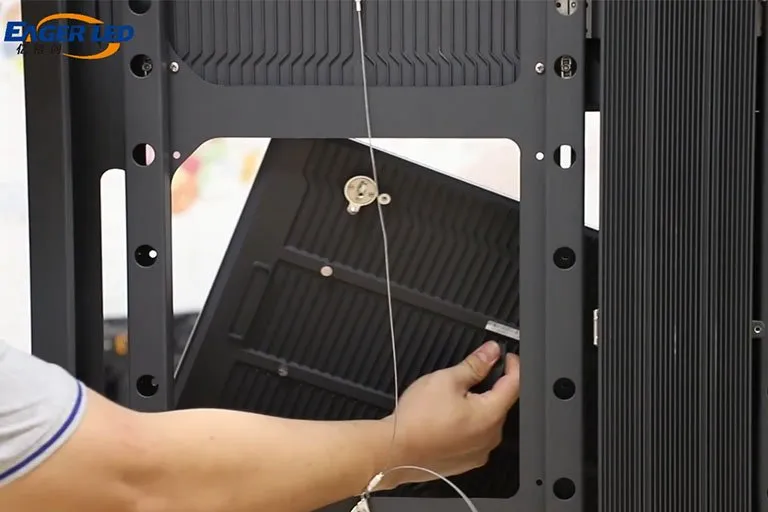
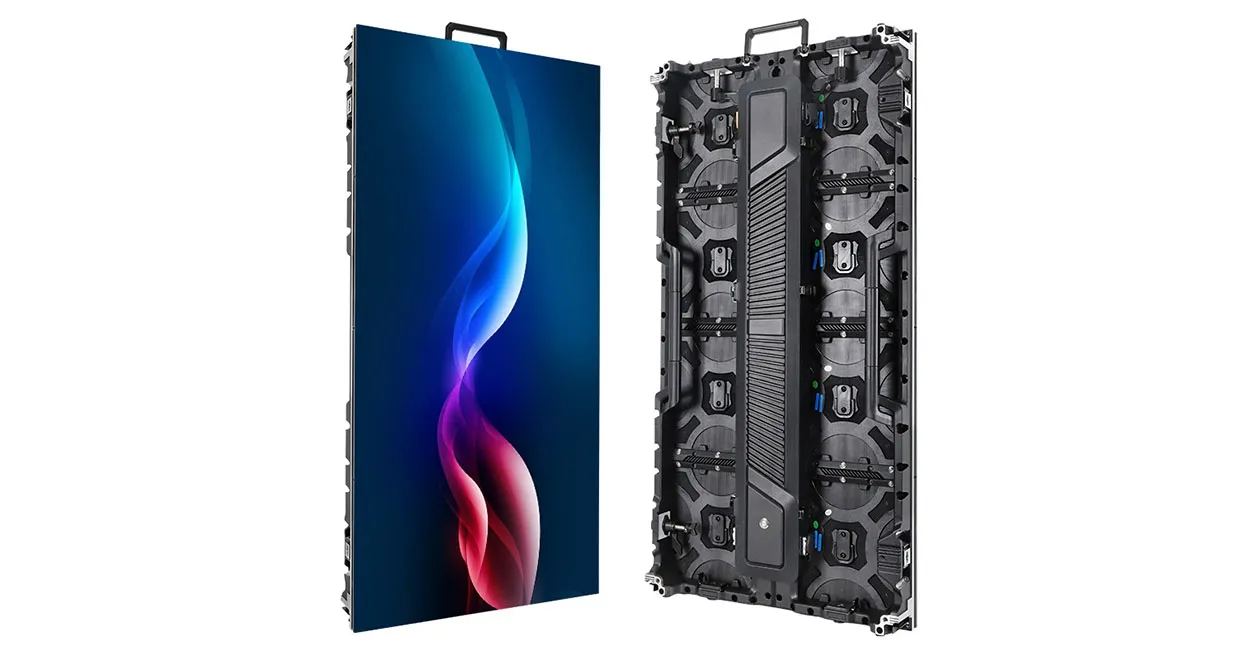
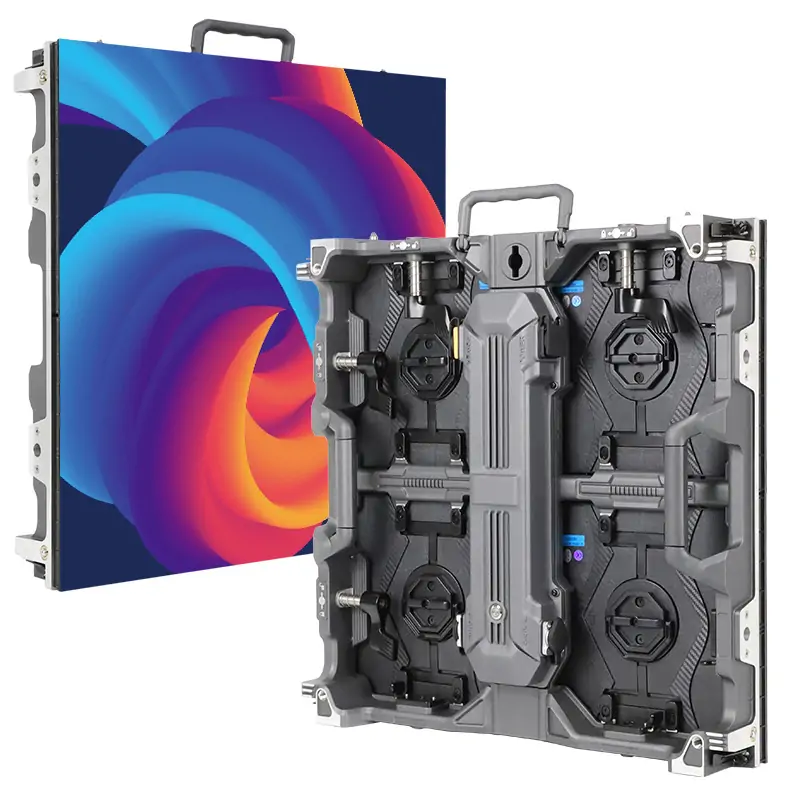
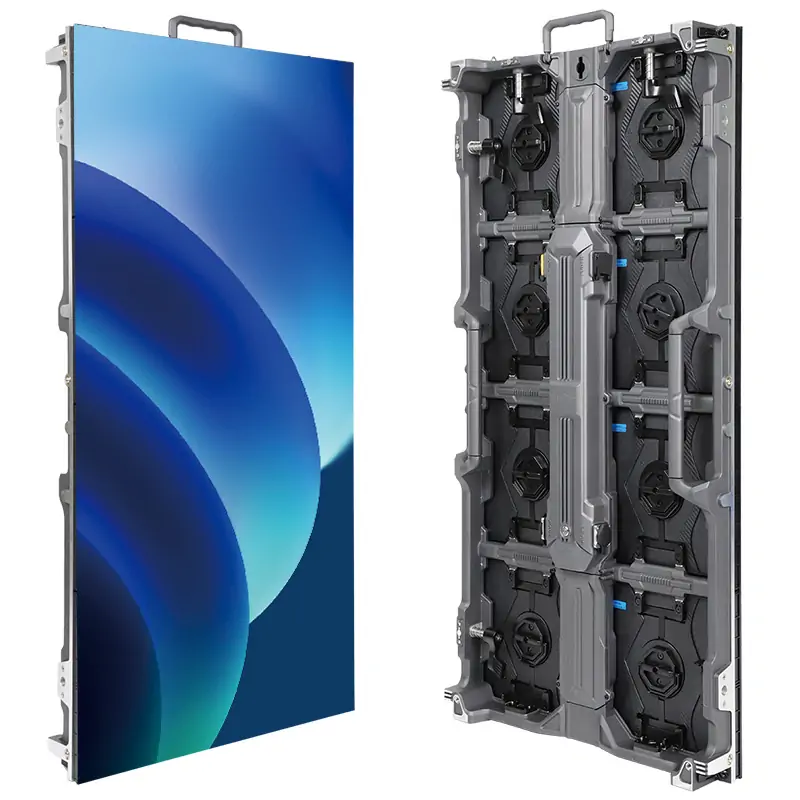
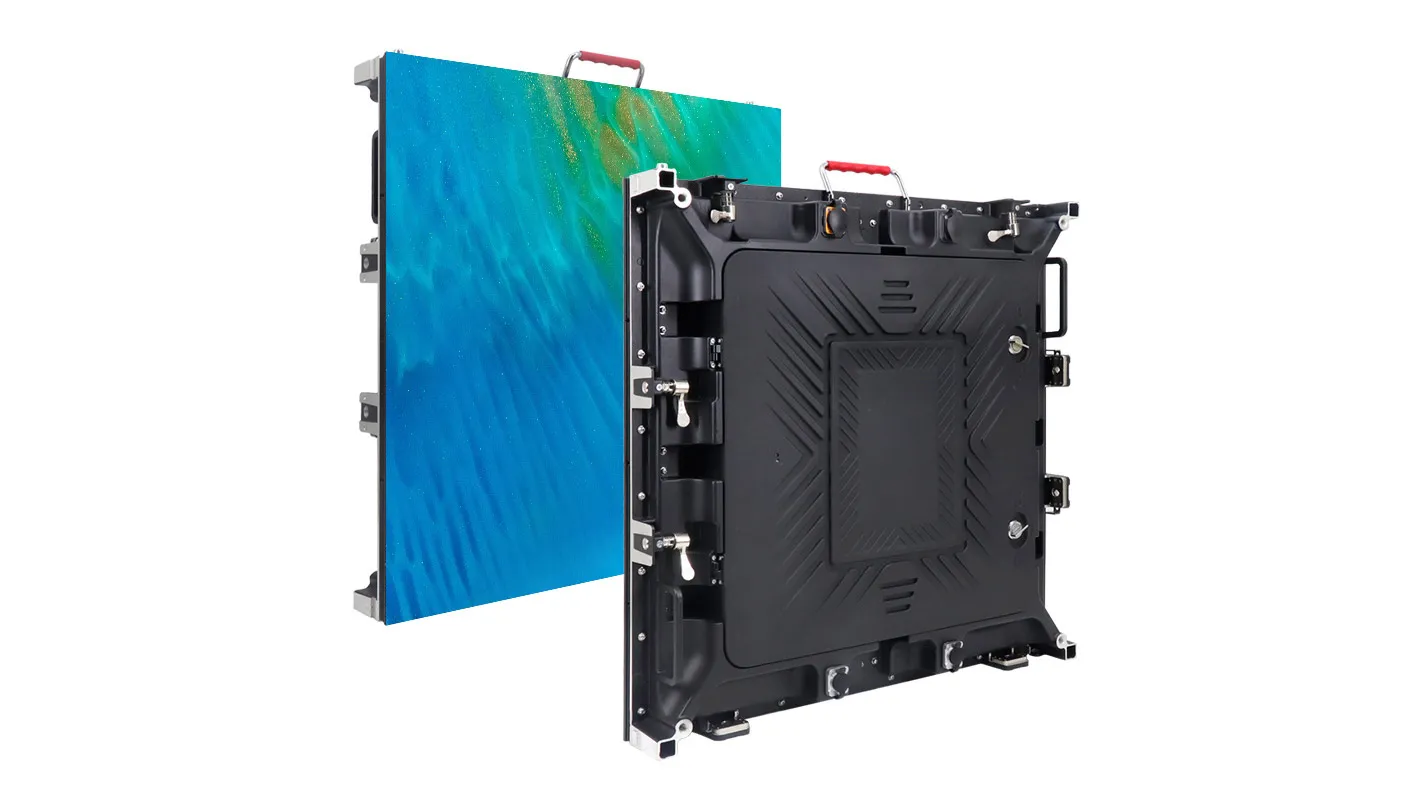
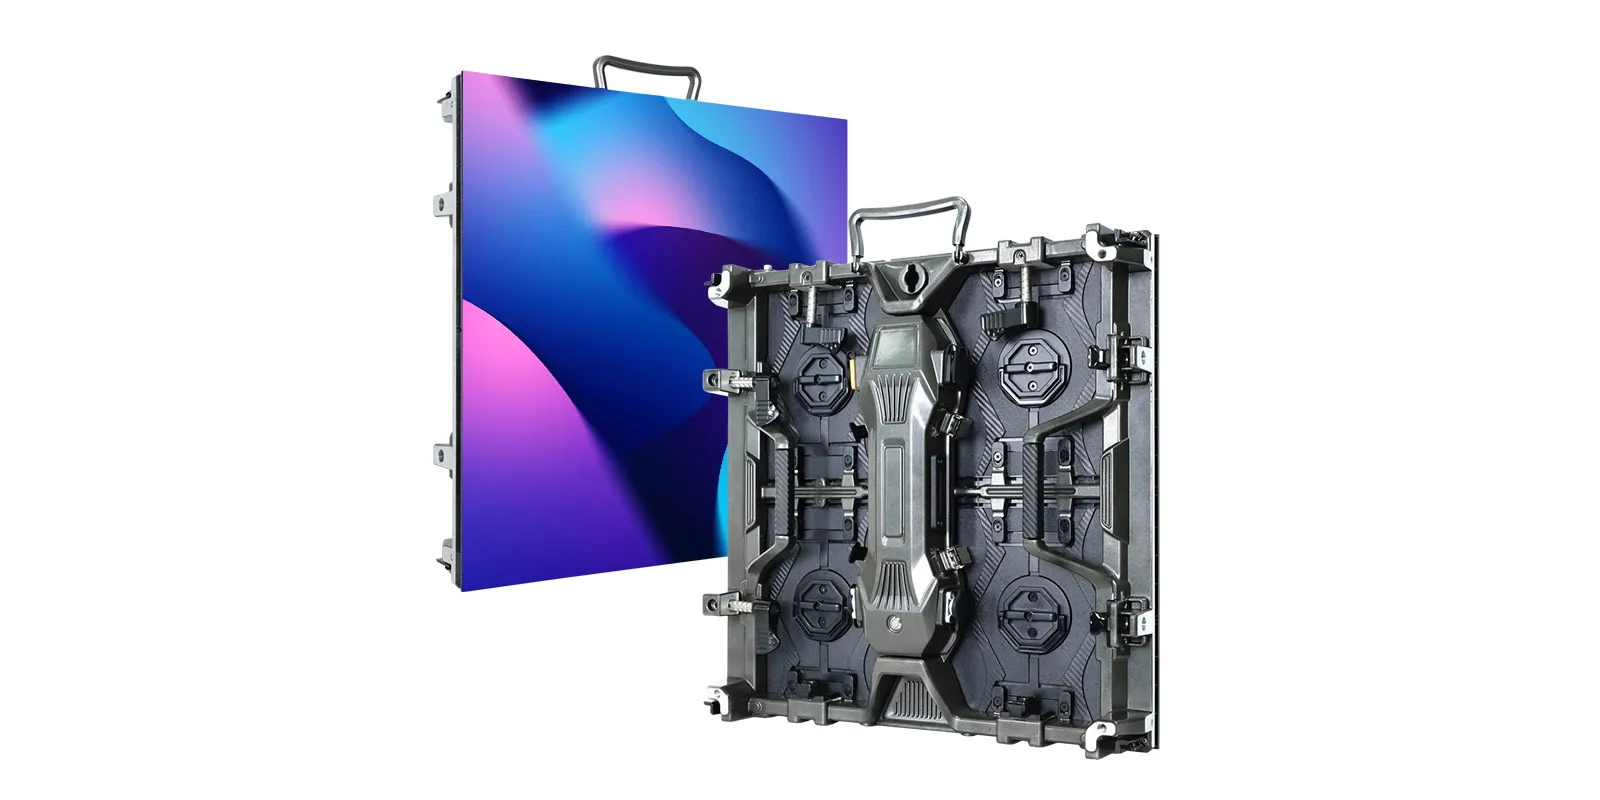
You will need the following tools to install the EagerLED EA640F2 Front Service indoor LED Display : electric drill, wrench, hammer. Here are the detail installaion steps below:
Step 1: Installing the bracket
- Install the LED screen in a location that is near the power source and with enough room to accommodate it.
- Assemble the bracket in accordance with the instructions and ensure that the connections are secure.
- Use a tape to measure the distance between the bracket and the wall. Use a spirit-level to ensure that the bracket is at level.
- Use a suitable drill to drill pilot holes at the locations marked on the wall. Insert wall anchors in the pilot holes.
- Use screws to attach the support frames to the wall. Check the level of the frame with a spirit-level.
Step 2: Attach the cabinet to the support frame
- Install the power supply unit in the cabinet and connect the cord to the outlet.
- Place the cabinet on the frame support and ensure that it is securely attached.
- Connect the data cable with the receiving card and ensure a firm connection.
- Connect the power cord to the LED module. Make sure that the connection is secure.
Step 3: Installing the LED Display
- Install the control card in the cabinet and connect the data cable between the control card and the receiving card.
- Turn on the power switch to check that the LED module is working properly.
- Configure the LED display according to your needs using the software that the manufacturer provides.
- Test the display one last time to ensure it works properly.
The EA640F2 Front Service indoor LED Display has now been installed successfully and is ready for use.
Related Posts
Fill In Your Needs In Detail
Fill in the screen usage scene and size you need in “Content”.You will get a quote.

