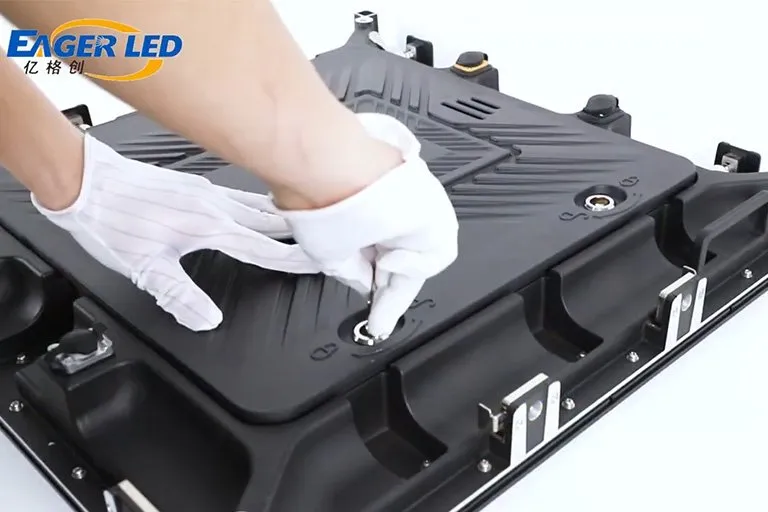
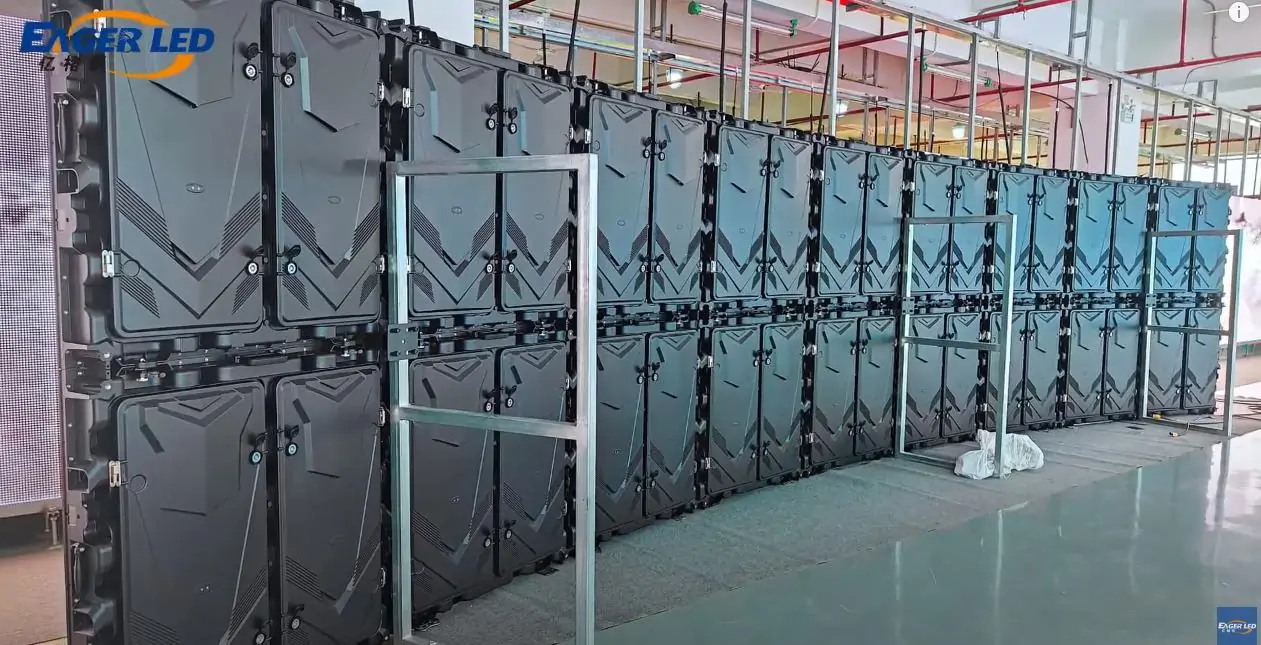
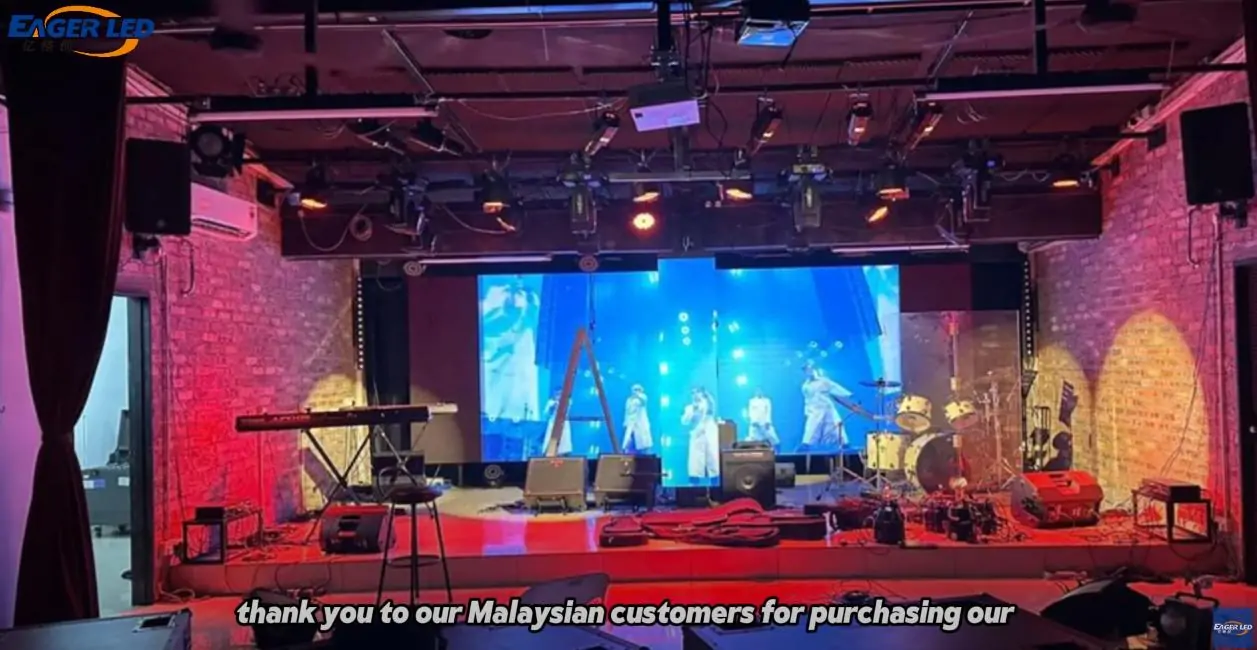
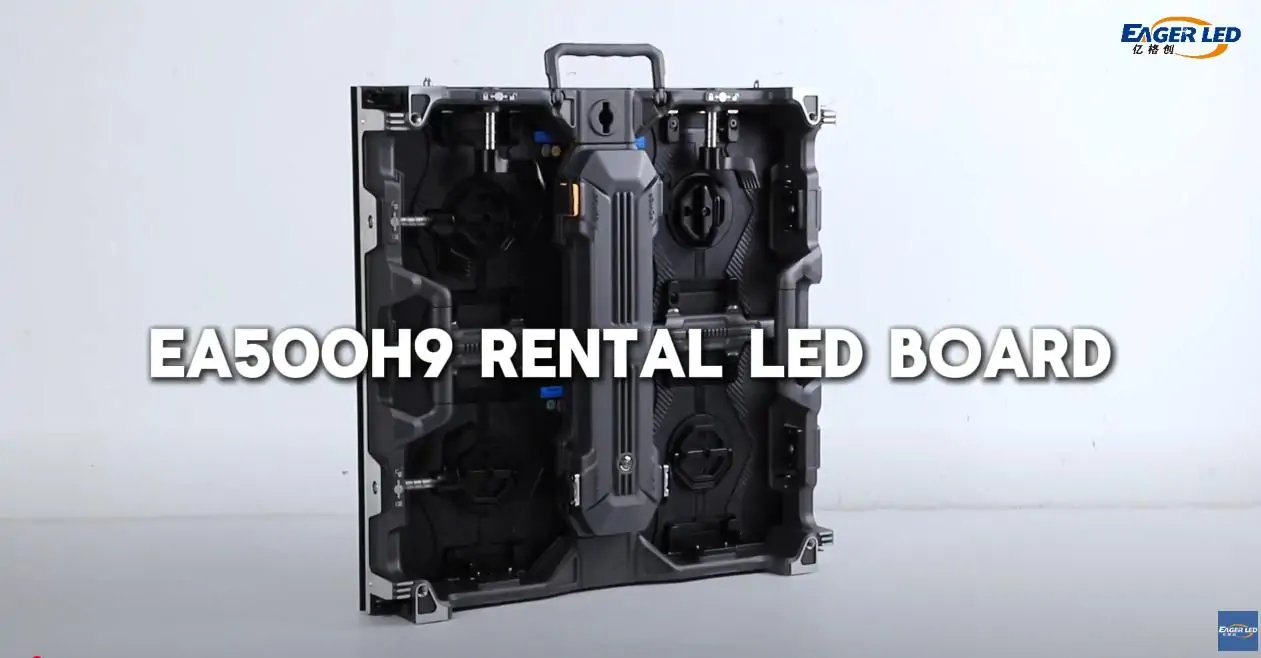
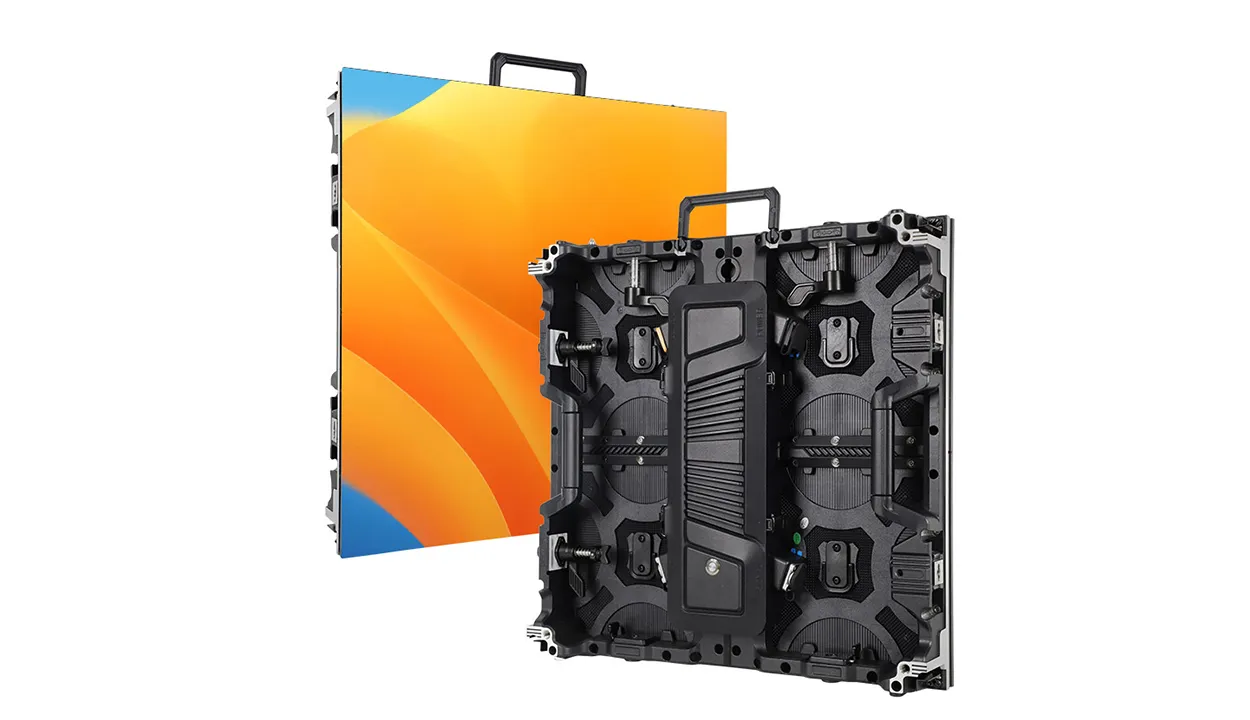
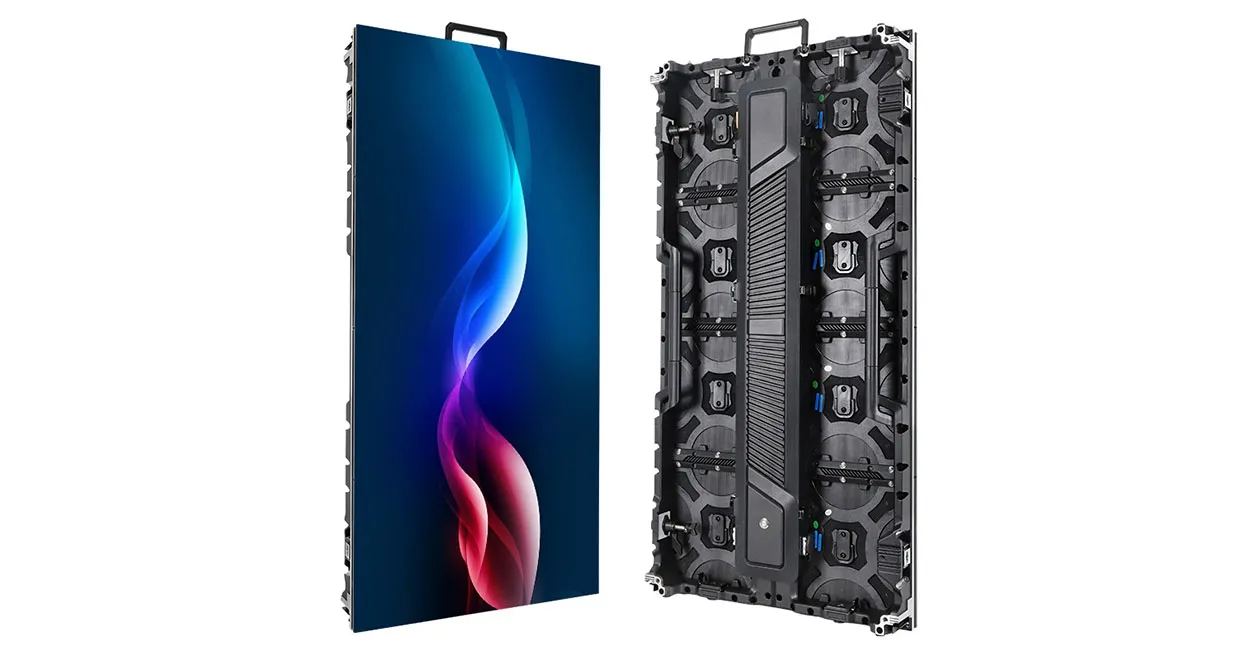
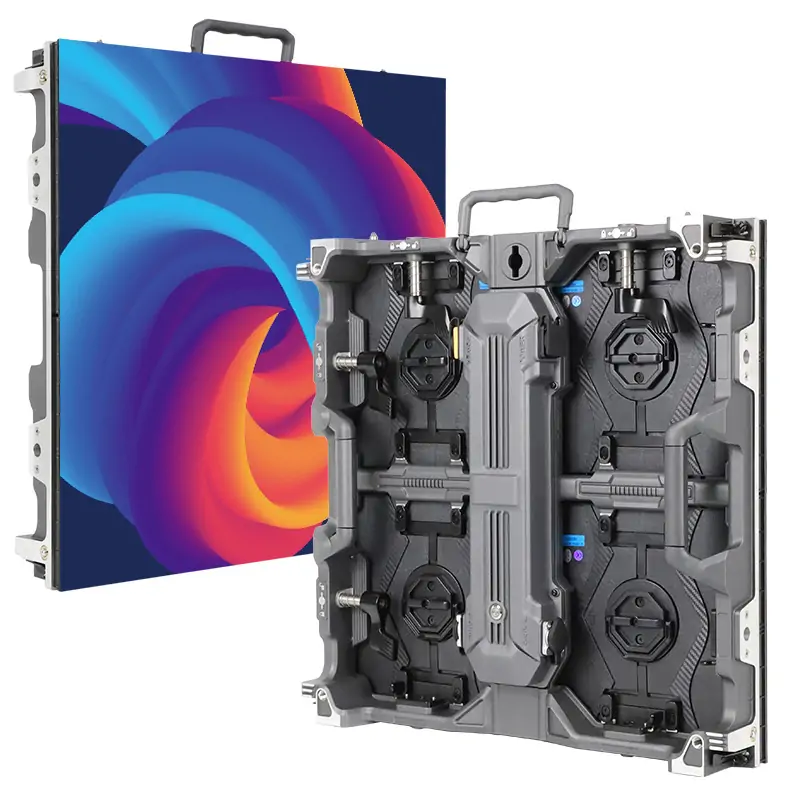
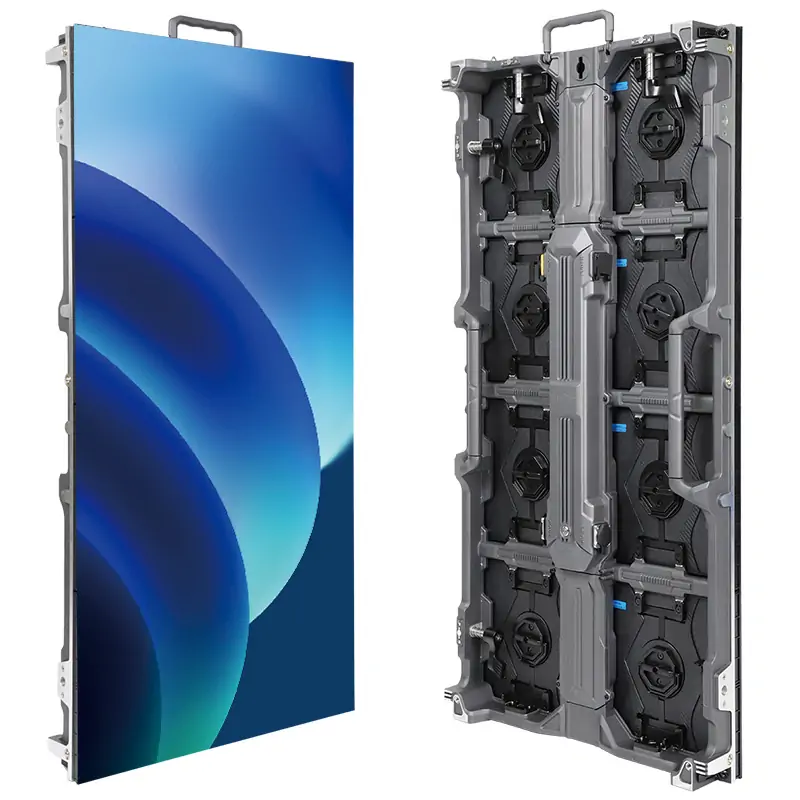
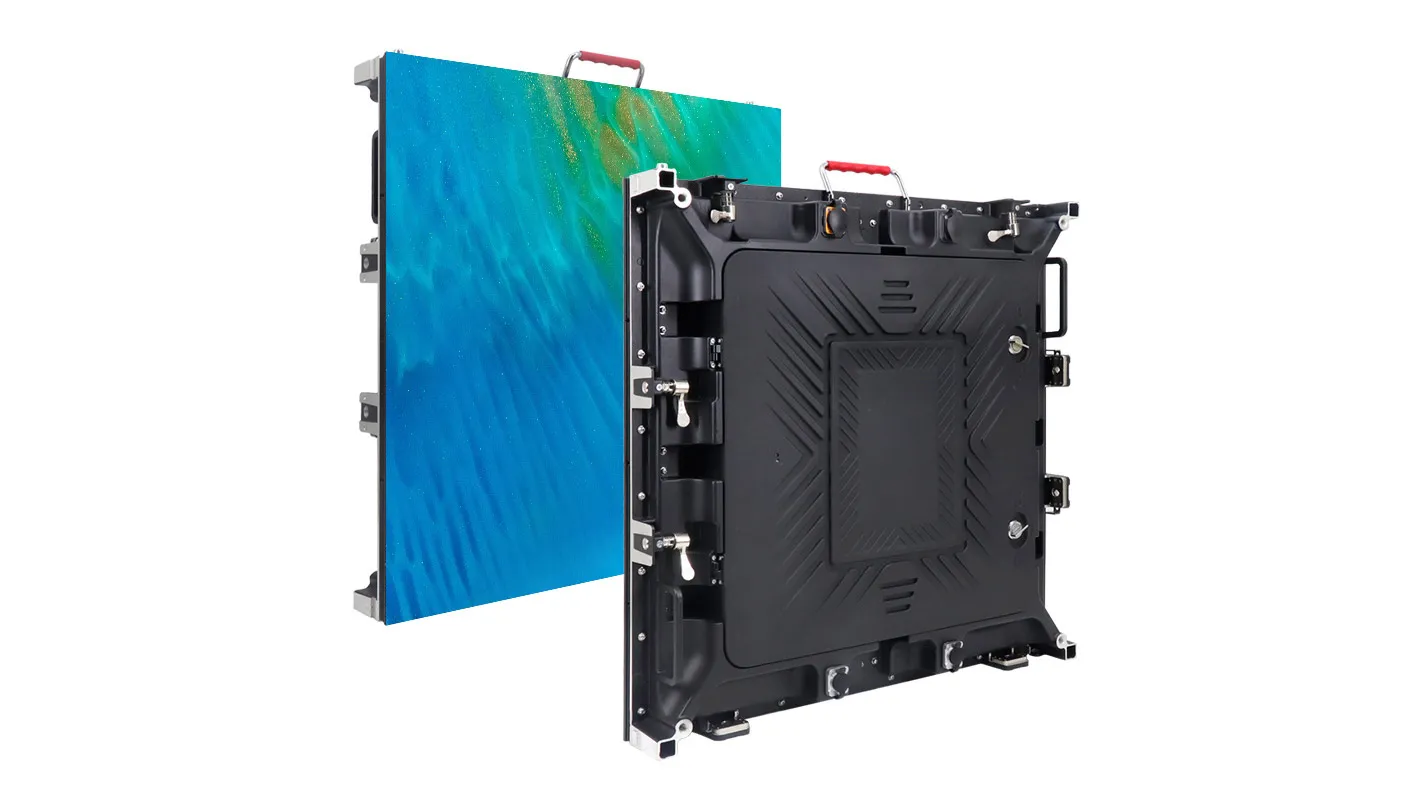
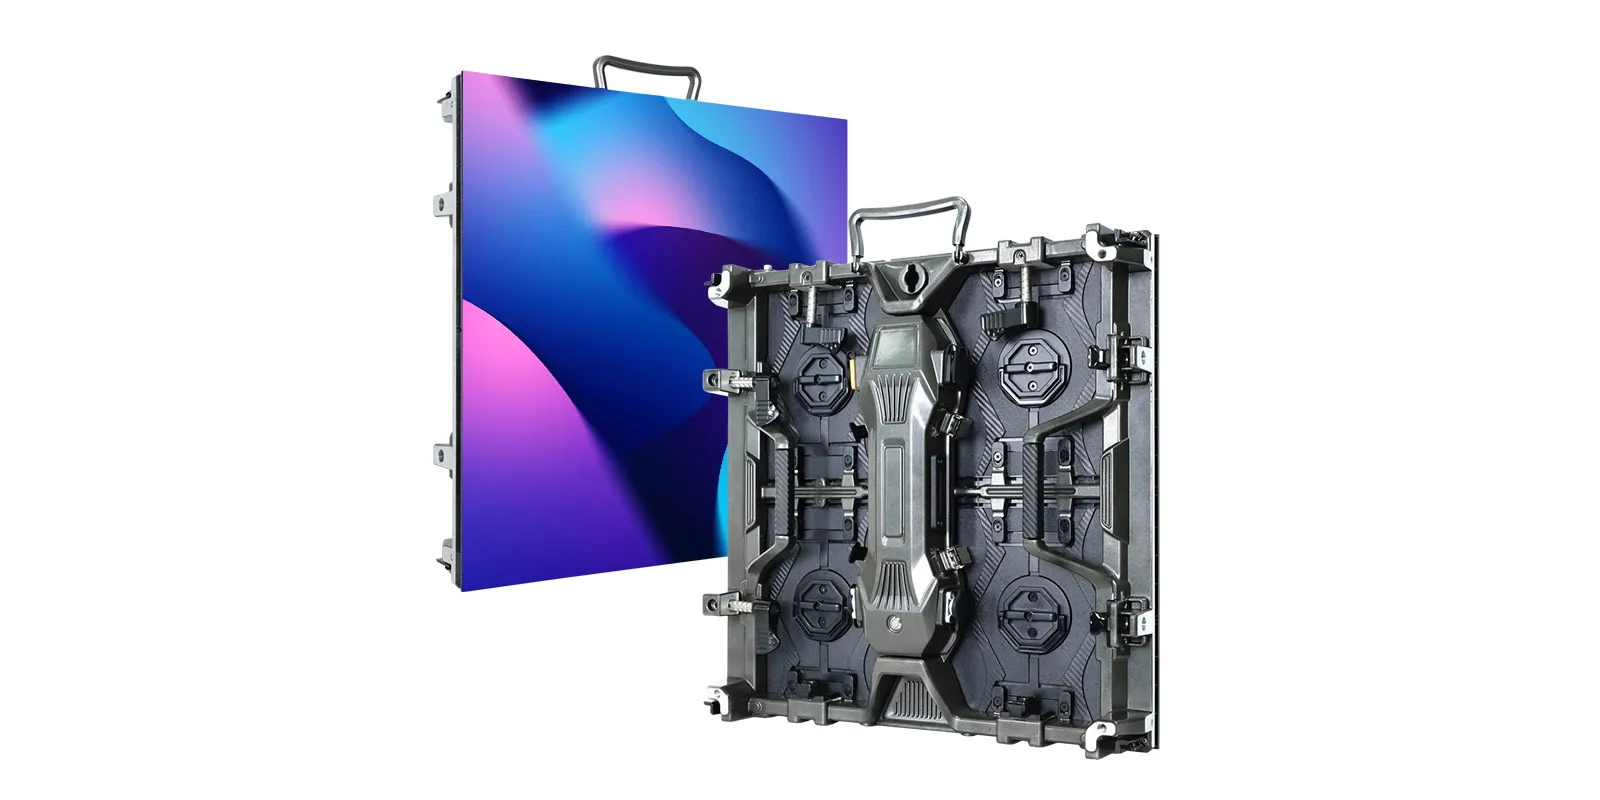
This video provides a comprehensive installation tutorial of 500x500mm EA500C3 rental LED displays with inner and outer arches. It also teach you how to connect data cables and power cable between all cabinets.
Step1: Assemble the cabinet
- The Quick Lock design on the left side and right side of the EA500C3 rental LED displays can help to speed up assembly and improve the flatness of the screen.
- Fasten the quick locks on the left and the right side to fix the cabinet
- Install each LED display module from left to the right. Align the joints, and then fasten the module
- The high-precision curvature lock is used between each group LED displays to ensure flatness and accuracy
- Place the LED display according to the layout specified by the site. This will ensure that it is in a stable and fixed position.
Step2: Connect the power and signal cables
- Install all cabinets first and check the direction of the connections and the position of each cabinet.
- Connect the power cables and data cables between cabinets
- Test whether the LED screen displays normally and do a aging test
Installation of Eager LED’s 500x500mm outer and inner arc EA500C3 LED rental screen can be done quickly and easily. You will be able create a high quality LED display by following the steps above.
Related Posts
Fill In Your Needs In Detail
Fill in the screen usage scene and size you need in “Content”.You will get a quote.


