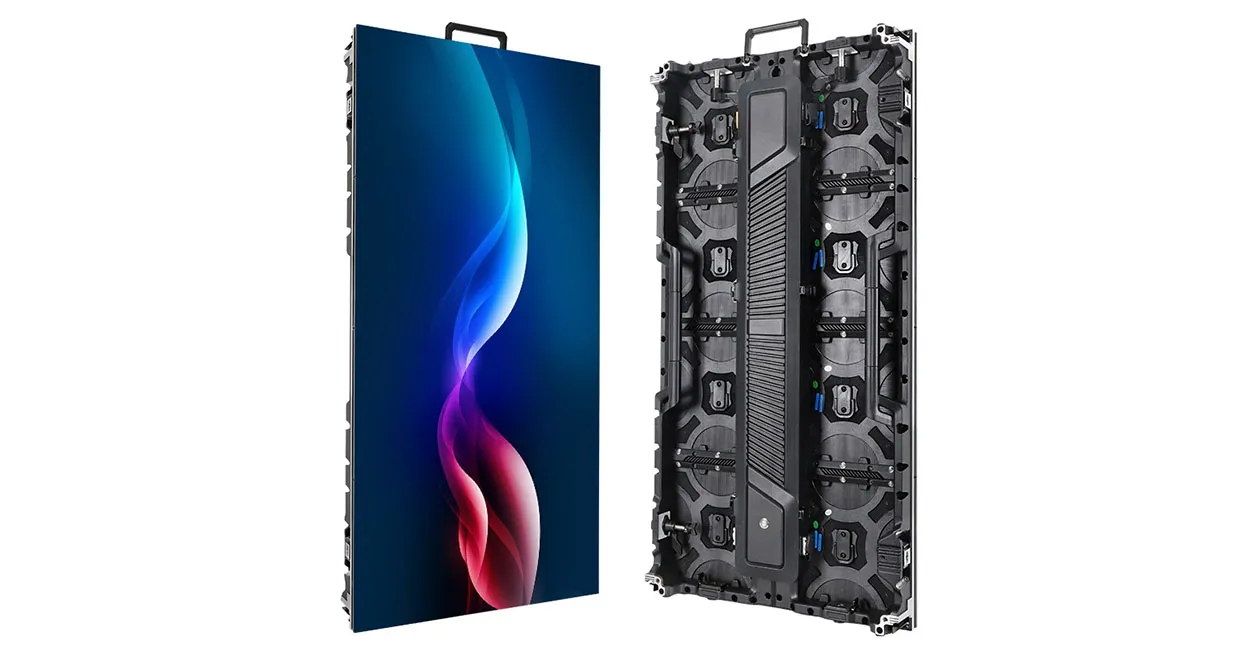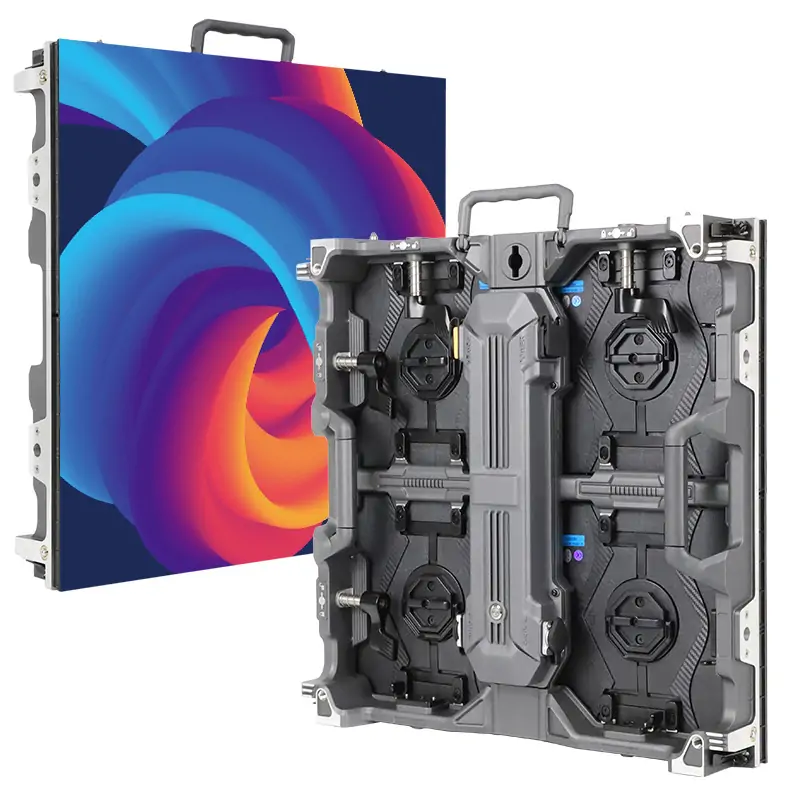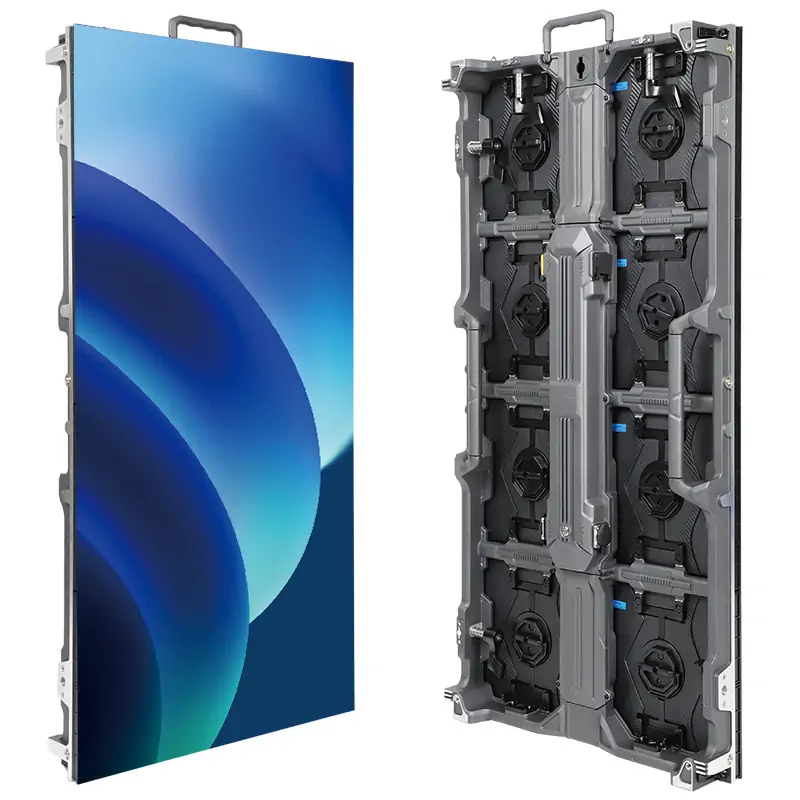
An LED dance floor is a modular surface that lights up underfoot. Some systems create decorative patterns, some play full-motion video, and some use sensors to change the picture when people step on it. For an event production team, the right choice depends on what the floor must show, who will use it, and how the venue can support it.
Start with the venue drawing and the show brief. This guide explains how to turn them into a tile layout, specify an interactive effect, and compare an LED dance floor rental with a purchase on the same scope.
1. Qu'est-ce qu'une piste de danse LED ?
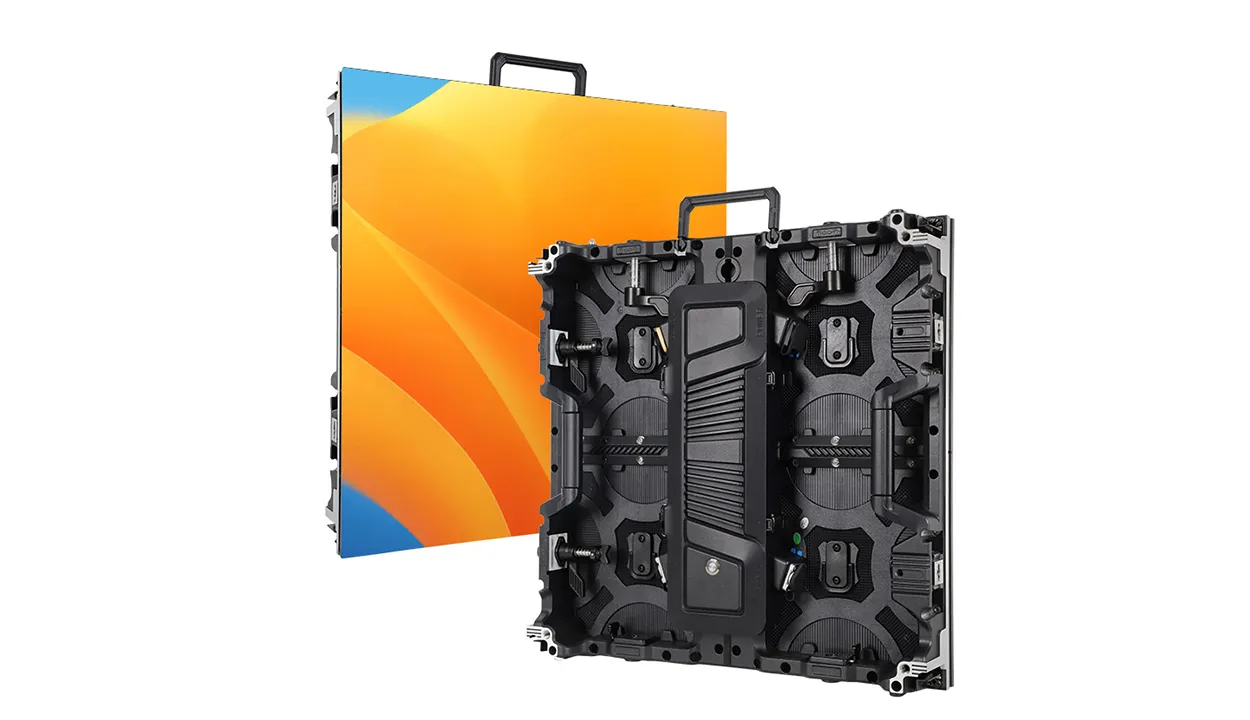
An LED dance floor combines a walkable surface with built-in lighting or a video display. A commercial video system typically uses cabinets with LED modules, protective faces and a specified support system. The cabinets connect mechanically and share power and data across the layout. A media player supplies the content, while a processor and receiving electronics map the picture to the cabinets.
The term also covers decorative dance tiles with much simpler controls. A wedding floor with tiny white lights can look polished in photographs and run from a preset without a video processor. A video floor can render a moving graphic or logo across its entire surface. An interactive LED dance floor adds a sensing and software layer so the picture can respond to activity. These distinctions matter when comparing quotes that all use the same product name.
Ask what the vendor means by a “panel.” It could be a complete cabinet that locks into a floor, an LED module that fits inside a cabinet, or one decorative tile. Get a line item for each complete cabinet and a separate list of what it takes to assemble a working floor. The EagerLED floor screen overview provides a starting point for discussing walkable display systems.

2. How LED Dance Floor Tiles and Controls Work
01. Follow the video and control paths
On an LED video dance floor, the media source sends the show image to a processor or controller. The controller maps that image to the tile grid. Receiving electronics tell each cabinet which pixels it needs to display. The cabinet layout, input format, controller configuration, and content file all have to agree. If a cabinet is rotated or patched incorrectly, the floor can still light up while part of the graphic appears in the wrong place.
Ask for the pixel map with the physical tile grid overlaid. The media team can use it to position titles, maintain the intended aspect ratio, and avoid putting fine details on seams. Mark the audience side and the main camera direction on the drawing. A logo that reads correctly from the entrance may be upside down from the camera position. If the audience approaches from several sides, a graphic with no fixed reading direction may work better.
02. Specify what an interactive response should do
An interactive LED dance floor needs a way to detect activity and convert it into an effect at the right position. The system may use sensors in the floor or an external tracking system. Ask how many simultaneous interactions the proposed setup handles, how it treats adjacent footsteps, and how the content behaves if detection drops out. The test should include several people moving at once. A demo with a single operator can hide effects that merge or trigger the wrong zone in a crowd.
Write the behavior in a sentence a technician can test. For example, “When someone steps into either of two marked areas, a ripple starts in that area and finishes without stopping the other ripple.” Decide whether the operator needs to clear the effect, switch to ordinary playback, or restart the interaction during a live cue. The EA500RF2 product page describes an indoor model with an optional interactive configuration. Confirm what hardware and software are included in the quoted version.

3. Starlit vs. Video vs. Interactive LED Dance Floors
Choose a starlit or pattern tile for a lighting effect, a video floor for a continuous image, and an interactive system when the show depends on a response to people’s movement. Each step adds setup or content work. An LED dance floor for a wedding reception may need only a consistent look for the first dance. A launch event might need a video cue timed to the stage wall. A branded game needs reliable position detection.
| Type de plancher | Fits these briefs | Check before approving |
|---|---|---|
| Starlit or patterned tiles | Twinkling dots, color washes, simple patterns | Ask to see the actual presets and whether the remote can recall the same look after a restart. |
| Infinity mirror tiles | A sense of depth with repeated reflections | View a sample under venue lighting and at the intended camera angle. Judge whether the mirror effect suits the event. |
| Video LED floor | Sponsor graphics, animated surfaces, video synchronized with a backdrop | Get the native canvas and check the complete feed, including the source, processor and playback controls. |
| Interactive video floor | Footstep effects, visitor games, tracked performance cues | Get a written list of sensors, licenses and integration work. Test several simultaneous users and the fallback cue. |
A conventional portable dance floor paired with lighting can meet some briefs with less equipment on the ground. Projection can put a graphic on a floor without placing display electronics under dancers, although people may cast shadows and ambient light can reduce contrast. Compare these options with the lighting designer using a sample from the actual show. If the only video cue is a logo at one point in the evening, ask whether that moment warrants a full LED dance floor.
4. How to Size an LED Dance Floor for Your Venue
01. Draw the usable footprint before counting tiles
For a rectangular LED dance floor, divide the planned active width and depth by the corresponding cabinet dimensions. Use the supplier’s actual dimensions and confirm that the chosen orientation is supported. If the result is fractional, choose a whole-cabinet layout that fits the usable space and verify the finished footprint with the supplier. For example, a 4 × 4 m active area uses an 8 × 8 grid of nominal 500 × 500 mm cabinets, or 64 before spares. The full installation also needs space for perimeter transitions and cable paths.
Get the venue drawing with doors, columns, equipment positions, guest circulation and camera angles marked. Sketch the perimeter and ask where the crew can bring cases in, stage them and remove them before doors open. Plan for guests who leave the LED dance floor on a different side from where they enter. A square layout may fit the room on paper but still create a pinch point at a bar or exit.
02. Separate physical dimensions from resolution
Ask for the native width and height in pixels after the grid is fixed. A 4 × 4 m floor is square, so a 16:9 video must be adapted, cropped or letterboxed. The camera may see a trapezoid because it views the floor at an angle. Preview the important artwork from the intended position and allow extra room around text or a mark that must remain readable. The video team should have the real LED dance floor canvas early enough to prepare content.
| Contribution à la planification | Give the vendor | Attendez-vous à un retour |
|---|---|---|
| Espace disponible | A marked room plan with the intended active area | Cabinet grid, complete footprint and edge treatments |
| Flux des invités | Entry, exit and accessible routes | Proposed transitions and cable paths for venue review |
| Position de la caméra | Lens angle, working distance and test footage | A demonstration at expected brightness and camera settings |
| Contenu | Aspect ratio, cue list and a sample graphic | Pixel map, accepted formats and a fallback image |
| Date d'arrivée | Loading route, setup window and case storage | Case count, handling plan and crew time |

5. Load Ratings, Slip Resistance and Outdoor Use
01. Ask how the floor was tested
A load rating only helps when you know what was tested. A load distributed across a surface differs from weight concentrated on a heel, caster or stand leg. Movement introduces another consideration. For an LED dance floor, ask for the test basis for each permitted use and the exact support layout underneath the cabinets. Share the heaviest props and equipment you expect on it, including contact footprints and whether loads roll or move.
The panel rating does not establish the capacity of the venue floor, platform or temporary stage below it. Send the finished assembly weight and proposed loading to the venue and the qualified people responsible for the installation. If the show needs a scenic structure, a rolling riser or audience equipment on the LED dance floor, get those cases reviewed explicitly. Keep unapproved loads off the installed surface.
02. Verify surface and edge behavior in the venue
Request the slip test method, the surface condition used in testing, and approved cleaning products. Dry, freshly cleaned and wet surfaces can behave differently. Discuss footwear expected at the event and who can pause access if there is a spill, a raised seam or loose trim. Walk the approved edge transition with the venue team under show lighting. A protective coating or textured cover alone does not tell you how the assembled surface performs.
For an outdoor LED dance floor, ask which surfaces, connectors and assembled configurations the ingress protection documentation covers. The IP code in IEC 60529 describes enclosure protection. It does not establish slip resistance, load capacity or suitability for every exposure. Plan for drainage around the floor, moisture under it and weather-related closure criteria. The EA-OFloor outdoor floor display illustrates a system intended for outdoor applications. Use the documentation for the exact configuration proposed for your site.
| chèque de l'acheteur | Preuves à demander | What to agree on site |
|---|---|---|
| Distributed and concentrated loads | Test conditions, support drawing and permitted load cases | Allowable equipment, footprints and movement |
| Traction de surface | Slip test method and dry or wet test conditions | Footwear policy, spill response and cleaning method |
| Transitions de sol | Edge profile and assembled height | Accessible routes, perimeter visibility and cable crossing locations |
| Exposition | Ingress documentation for the proposed cabinet and connections | Drainage, weather monitoring and stop conditions |
| Distribution électrique | Maximum draw, startup behavior and power plan | Approved circuit capacity and isolation points |

6. Where an LED Dance Floor Works Best
01. Weddings, parties and receptions
A wedding LED dance floor often needs an attractive look in photos, straightforward operation and a reliable first-dance cue. Ask the photographer to test a sample under the planned lighting. A bright white pattern may compete with faces in a wide shot. A quieter floor look can keep attention on people while still giving the room a focal point. Agree who triggers the cue and what the floor displays during dinner or speeches.
02. Brand activations, stages and recurring venues
For a brand activation, specify the visitor journey before you specify sensors. Decide where people first see the effect, how they learn what to do, and what happens when a group moves through together. For a nightclub or another recurring venue, include who cleans and inspects the surface after each show. A floor that performs well on opening night also has to be practical to service between bookings.
A stage LED dance floor can extend a visual from a backdrop onto the stage. Make the content handoff explicit. A wall and a floor may use separate controllers and different pixel maps, even when they share a cue. Test for mismatched timing and check how the two displays look from camera positions and seats. See the EagerLED wedding LED wall guide if the brief also includes a backdrop.

7. LED Dance Floor Rental vs. Buying
Rent an LED dance floor when the venue, layout or date changes and the production team needs the vendor to bring equipment, crew and backup parts. Buying can make sense for a recurring venue or an event supplier with enough repeat use, space for cases, trained staff and a repair plan. Before committing to an interactive fleet, rent or arrange a demonstration of a representative system and record the work involved in making one effect reliable.
Compare quotes for the same active area and service level. Ask what changes in the price if you specify a finer pixel pitch, a different edge layout or interactive controls. Check whether a rental day rate covers delivery, rehearsals, overnight holds and teardown. For purchases, confirm which costs are one-time and which recur, such as a software license or service contract. Request a separate price for any optional equipment the show can run without.
| Élément de coût | Ask a rental vendor | Ask a seller |
|---|---|---|
| Floor, trim and control | Which components and spare tiles come with the booking? | Which cabinets, ramps, controller and distribution items are included? |
| Delivery and people | Are setup, rehearsal, operation and teardown priced separately? | What cases, handling equipment and training are included? |
| Content and interaction | Are custom graphics, licenses and a technician included? | What software, sensors and ongoing fees are required? |
| Temps d'arrêt | Who brings replacements and how quickly can they respond? | Which modules are serviceable and what parts should be stocked? |
| Modifications et annulations | What happens if venue access, schedule or weather changes? | What happens if the project later needs more compatible cabinets? |
To estimate how many events it takes to break even, add the upfront purchase and training costs to fixed ownership costs over your planning period, such as storage and annual service. Divide that total by the savings per event, calculated as the comparable rental cost minus what it costs you to transport, set up, operate and maintain the floor for one event. Round up to a whole event. If the savings per event are zero or negative, the purchase does not break even on direct costs under those assumptions. Run the estimate again with fewer bookings, and account for overlapping dates that could still require a rental.
8. What to Put in an LED Dance Floor Quote Request
Send a one-page brief with the event date, venue address, active dimensions and layout. State whether you need decorative lighting, a full video canvas or an interactive response. Include the room drawing, planned loads, any outdoor exposure, camera needs and the work window. A vendor can then quote an LED dance floor as a complete installation and make any exclusions explicit.
01. Ask for a drawing and a line-item quote
Ask bidders to mark the tile grid, transitions, support system, service direction and routes for power and data. Have them separate the cabinets, spare modules, processor, distribution, perimeter parts and transport. For a touring LED dance floor, ask whether floor and wall hardware can be packed or serviced together. Treat interchangeability as something to verify by part number, connector and documentation.
02. Define what the crew must demonstrate
Ask for a representative acceptance test before the public uses the LED dance floor. The crew should show the assembled perimeter and transitions, play a solid-color sequence across cabinet boundaries, load the show artwork and demonstrate the fallback cue. Ask how a failed tile is isolated and replaced under the manufacturer’s procedure, and how the operator checks the restored image. For interactive jobs, bring enough people to simulate actual traffic rather than testing only one step at a time.
Agree who takes responsibility for the handover. The venue and production leads should know the approved uses, any areas that stay clear and who handles faults or spills. Request the final map, operating instructions and compatible spare part numbers. If evaluating construction and service access, the EagerLED LED floor screen supplier guide covers a separate set of factory and supplier checks.

9. FAQ
10. Conclusion
Choose an LED dance floor by matching the visual brief to the venue and the crew that will run it. A starlit floor can be enough for a decorative look. A video floor needs a mapped canvas and tested playback. An interactive floor also needs a defined response and a realistic multi-user test. Once those choices are clear, use the same footprint and service scope to compare rental and purchase quotes.
Envoyer EagerLED your layout, schedule, expected loads and sample content for a configuration review. Contact EagerLED.
 Écran LED extérieur P6 : Spécifications, dimensions et liste de vérification pour le devis
Articles similaires
Remplissez vos besoins en détail
Renseignez la scène d'utilisation et la taille d'écran souhaitées dans la section « Contenu ». Vous recevrez un devis.