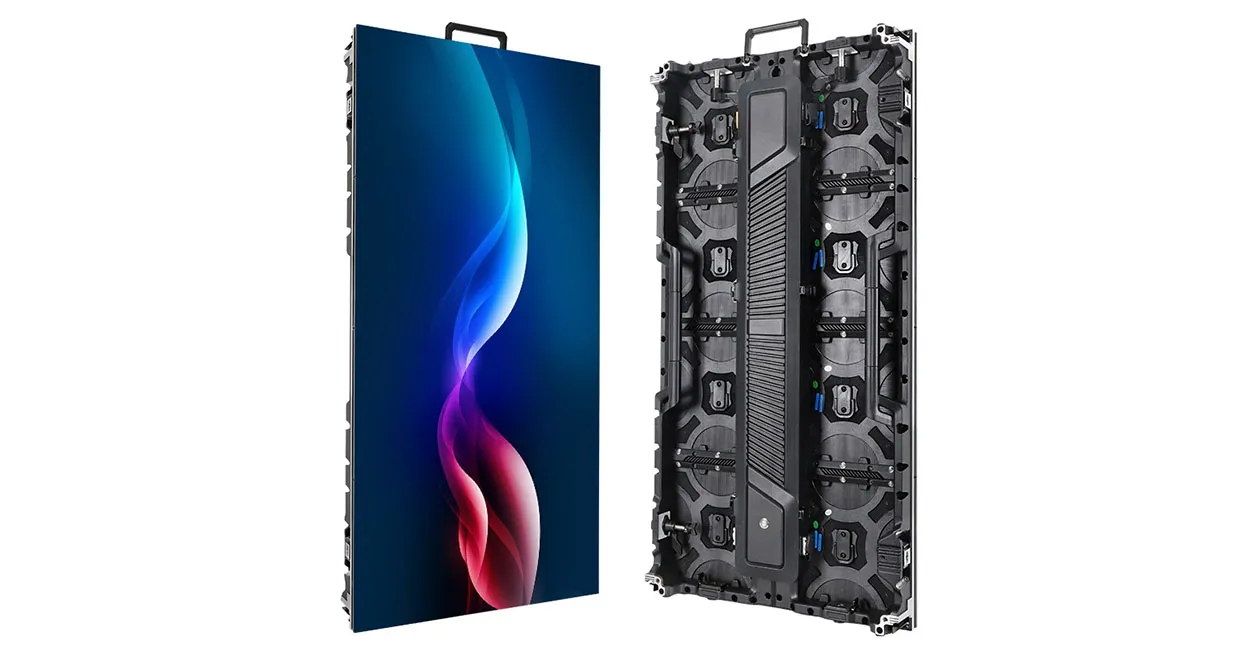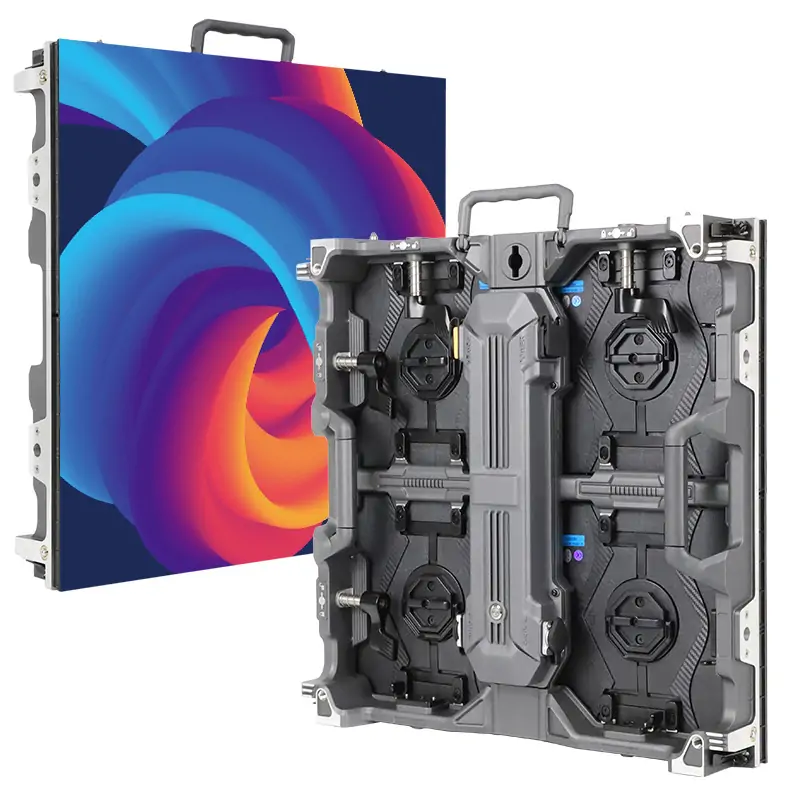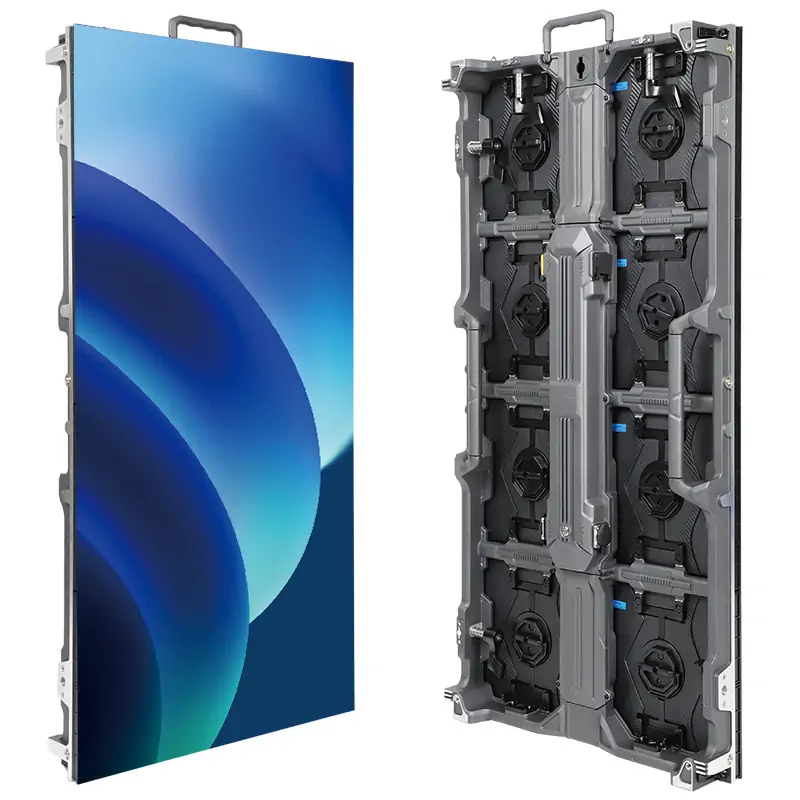
Indoor LED screen installation uses one of five common methods: wall-mounted on a bracket or steel frame, recessed flush into a wall, hung from a ceiling beam or truss, floor-standing on a stand or base, or built as a corner, curved or column shape. Which one fits depends on what the wall, ceiling or floor can carry, how much depth the room allows, how the screen will be serviced, and where the audience sits. Indoors, depth and service access usually decide more than weather does.
This guide is for AV integrators, contractors and venue managers planning a permanent indoor screen in a lobby, retail store, meeting room, church or showroom. It compares each indoor LED screen installation method, explains why front service is so common indoors, lists what to prepare before the cabinets arrive, and walks through the usual sequence on site.
If your screen is going outside, the structure and weather questions are different; our guide to outdoor LED screen installation methods Dieser Fall ist abgedeckt.
1. What Are the Main Indoor LED Screen Installation Methods?
The main indoor LED screen installation methods are wall-mounted, recessed, hanging, floor-standing and shaped builds such as corners, curves and columns. Each one is a different way of carrying the cabinets’ weight to a wall, ceiling or floor while leaving room for cables and service.

| Methodik | Typische Verwendung | Was trägt die Last? | Hauptprüfungen |
|---|---|---|---|
| An der Wand montiert | Lobbies, meeting rooms, retail walls, churches | Brackets or a steel frame anchored to the wall structure | Wall type and capacity, flatness, service access, cable entry |
| Recessed / flush | Feature walls, control rooms, high-end retail | Frame inside a wall opening or niche | Front service, ventilation, exact opening size |
| Hängende | Atriums, auditoriums, stages, malls | Hanging bars and rated rigging from a beam or truss | Ceiling capacity, rigging rating, safety lines |
| Bodenständig | Exhibitions, entrances, temporary stages, LED floors | Stands, bases, ground-stack frames or floor supports | Floor load, stability, protection from people and trolleys |
| Corner, curved, column | Showrooms, brand stores, pillars, museums | Shaped frame or cabinets with angle locks | Cabinet joints, content for the shape, frame accuracy |
Indoor screens rarely face wind or rain, so the structure is usually lighter than outdoors. The trade-off is space: indoor screens are viewed from closer, use finer pixel pitches, and often have to sit within a few centimeters of a finished wall. That pushes most projects toward slim, front-service cabinets.
2. Wall-Mounted Indoor LED Screen Installation
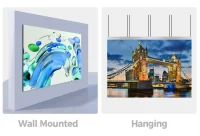
Wall mounting is a widely used indoor LED screen installation method because most rooms already have a wall facing the audience. The cabinets are fixed to brackets or a steel frame, and the frame is anchored to the wall’s structure.
01. Bracket or frame on a wall
The installer marks the bracket positions, drills the wall, fixes the brackets with suitable anchors, and joins them so they act as one level frame. EagerLED’s tutorial for its P1.25 indoor video wall follows this order: mark and drill the holes using the support bracket as a template, fix the brackets with expansion bolts, then connect neighboring brackets with connecting iron pieces before any cabinet goes up. On lighter walls, a separate steel frame spreads the load to the floor or to structural points.
Check the wall before choosing anchors. Concrete, brick, steel stud and timber walls each need different fixings, and plasterboard alone cannot carry a video wall. If the wall cannot take the load, a floor-supported frame standing just in front of it is the usual alternative.

02. Recessed or flush mounting
A recessed screen sits in an opening so its face is level with the finished wall. It looks clean, but there is no space behind the cabinets, so front-service cabinets are needed and the opening must be built to the exact screen size plus a small tolerance. Leave a path for warm air to escape, because a sealed niche traps heat from the power supplies.
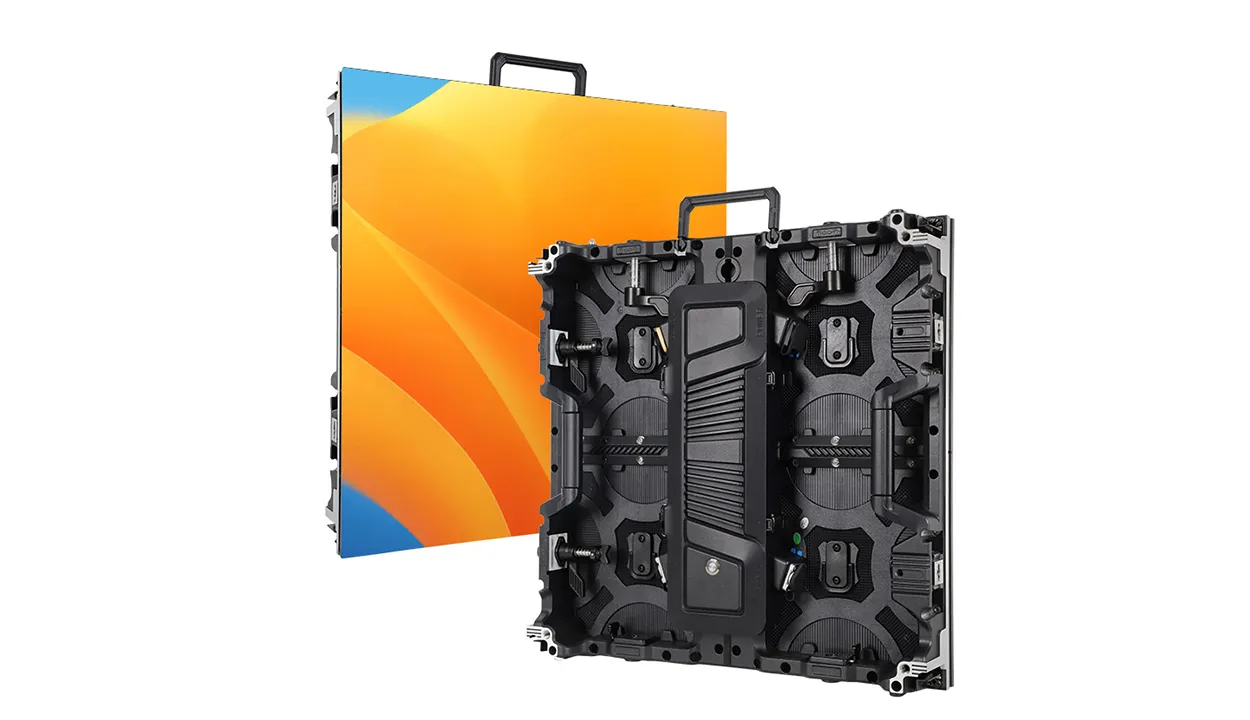
Slim cabinets make both wall methods easier. EagerLED EA250WH5 indoor panel, for example, is listed at 30 mm thick with full front access and integrated HUB wiring, which reduces both the depth needed and the load on the wall or hanging bracket.
3. Hanging and Ceiling Indoor LED Screen Installation
Hanging an indoor LED screen from a ceiling beam or truss frees the floor and wall, and lets the screen sit above crowds in atriums, auditoriums and halls. The cabinets hang from a hanging bar, and the bar hangs from rated rigging.
01. Flown from a beam or truss
The structural engineer or venue must confirm the ceiling point or truss can carry the screen weight, the hanging bar and any dynamic load during lifting. Use rigging hardware rated for overhead loads, add secondary safety lines, and keep the screen’s lower edge clear of people and equipment. EagerLED EA250WH5 lists hanging, wall and column installation among its supported methods.
02. Mounted on or under the ceiling
Some projects place the screen flat on the ceiling or angled under it for immersive spaces, corridors or entrances. This needs a dedicated frame tied into the ceiling structure and careful planning of viewing angles. Our ceiling LED screen guide covers this format in more detail.
Spread the load evenly. A wide screen normally hangs from several points along the bar, and each point should carry its share without relying on the cabinets to hold each other up. Lift the screen in stages, check that the bar stays level after each row, and keep the area under the screen closed to people until the last cabinet is locked and the safety lines are fitted.
For any hanging or ceiling indoor LED screen installation, plan how technicians will reach the screen later. A lift, a scaffold tower or a motorized hoist may be needed for every service visit.
4. Floor-Standing and Ground-Stacked Installation
Floor-standing installations carry the screen’s weight straight to the floor, which suits places where walls and ceilings are unavailable or protected, such as exhibitions, temporary stages and listed buildings.
01. Stands, bases and poster screens
Smaller screens stand on their own bases or frames. LED poster displays are the simplest example: a slim screen on a built-in stand that can be moved around a store or entrance. Larger walls stand on a ground-stack frame with rear braces or a counterweight, so the screen cannot tip forward.

02. LED floors
An LED floor is installed on adjustable supports so people can walk on it. EagerLED’s EA500RF2 GOB floor screen, for instance, uses a floor support system, 500 × 500 mm die-cast cabinets, front maintenance with a vacuum tool, and a listed load capacity of over 800 kg/m². Check the floor beneath is level and strong enough, and protect the edges with ramps.

5. Corner, Curved and Column Installations
Shaped indoor screens wrap around corners, follow curved walls or clad pillars. They attract attention in showrooms, brand stores and museums, but they need cabinets made for the shape and a frame built accurately enough that the joints stay tight.

- Ecken: use right-angle cabinets or modules so the image wraps without a dark seam. EagerLED EA250WH5 supports right-angle splicing between cabinets, and models such as the EA500H8V right-angle LED display are built for corner builds.
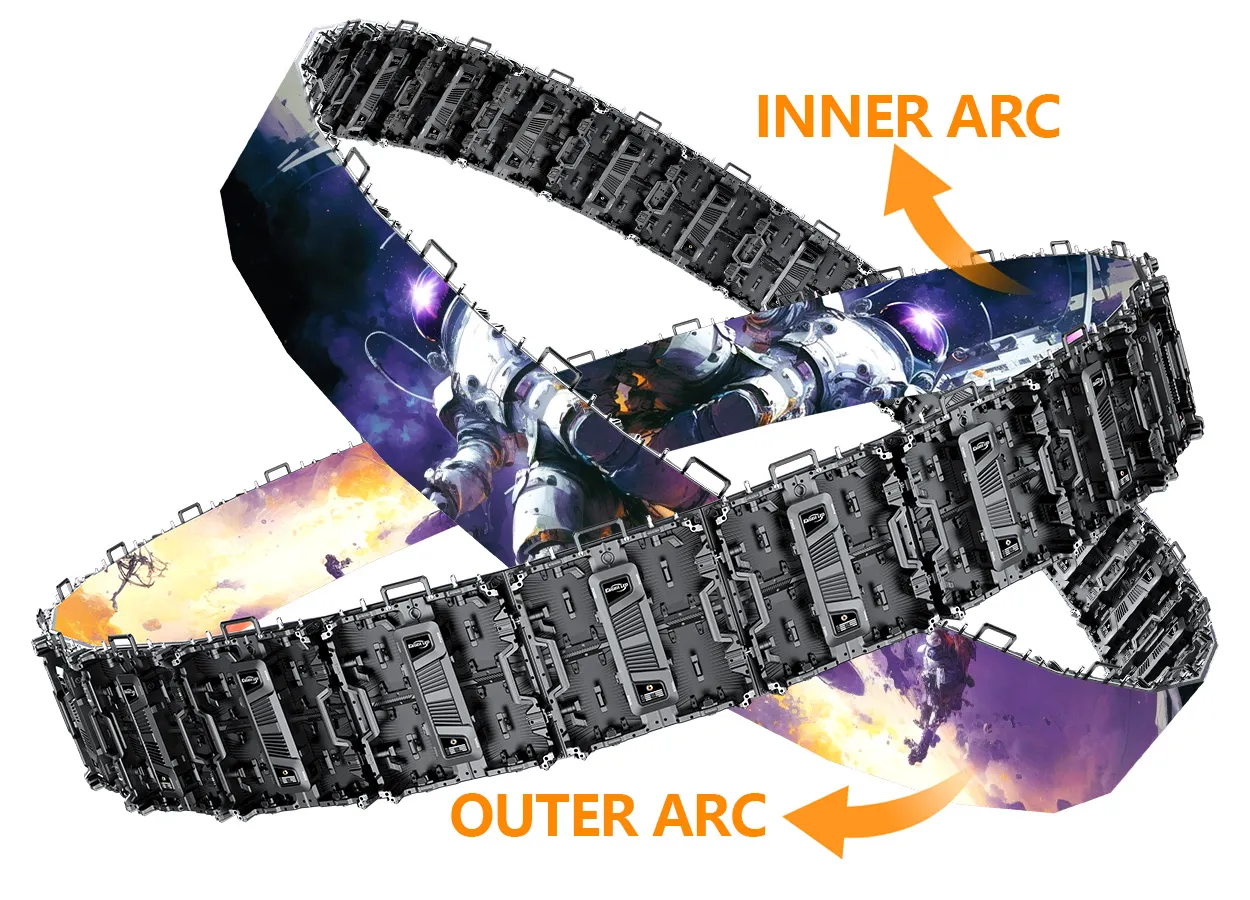
- Kurven: rental-style cabinets with curve locks or flexible modules on a shaped frame follow concave or convex walls.
- Spalten: narrow cabinets or flexible modules clad square or round pillars; plan where the power and data enter so the joint is hidden.
Content must be made for the shape. A corner or column screen shows a distorted picture if ordinary 16:9 video is stretched across it, so ask the content team for a pixel map of the finished build.
6. Why Does Front Service Matter for Indoor Installations?
Front service matters indoors because most screens sit against a wall or in a recess where nobody can work behind them. With front-service cabinets, modules are held by magnets and removed from the front with a vacuum suction tool, so the screen can be mounted almost flat against the wall.

EagerLED’s tutorial for its 640 × 480 mm magnetic indoor front-service screen shows the full flow: install the aluminum frame, fix it to the wall, mount the cabinets on the frame, attach each module with four magnets, then service from the front with vacuum tools. Rear-service cabinets remain a good choice where there is a corridor behind the screen, such as a stage set or a free-standing frame. Our comparison of LED-Anzeigen für Service vorne vs. Service hinten erklärt die Abwägungen.
7. How Do You Choose an Indoor LED Screen Installation Method?
Choose the indoor LED screen installation method by checking what the building can carry, how much depth is available, and how the screen will be serviced. The table maps common site conditions to the methods that usually fit.
| Standortzustand | Passt normalerweise | Achten Sie auf |
|---|---|---|
| Solid wall facing the audience | Wall-mounted with brackets | Anchors for the wall type, flatness of the wall |
| Finished wall, no space behind | Recessed or slim wall-mounted, front service | Heat in the niche, exact opening size |
| Lightweight partition or glass wall | Floor-supported frame or hanging | Floor load, bracing, rigging rating |
| Tall atrium or hall | Hanging from beam or truss | Ceiling capacity, lift access for service |
| Temporary event or exhibition | Floor-standing or ground stack | Stability, cable protection, quick removal |
| Pillar, corner or curved wall | Column, right-angle or curved build | Shaped cabinets, content made for the shape |
Then check the viewing distance, because it fixes the pixel pitch and therefore the cabinet range. Our guide to Auswahl des optimalen Pixelabstands covers that step, and our article on the LED-Anzeigemodul explains how modules and cabinets fit together.
8. What Should You Prepare Before Indoor LED Screen Installation?
Prepare the wall or ceiling information, power, data and service plan before the cabinets arrive, because each one can change the method or delay the install. A short checklist for any indoor LED screen installation:
- Website-Umfrage: measured drawings and photos of the wall, ceiling or floor, the wall type, obstructions such as sockets and sprinklers, and the route for bringing cabinets into the room.
- Struktur: confirmation from the building owner or an engineer that the wall, ceiling or floor can carry the screen and its frame.
- Stromversorgung: dedicated circuits with protection sized for the screen’s maximum load. Our guide to Stromverbrauch des LED-Bildschirms helps estimate it.
- Daten und Kontrolle: a cable route from the sending device or video processor to the first cabinet, plus network access if content is managed remotely.
- Heat and airflow: a way for warm air to leave, especially for recessed screens and small rooms.
- Light and brightness: windows and spotlights facing the screen. Indoor screens rarely need full brightness; see LED-Bildschirmhelligkeit in Nits.
- Serviceplan: front or rear access, spare modules from the same batch, and who will maintain the screen.
Plan cable management with the interior designer. Indoor screens are seen up close, so visible cables, sockets and trims spoil the result. Decide where the power and data enter the frame, where the sending device or video processor will live, and how the cables will be hidden behind trims, in a wall chase or inside a floor box. A clean edge trim around the screen also covers small differences between the frame and the finished wall.
Agree the split of work early. The screen supplier usually provides the cabinets, control system, drawings and weights; a local contractor builds the frame and finishes; and a licensed electrician installs the supply. Our sister site’s LED video wall installation cost checklist lists the labor and site items that are easy to miss when budgeting.
9. What Is the Indoor LED Screen Installation Sequence?
Once the method is chosen and the structure is approved, most indoor projects follow the same order on site. EagerLED’s installation tutorials for its indoor front-service screens use this sequence:
- Install the support structure: mark, drill and fix the brackets or frame, then connect them so they are level and square. Small errors here show up later as gaps between cabinets.
- Mount the cabinets: fix the cabinets to the structure row by row, usually from the bottom up, and lock neighboring cabinets together so the face stays flat.
- Connect power and signal: run power cords and signal cables between cabinets in the planned order so the controller maps them correctly.
- Check the signal: power on and confirm every cabinet receives data before closing anything.
- Fit the modules: on front-service screens, place each module on its magnets; on others, fix them as the cabinet design requires.
- Power-on test and calibration: test the full screen, set brightness for the room, and calibrate if the screen includes modules from different batches.
- Finish and hand over: close trims and cable covers, and hand over spare parts, drawings and maintenance instructions.
Small details save time on the day. Unpack and number the cabinets in the order they will go up, keep the module boxes from the same batch together, and check the frame with a level and a laser before lifting the first cabinet. If the screen is in a working building, schedule noisy drilling and heavy lifting outside opening hours, and protect finished floors along the delivery route.
You can see this order in our Installationsanleitung für LED-Displays im Innenbereich for a 600 × 337.5 mm front-service cabinet and in the P1.25 video wall installation steps. After handover, regular dusting keeps the screen looking even; see Wie man einen LED-Bildschirm reinigt.
Häufig gestellte Fragen
Which indoor LED screen installation method is used most?
It depends on the room. Wall mounting is widely used because most rooms have a suitable wall facing the audience. Hanging is common in tall atriums and halls, and floor-standing is common for events and exhibitions.
Can an indoor LED screen be mounted on a plasterboard wall?
Not directly. Plasterboard cannot carry a video wall on its own. Fix the brackets to the studs or structure behind it, or use a floor-supported frame in front of the wall, after checking the load with the building owner.
How much depth does a wall-mounted indoor LED screen need?
It depends on the cabinet and the frame. Slim front-service cabinets need far less depth than rear-service designs, which need a corridor behind them. EagerLED EA250WH5 cabinet, for example, is listed at 30 mm thick before brackets.
Do I need front-service cabinets for an indoor screen?
Not always, but they are the safer choice when the screen sits against a wall or in a recess. Rear-service cabinets work well when there is space to walk behind the screen.
How long does indoor LED screen installation take?
It depends on the size, the method and how ready the site is. Preparing the wall, power and data in advance usually saves more time than anything done on the day, because cabinets can then go up as soon as they arrive.
Can rental LED cabinets be used for a permanent indoor installation?
They can, especially for curved or creative shapes, but fixed indoor cabinets are usually slimmer, lighter and better suited to permanent wall or recessed installs.
Planning Your Indoor LED Screen Installation
Decide the installation method together with the screen, not after it. When you request a quote, send the screen size, viewing distance, photos and dimensions of the wall or ceiling, the wall type, and whether there is space behind the screen. EagerLED kann dann Schränke wie die folgenden empfehlen EA250WH5 LED-Innenpanel or other indoor models built on its LED-Module für den Innenbereich, and provide weights and drawings for your installer. Senden Sie uns Ihre Projektdetails um zu starten.
 LED-Bildschirmverleih in San Antonio: Checkliste für Kongresse
Verwandte Artikel



Geben Sie Ihre Anforderungen detailliert an
Geben Sie im Feld „Inhalt“ die gewünschte Bildschirmnutzungsszene und -größe an . Sie erhalten dann ein Angebot.